
Quick Start
This page provides a quick start guide on using Device Manager.
Create a service instance of Device Manager
To start using Device Manager, you must have a service instance first.
- Sign in to the management console of JCV Cloud (https://cloud.japancv.co.jp/en/signin).
The dashboard screen appears.
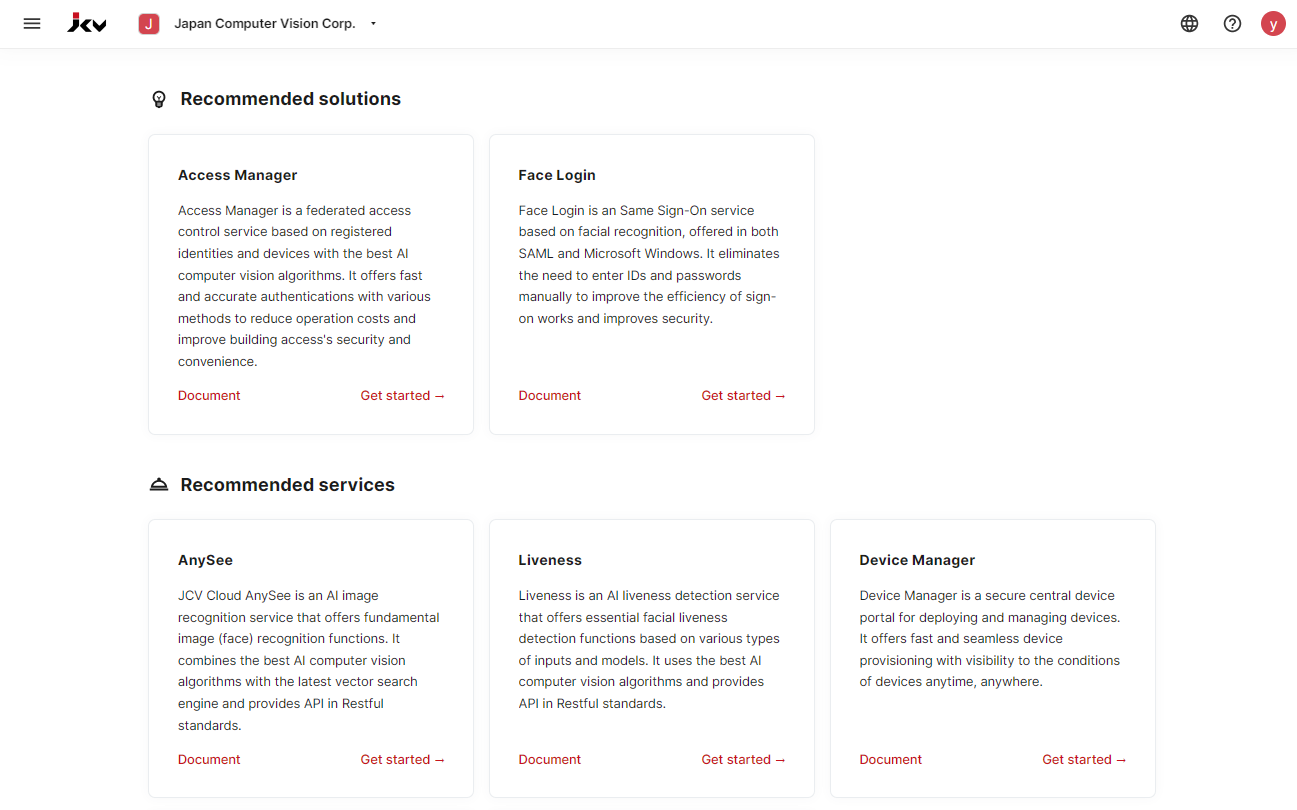
Dashboard
- Select an organization from the top bar by clicking the Select an organization.
The hamburger button appears on the left. - Click the hamburger button to show the list of services.
Click Elements - Device Manager to enter the initial setup page of Device Manager. - On the service instance creation page, select the service region, select the service plan, enter a service instance name, and check the "I agree to the JCV Cloud Service Terms of Use". Then click the Add instance button to finish creating a service instance.🎉
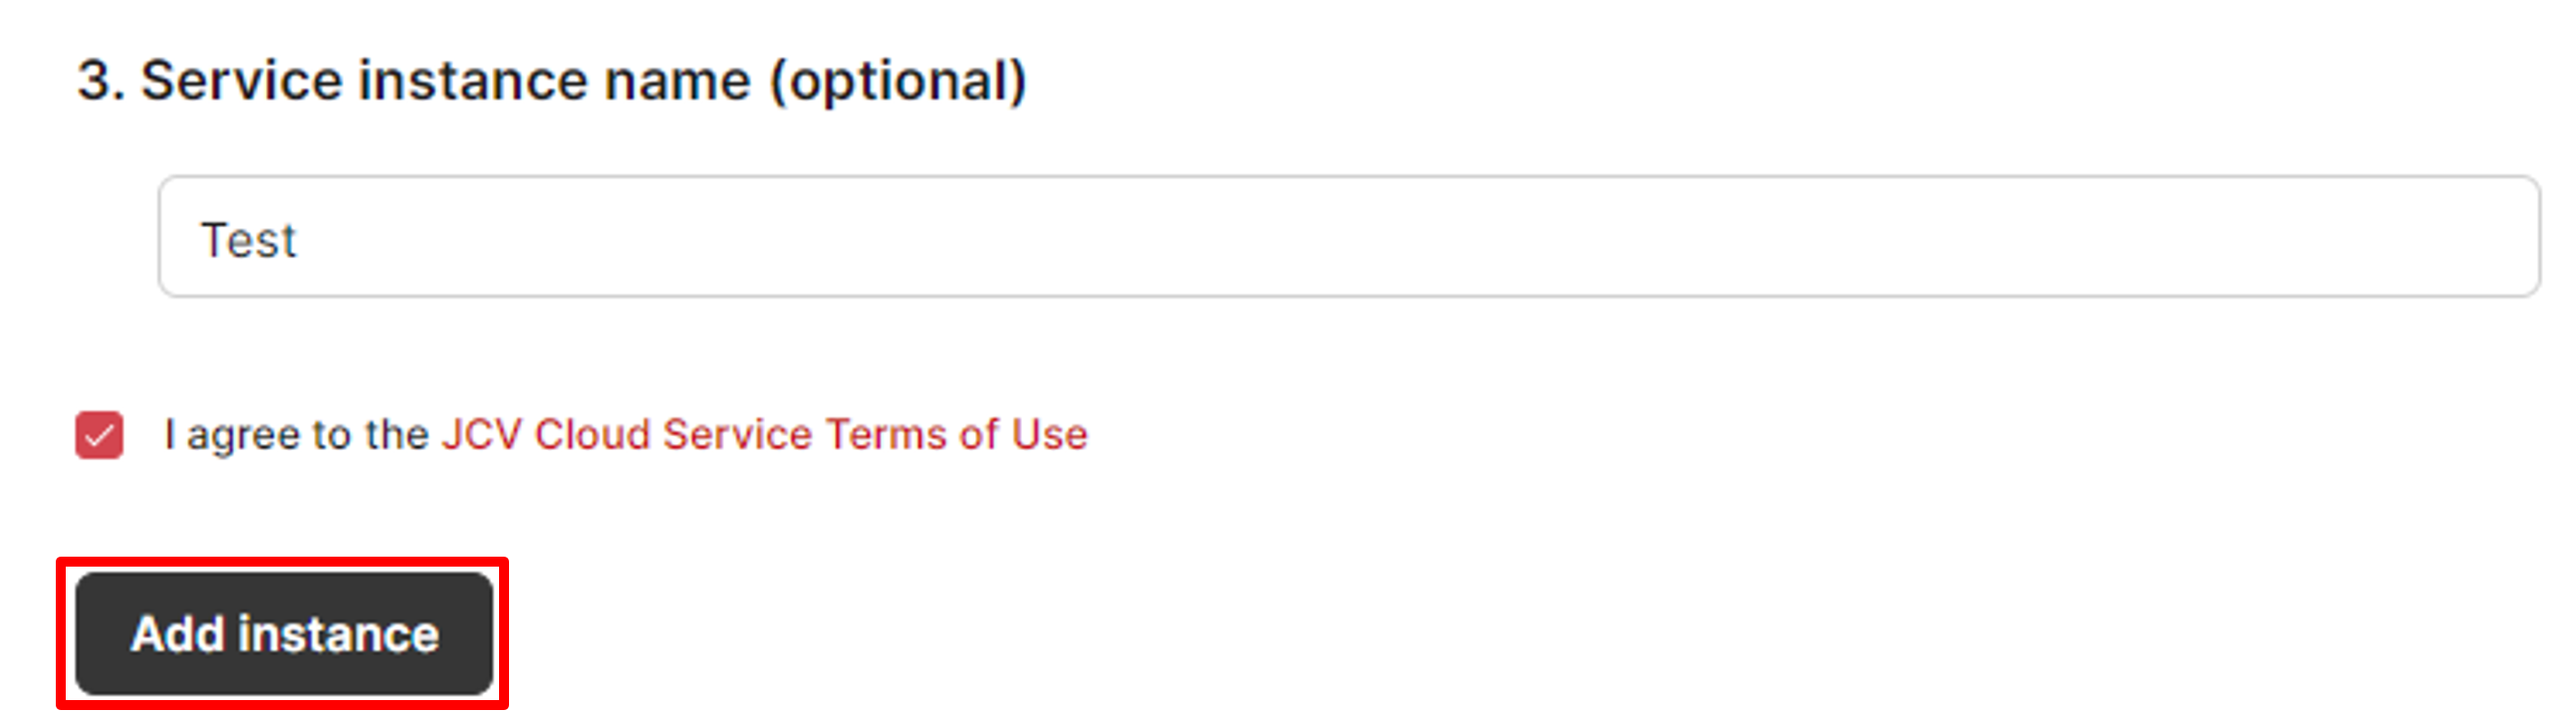
Add an instance
Enter a service instance
After creating a service instance, you can enter a service instance to start managing devices.
-
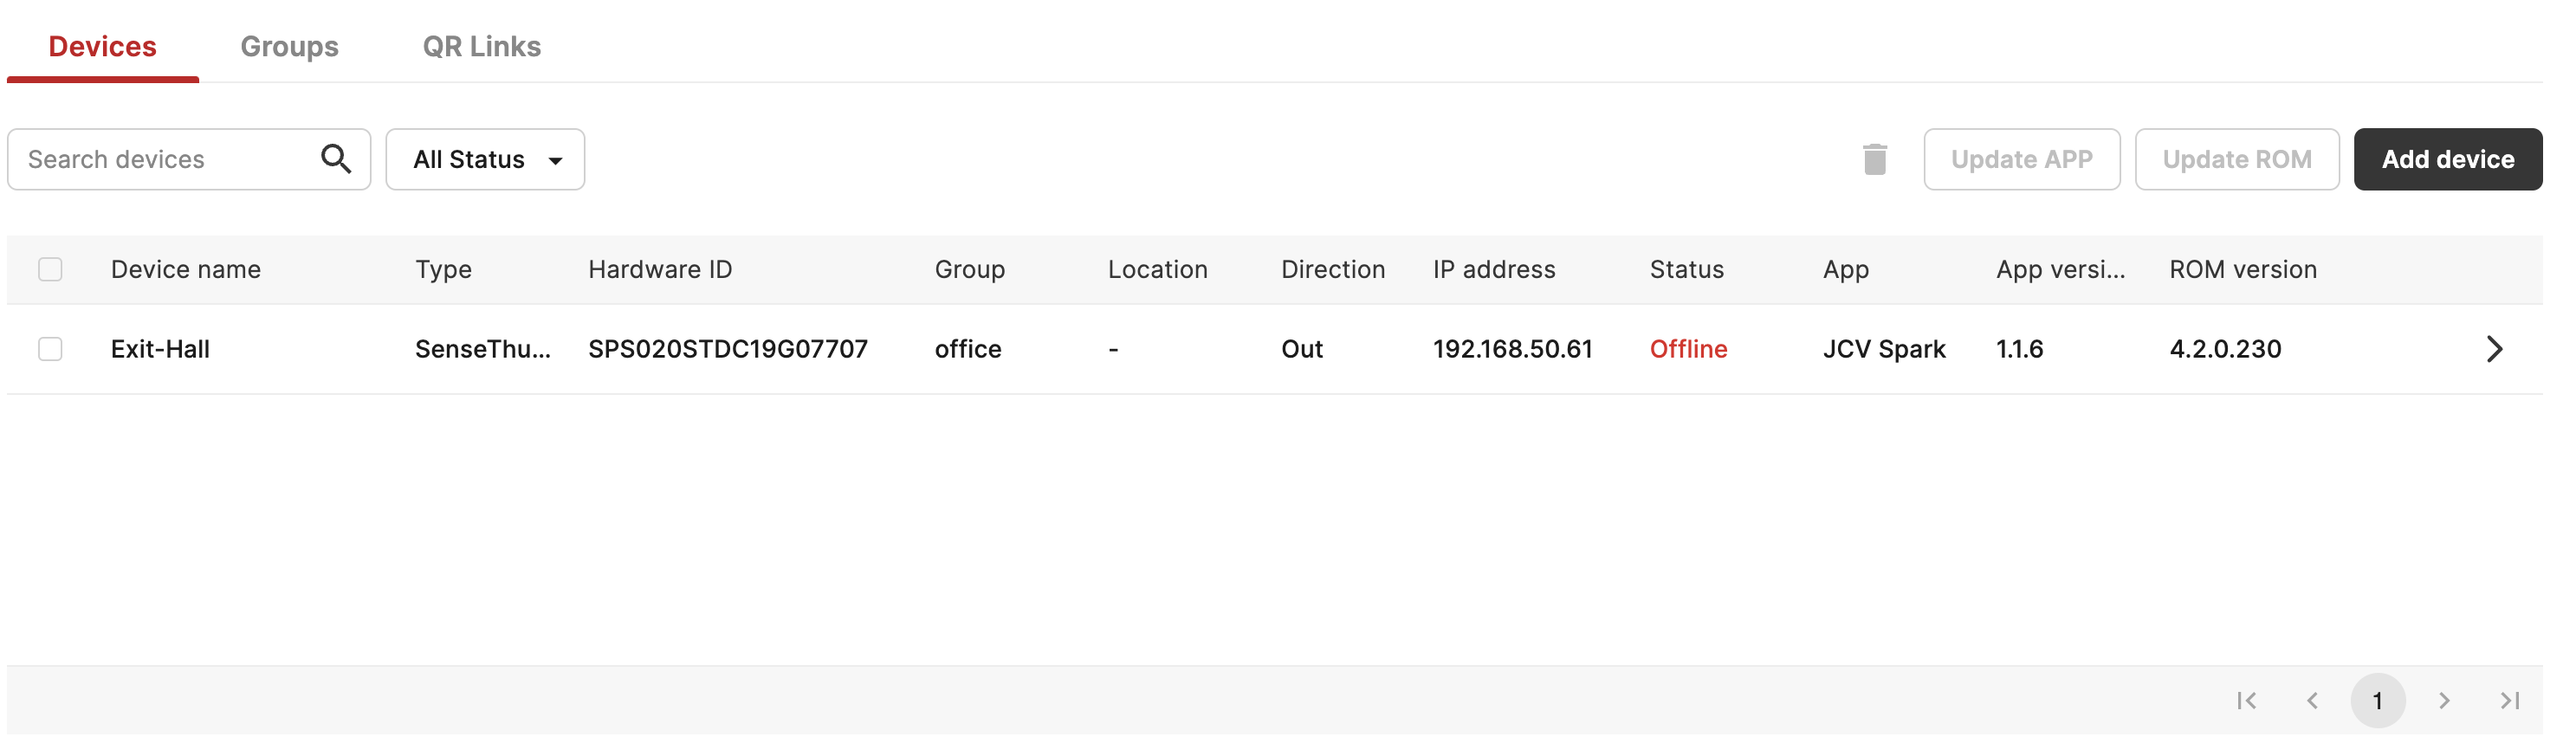
Select the service instance created on the Device Manager entrance page, and the device list screen appears.
-
On the device list screen, click Add Device to add a single device.
- Select the expiration time for your QR link and also which device group you want to add into (device group can be optional), and click Generate QR Link to finish QR code generating.
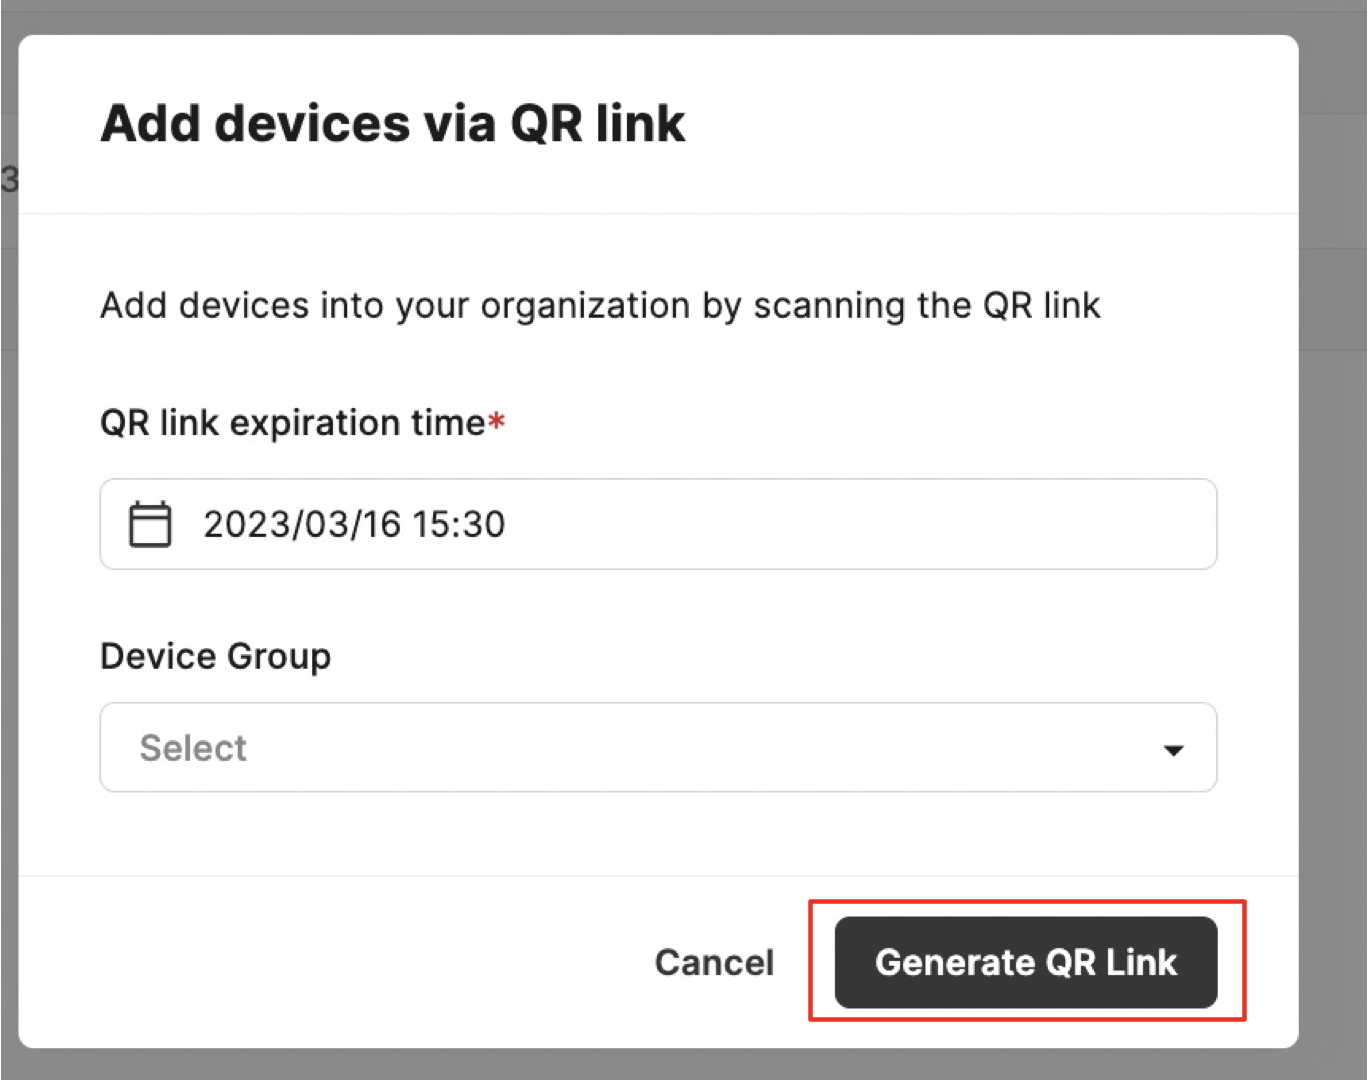
As long as you have successfully enrolled your device, then you can find this device on the device list screen. 🎉
Device Group
After adding a device to the service instance, you can create a device group to further managing devices.
- Enter a group name to create a device group.

- Device configurations can be changed through the device group setting.
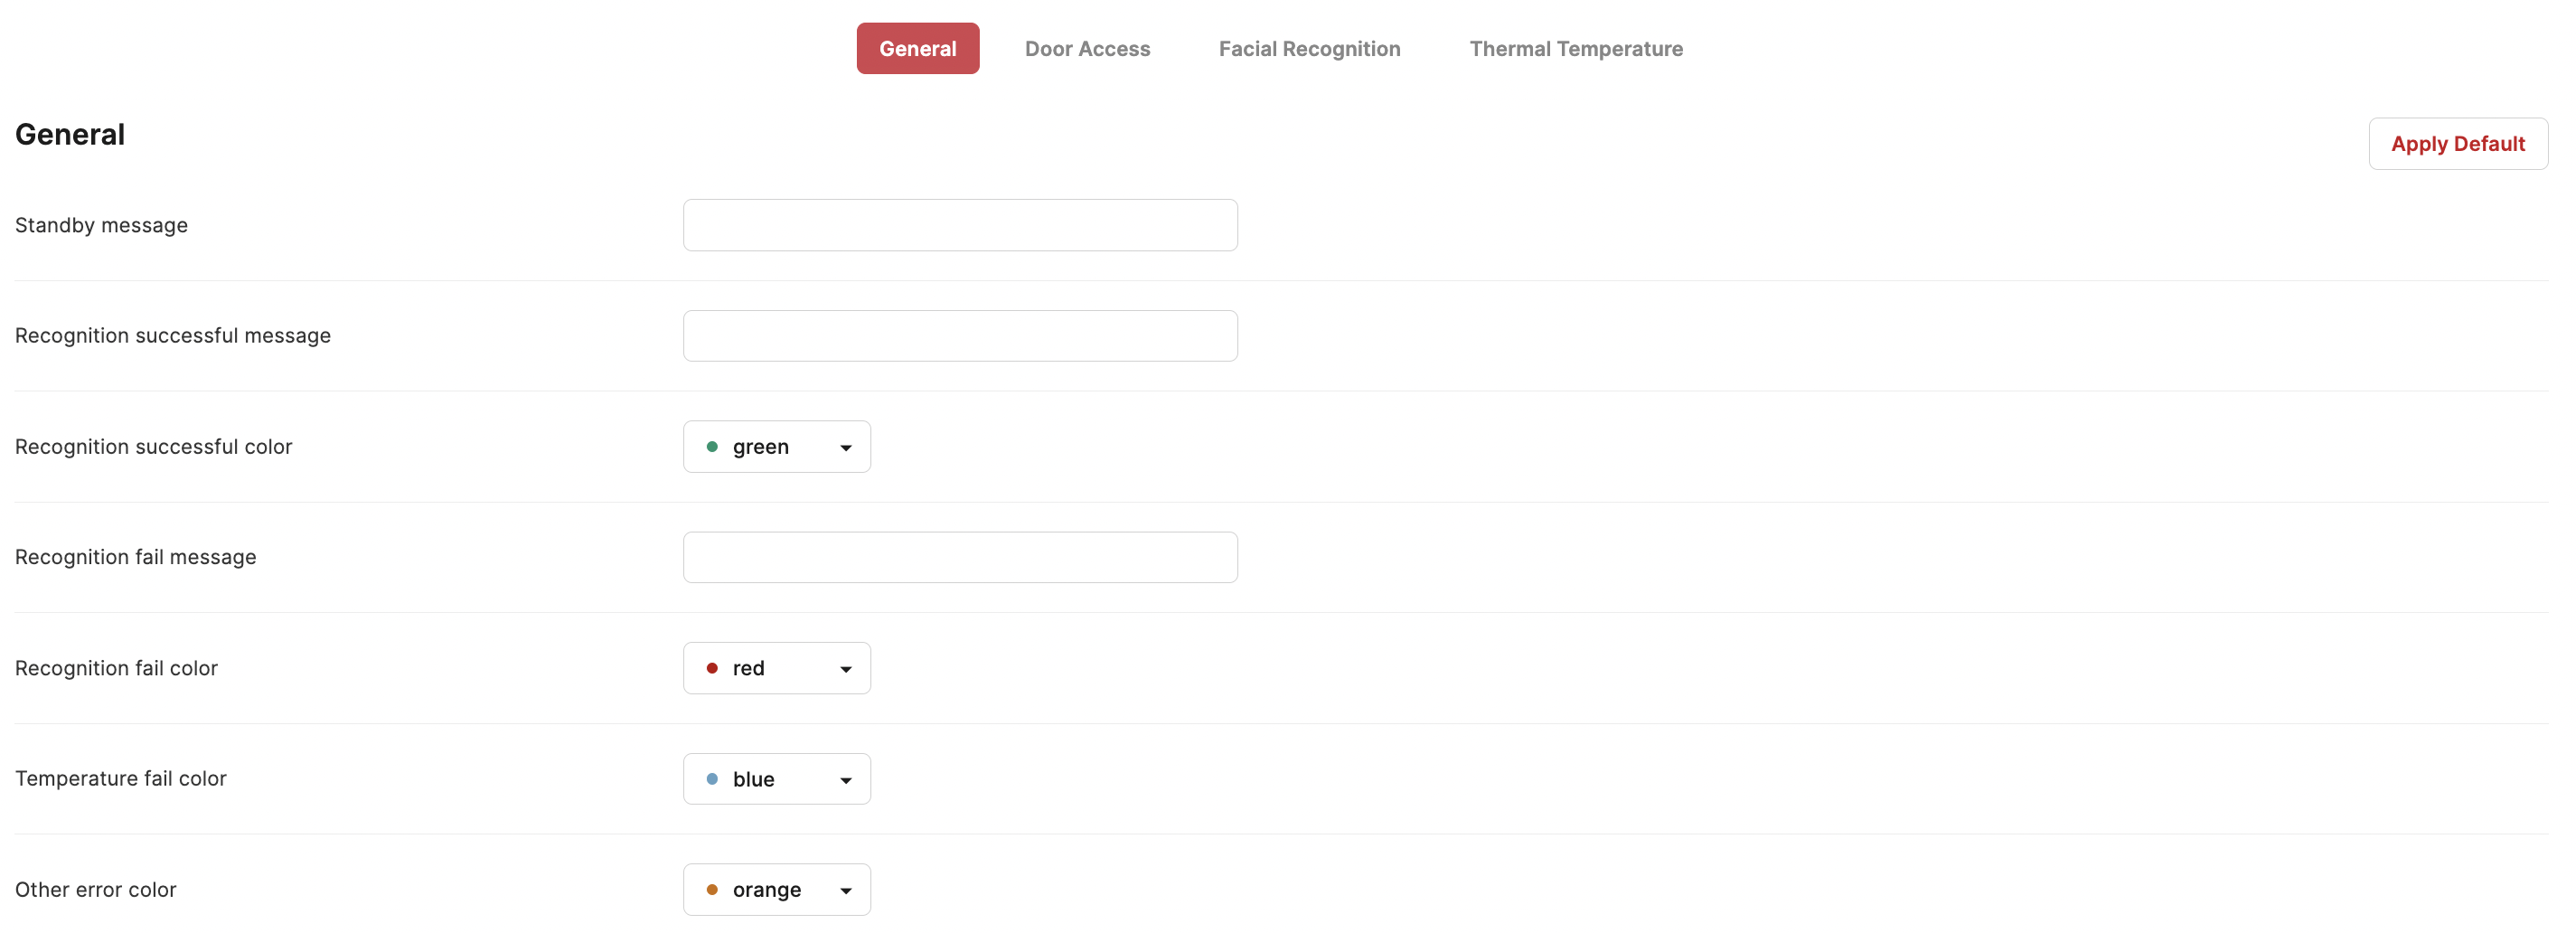
- General Configuration Setting
| Item | Default Value |
|---|---|
| Standby message | Thank you for your cooperation |
| Recognition successful message | Permitted |
| Recognition successful color | The default color is Green, you can change it to Red, Blue, or Orange. |
| Recognition fail message | Failed |
| Recognition fail color | The default color is Red, you can change it to Green, Blue, or Orange. |
| Temperature fail color | The default color is Blue, you can change it to Green, Red, or Orange. |
| Other error color | The default color is Orange, you can change it to Green, Blue, or Blue. |
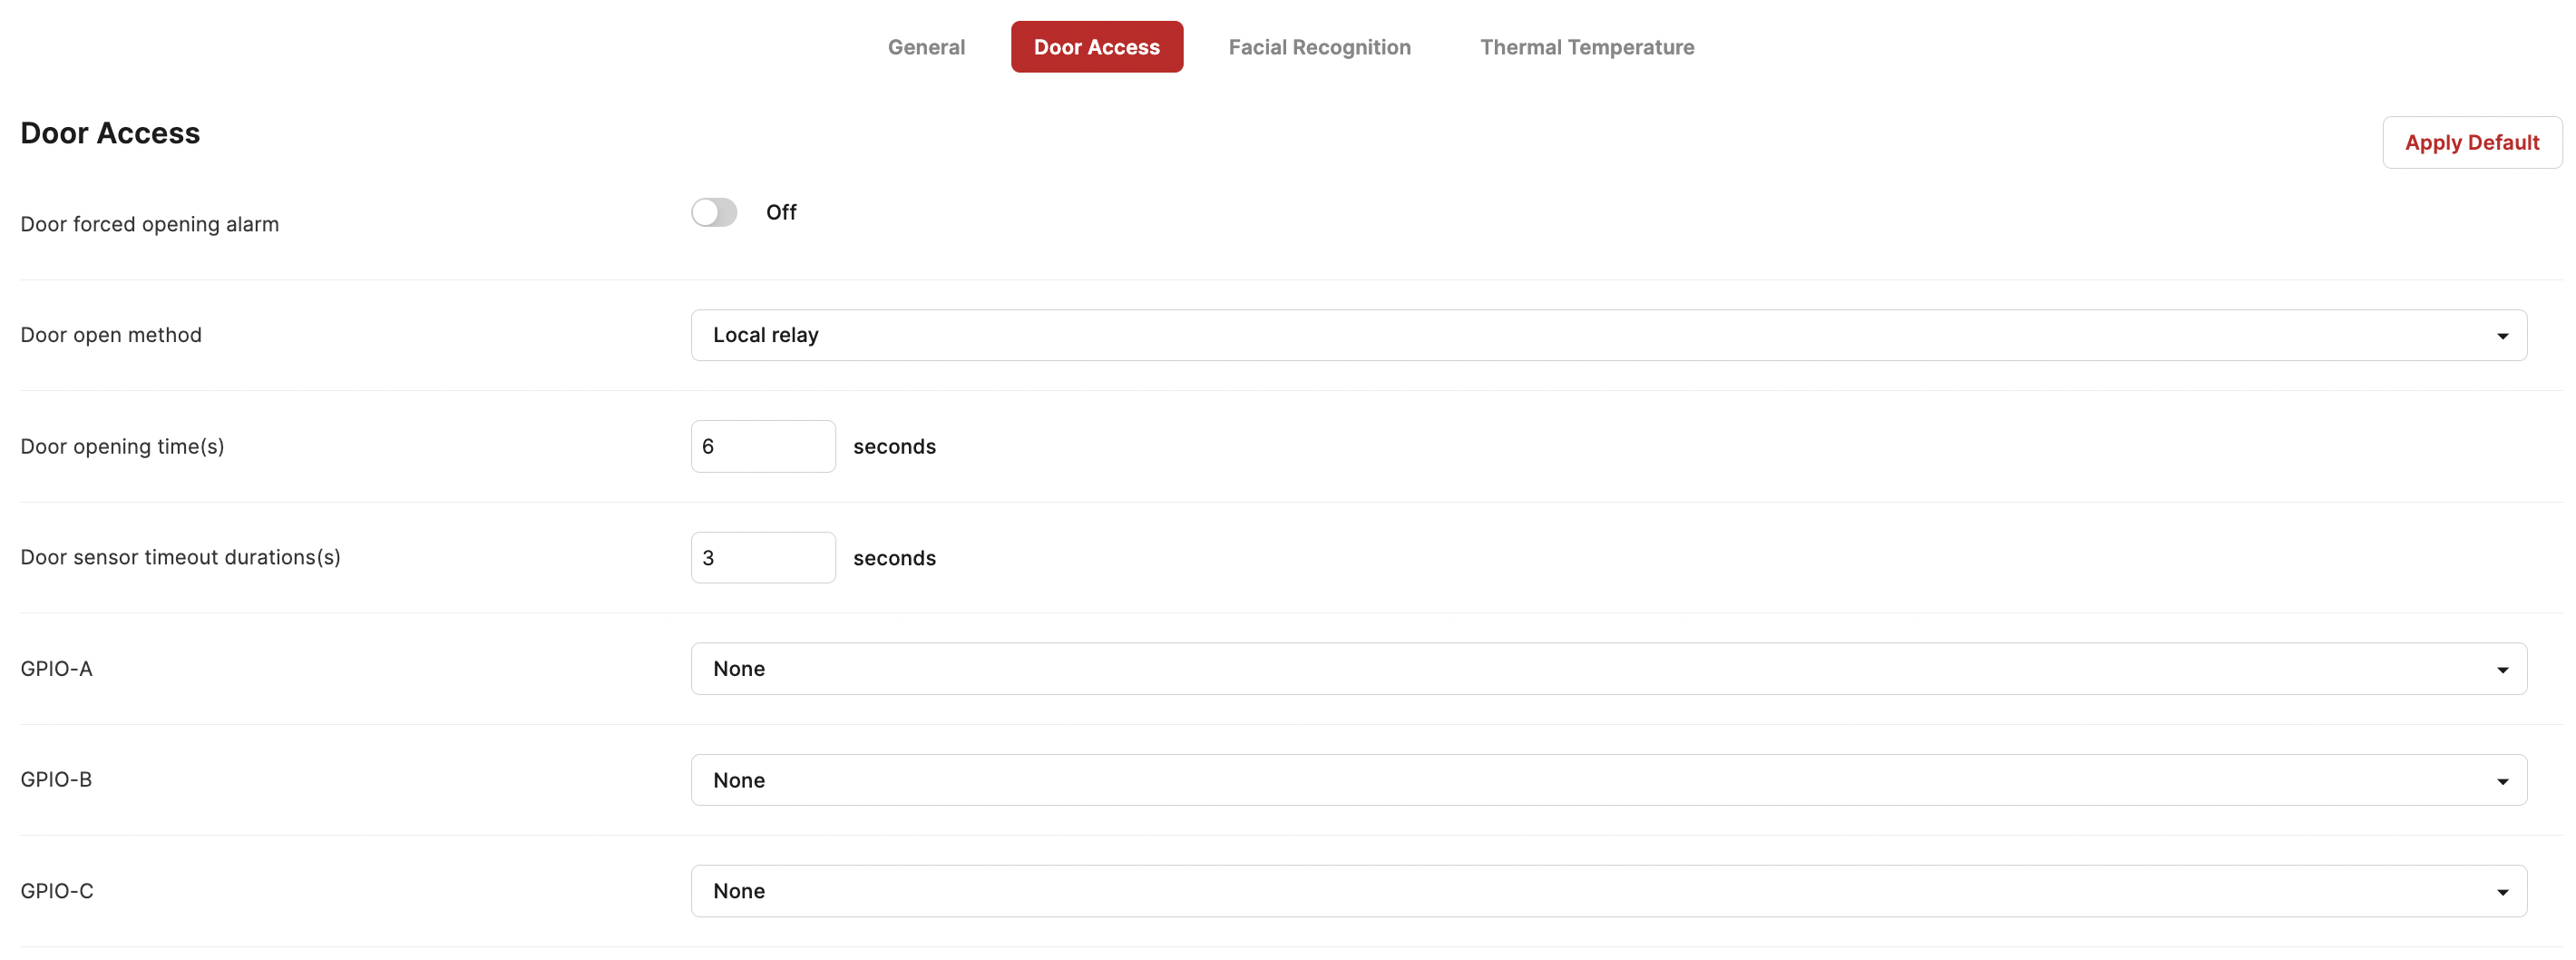
- Door Access Configuration Setting
| Item | Default Value |
|---|---|
| Door forced opening alarm | Off |
| Door open method | The Default is Local Relay, you can also choose Wiegand. |
| Door opening time(s) | 6s, must be a number and no more than 255 |
| Door sensor timeout durations(s) | 3s, must be a number and no more than 255 |
| GPIO-A | The default is None, you can also choose Door bell or Alarm . |
| GPIO-B | The default is None, you can also choose Doorbell, Door magnetism , or Fire signal. |
| GPIO-C | The default is None, you can also choose Doorbell, Door magnetism , or Fire signal. |
| Reverse Order Transmission Field | Off, only available when you choose Wiegand. |
| Pulse Period | 2400us, only available when you choose Wiegand. |
| Pulse Width | 380us, only available when you choose Wiegand. |
| Wiegand Input | The default is wiegand26_8_16, you can also choose wiegand26_24, wiegand32 , or wiegand34. |
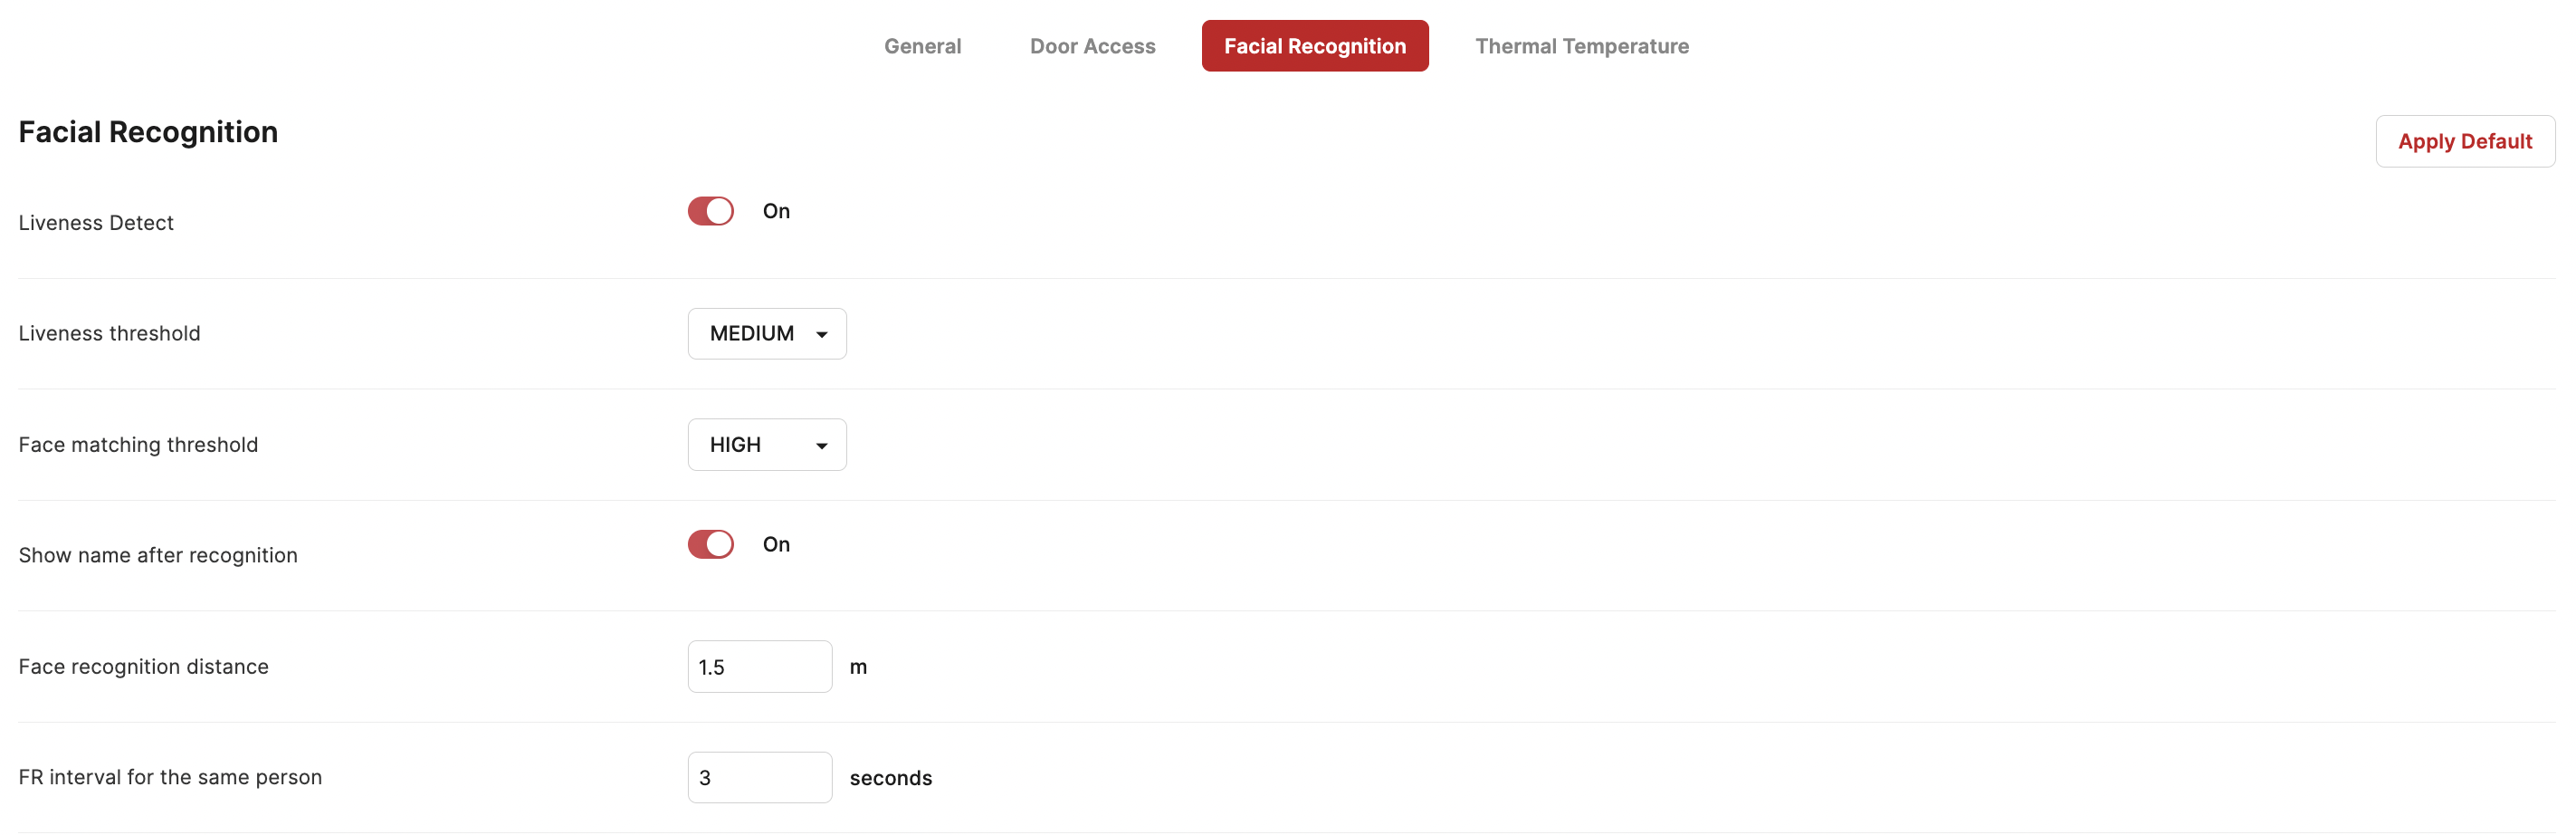
- Facial Recognition Configuration Setting
| Item | Default Value |
|---|---|
| Liveness Detect | On |
| Liveness threshold | The Default is Medium, you can also choose High or Low . |
| Face matching threshold | The Default is High, you can also choose Medium or Low . |
| Show name after recognition | On |
| Face recognition distance | The default is 1.5m, and the range is from 0.6m-1.5m. |
| FR interval for the same person | The default is 3s, and the range is from 1s-30s. |
- Thermal Temperature Configuration Setting

| Item | Default Value |
|---|---|
| Measure temperature | On |
| Temperature unit | The Default is °C, you can also change it to °F. |
Group ConfigurationPlease be noted the above configurations can only be set as a group setting. If you want to set for a single device, please create a group for this single device first.
Update APP & Update ROM
Whenever a new app or ROM becomes available, you will see a new icon displayed in the APP version or ROM version column. You can select the device you want to update.

UpdateThe update will only be available when the device is online.
Updated 11 months ago