
Quick Start (SAML)
This page provides a quick start guide on using Face Login on SAML-based web applications.
For ordering subscriptionFeel free to get free trials.
Please contact JCV sales to make paid subscriptions.
The online subscription will be available soon.
Create a service instance of Face Login
To start using Face Login, you must have a service instance first.
- Sign in to the management console of JCV Cloud (https://cloud.japancv.co.jp/en/signin).
The dashboard screen appears.
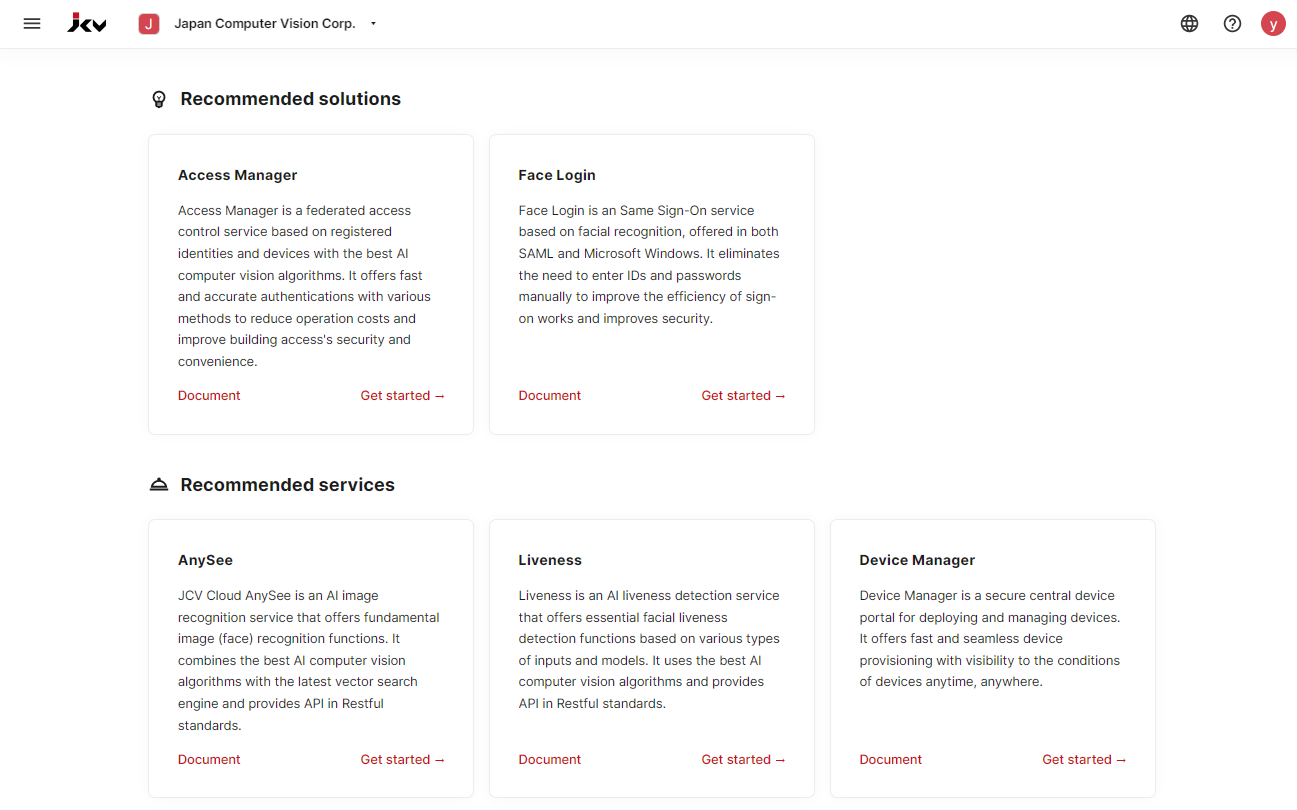
Dashboard
- Select an organization from the top bar by clicking the Select an organization.
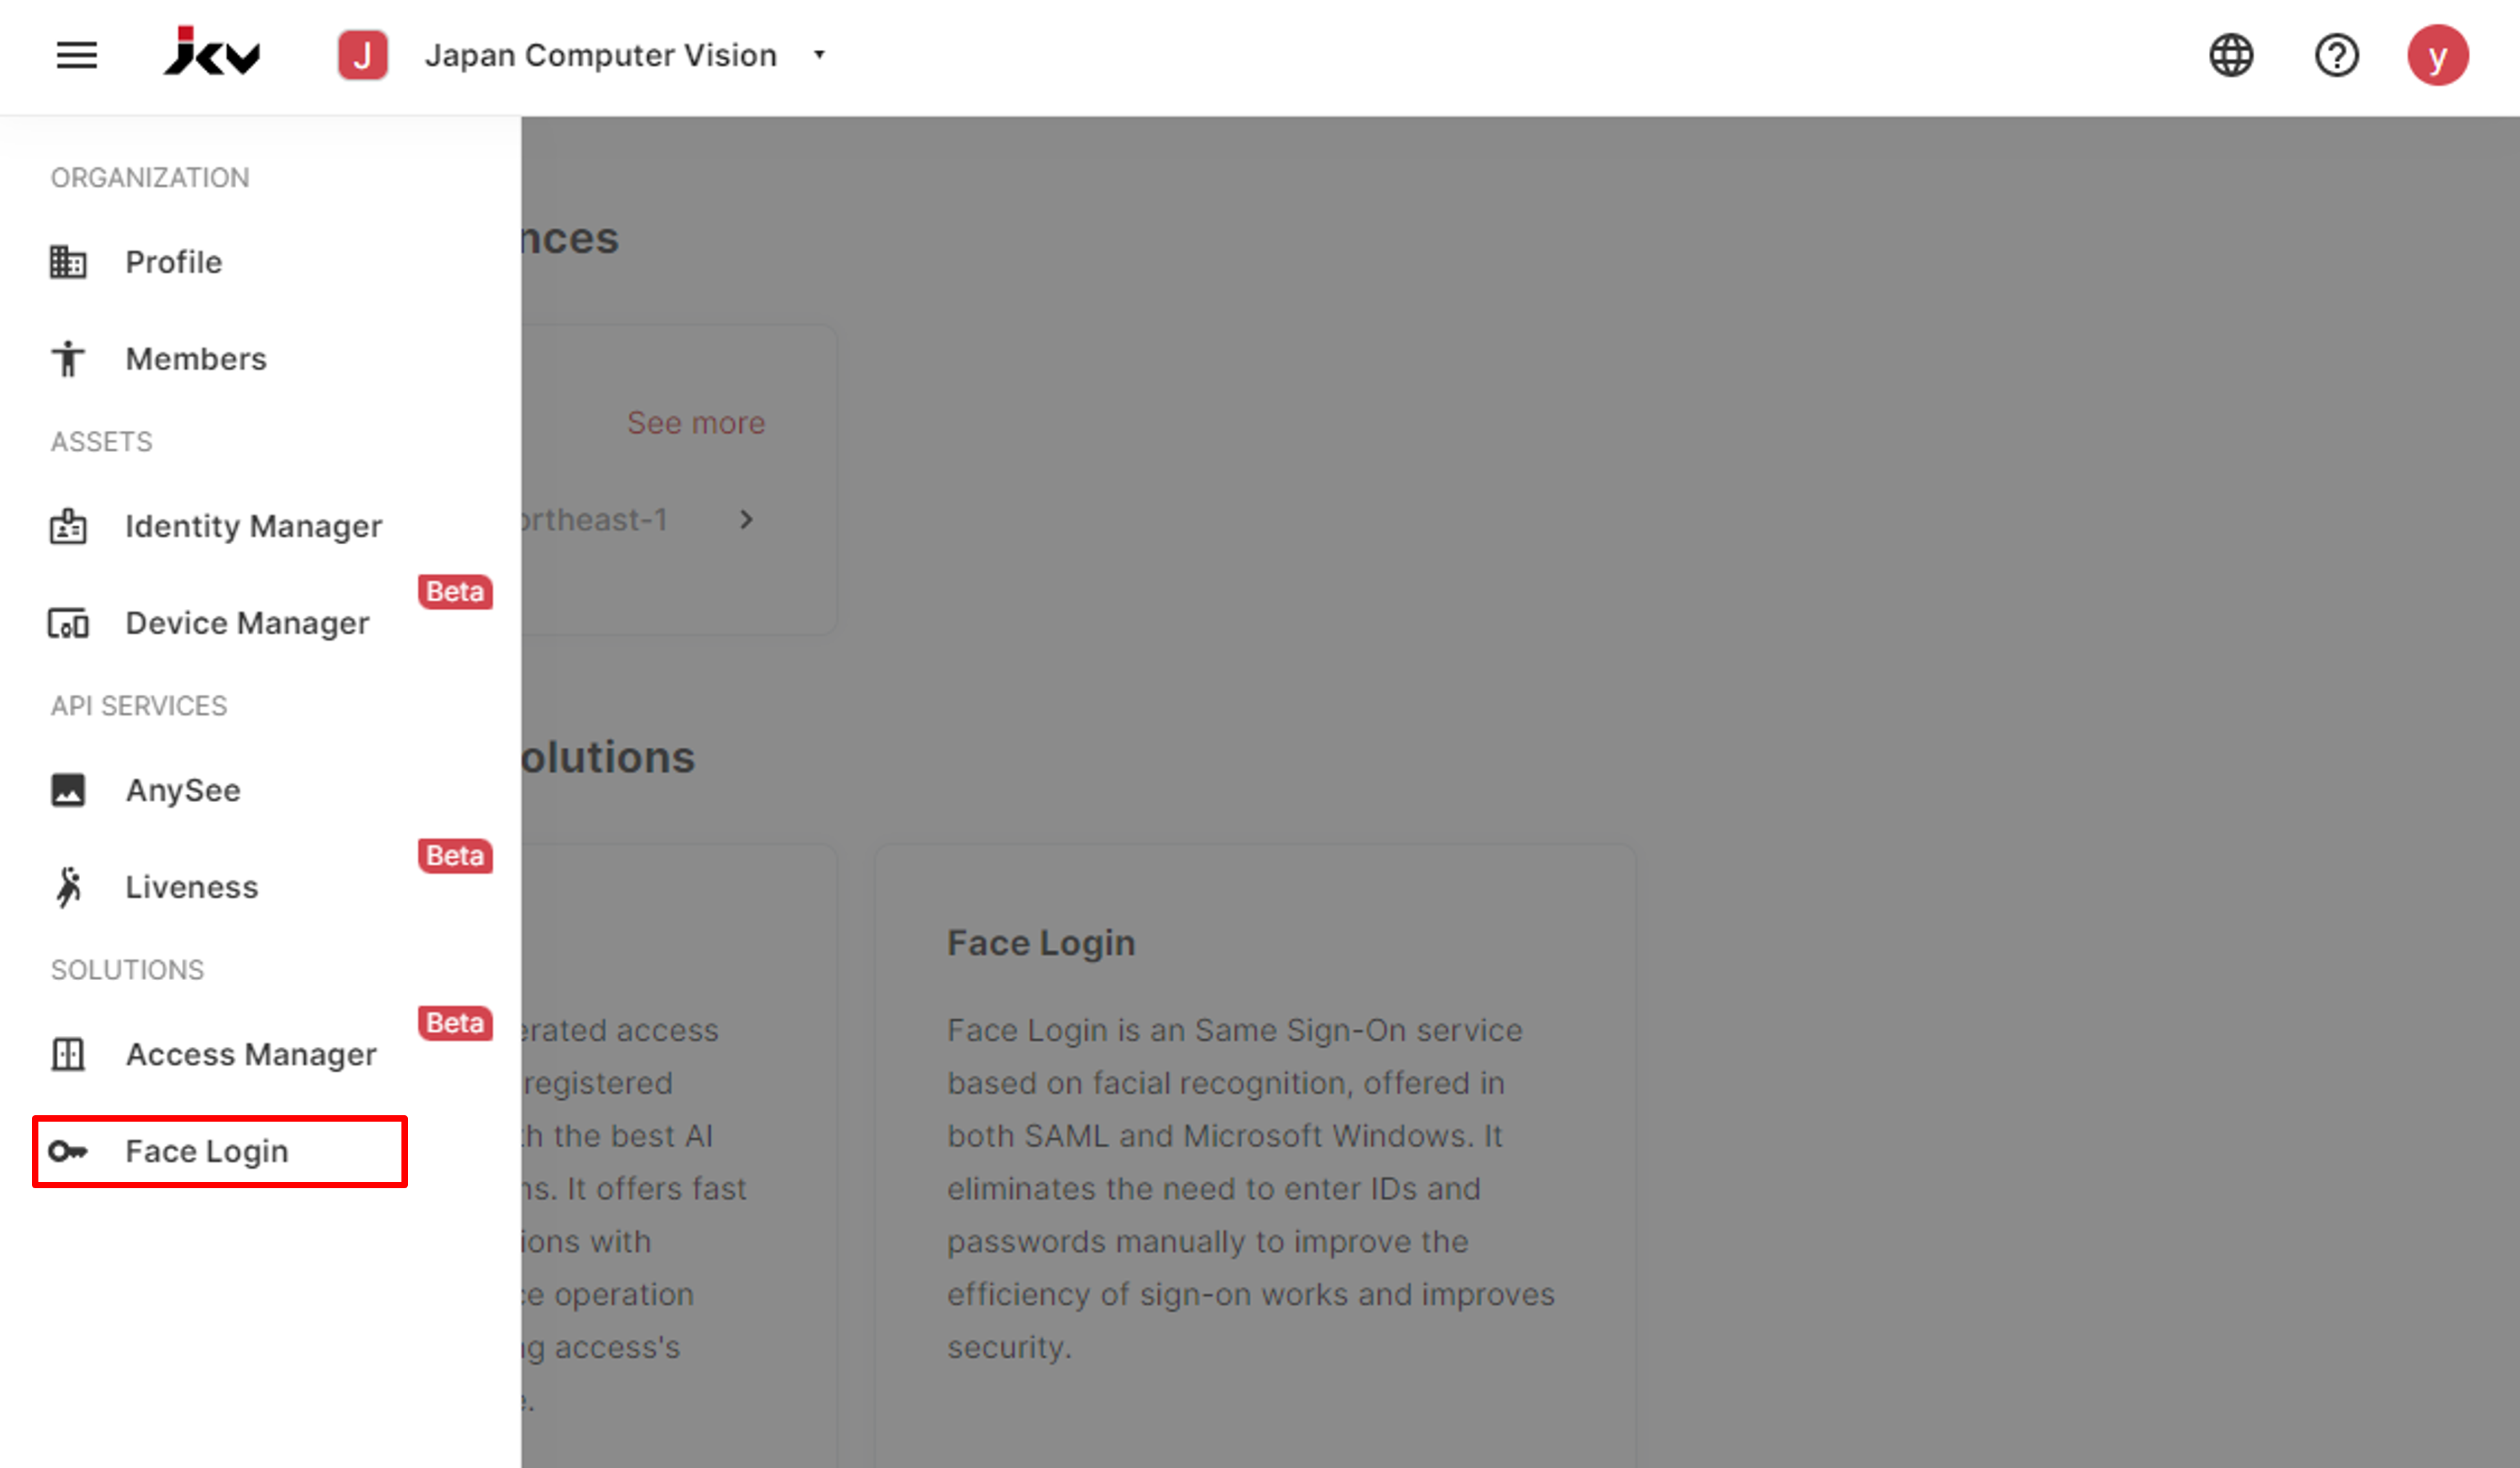
The hamburger button appears on the left. - Click the hamburger button to show the list of services.
Click Solutions - Face Login to enter the initial setup page of Face Login.
Service list
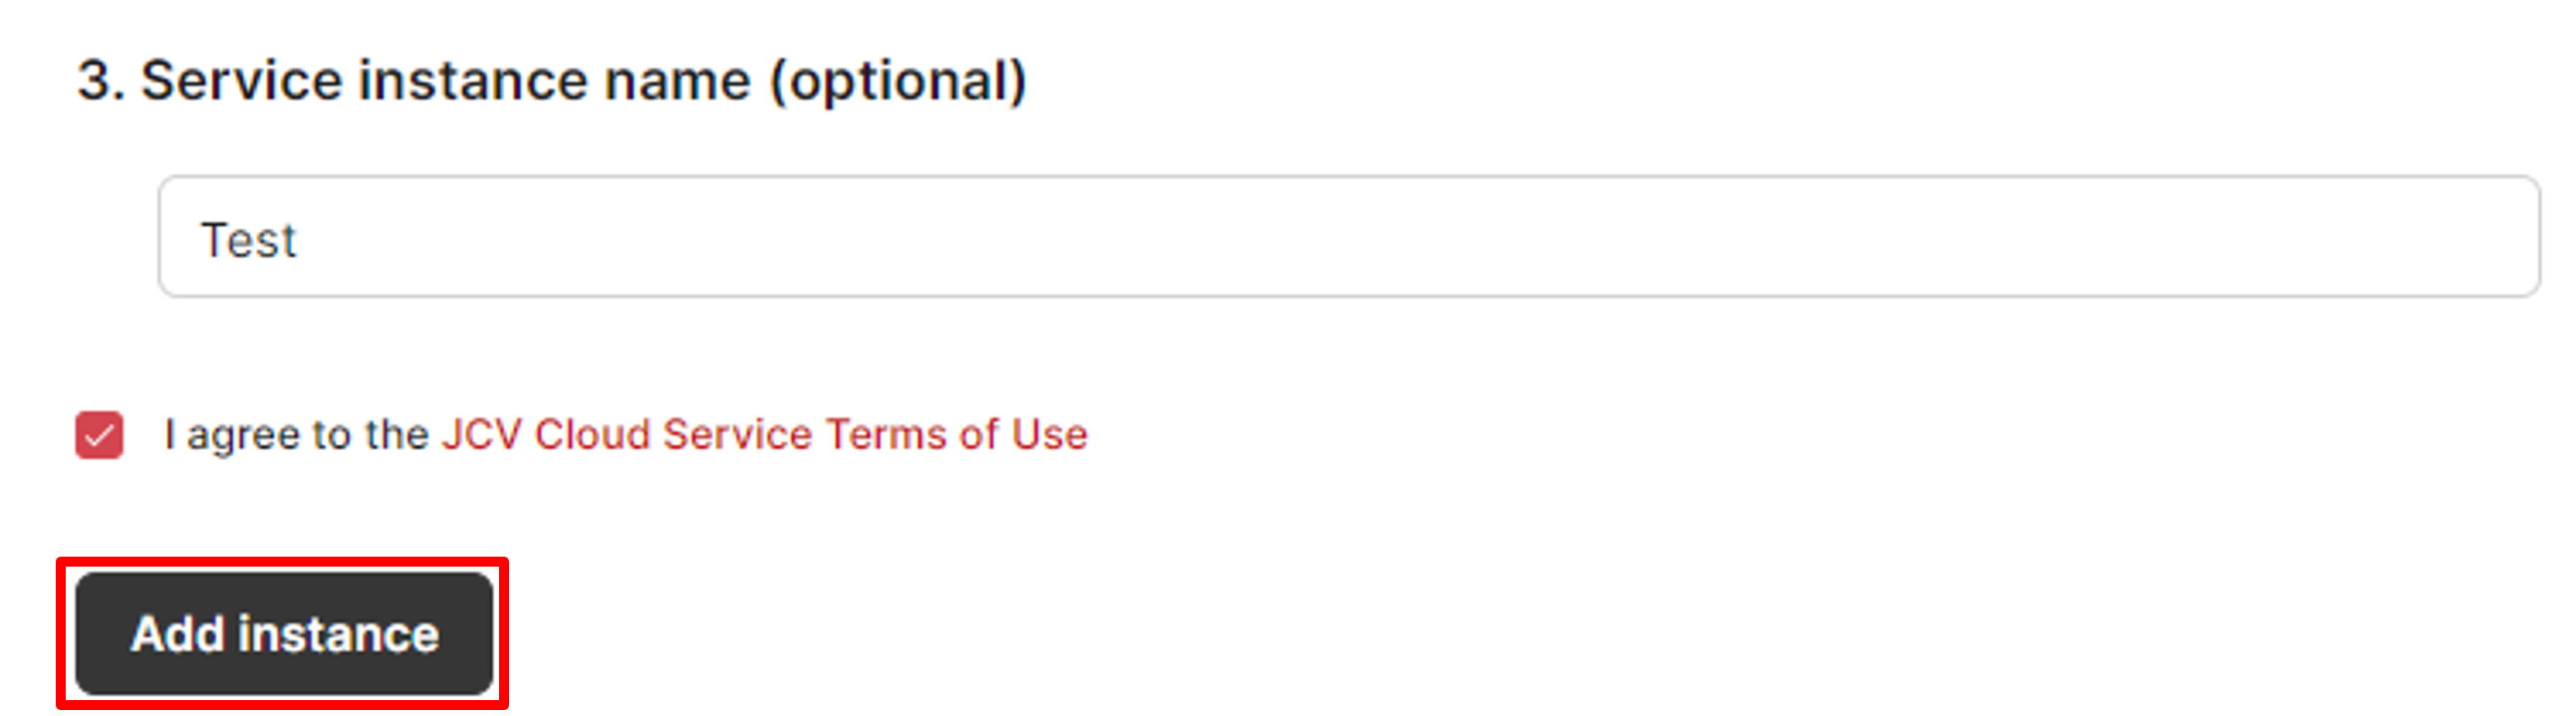
- On the service instance creation page, select the service region, select the service plan, enter a service instance name, and check the "I agree to the JCV Cloud Service Terms of Use". Then click the Add instance button to finish creating a service instance.🎉
About Identity Manager instancesTo start an Face Logininstance, an unintegrated Identity Manager instance is required. That is to say, one Identity Managerinstance can be integrated with only one Face Logininstance, and that one Face Logininstance can be constructed based on only one Identity Managerinstance.
The above process will automatically create a new identity instance. If you want to build based on an existing Identity Manager instance, you can manually choose one in the advanced options.
Once an Identity Managerinstance has been used in another Face Logininstance, it will not be displayed in the dropdown list here.
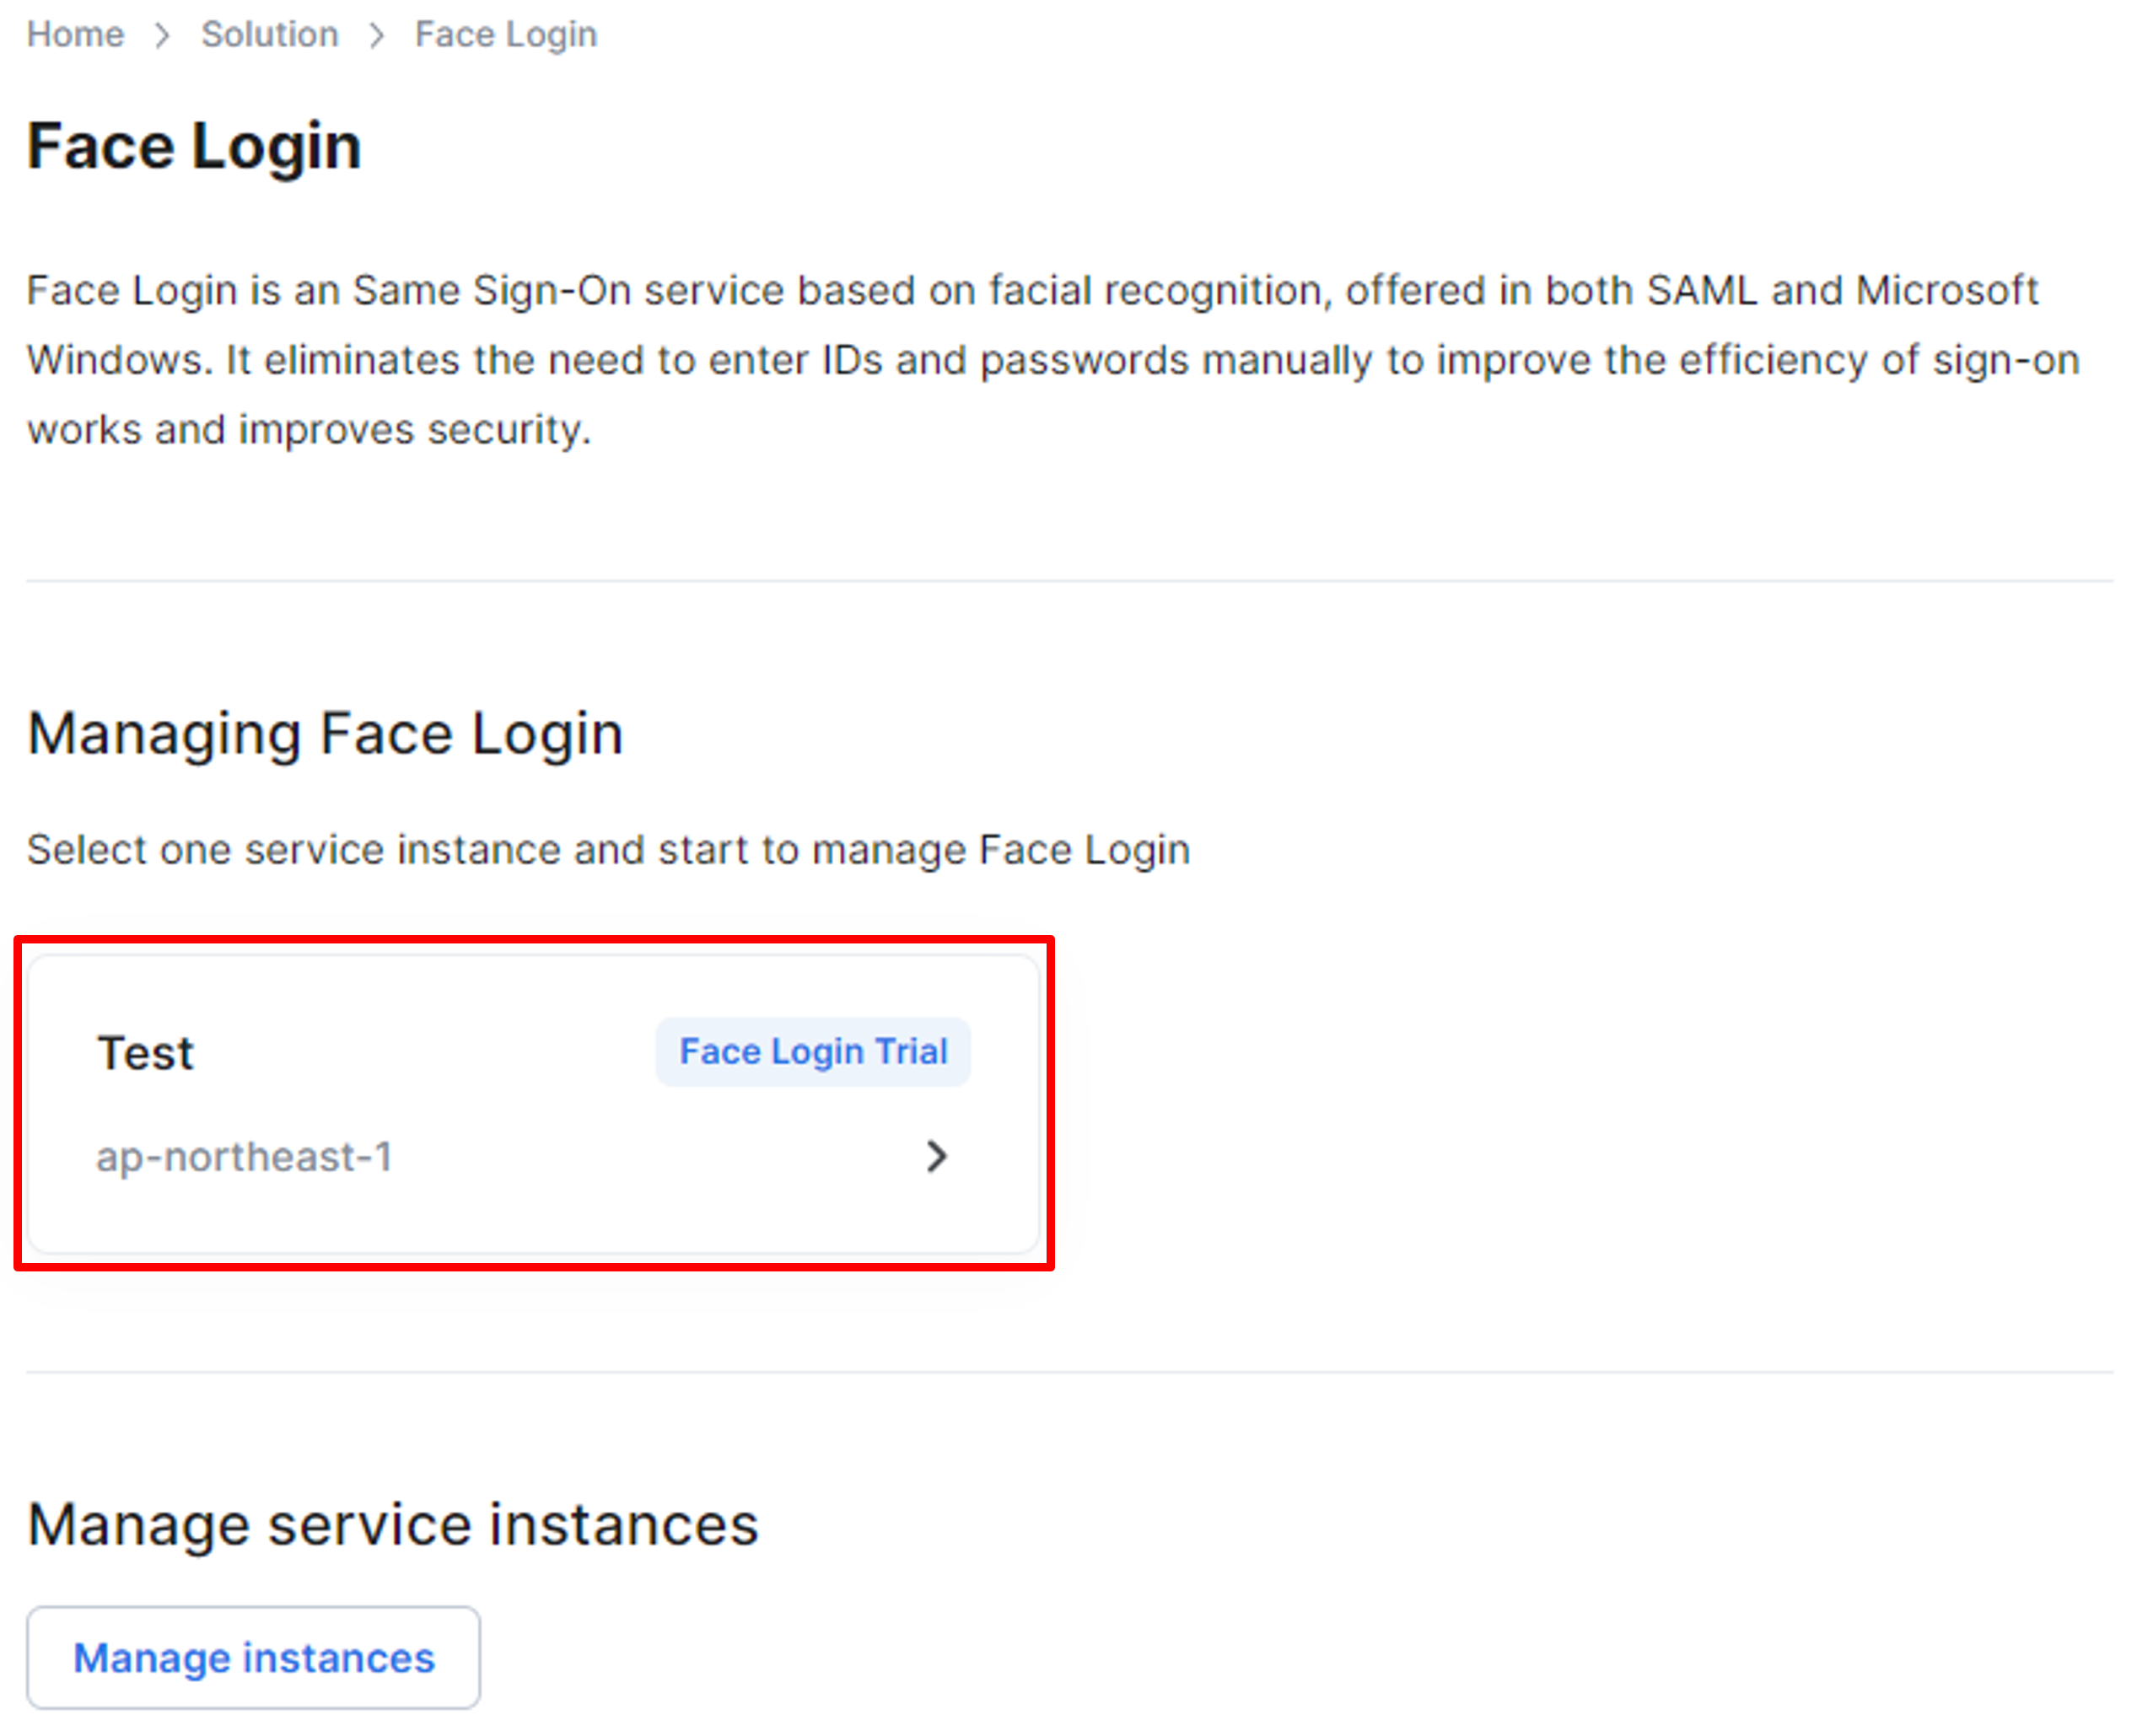
Add an instance
Create a client
After creating a service instance, you need a valid client to use the Face Login service.
- Select the service instance created on the Face Login entrance page, and the client list screen appears. Click the instance tab to display the details of the target instance.
Select an instance
- Click the Add client tab to add a client on the client list screen.
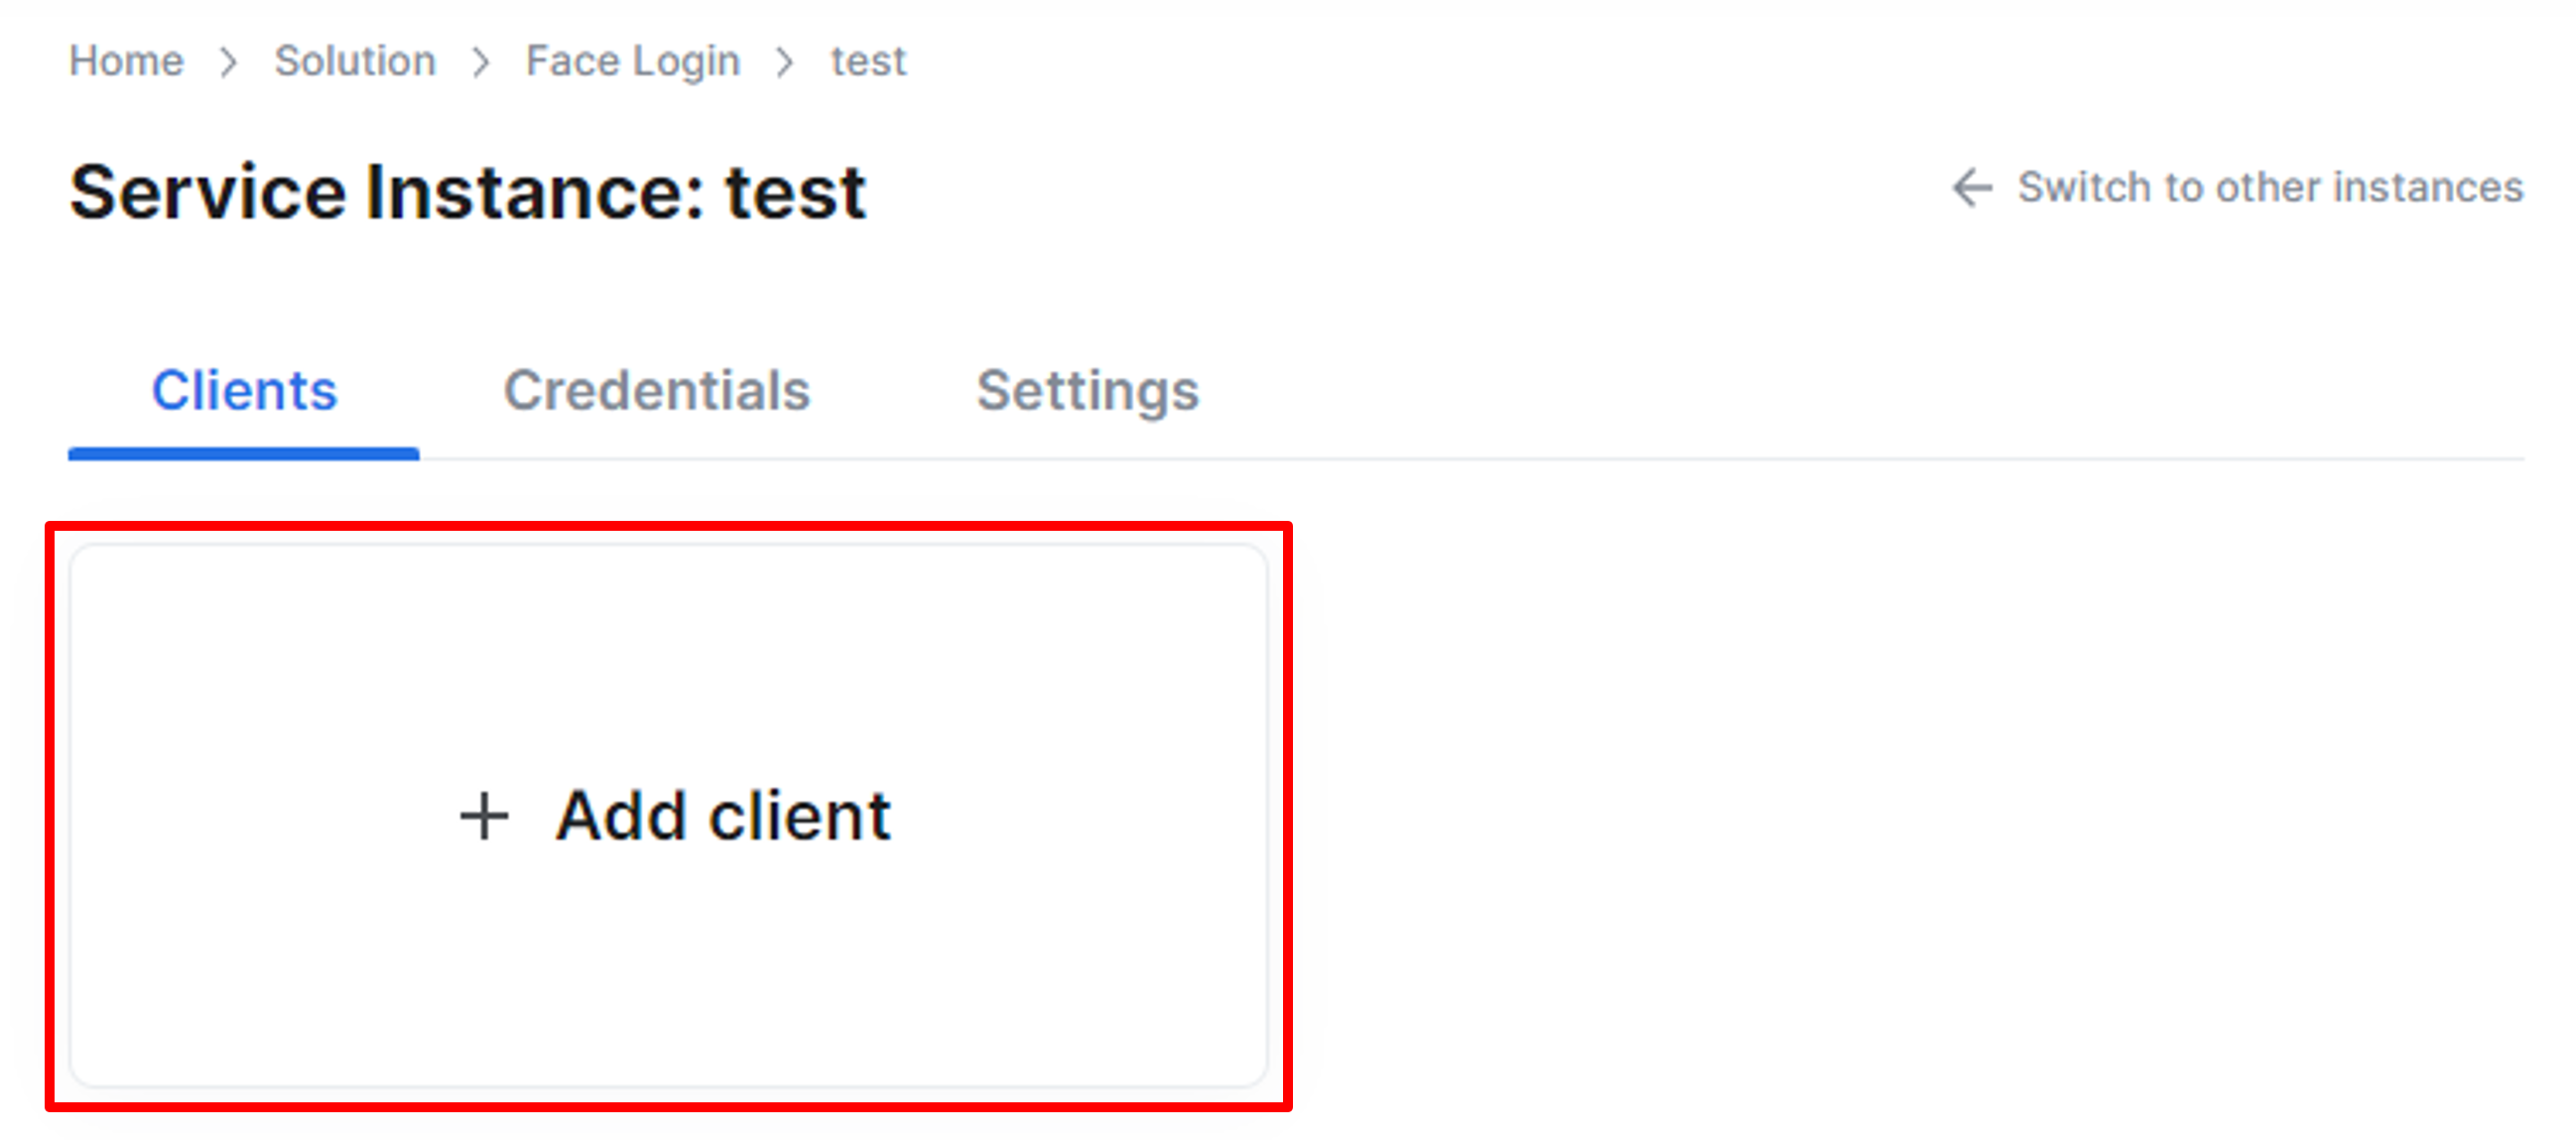
Add a client
- On the Add client screen, enter the required information fields, and click Add to finish adding a client. For some service providers, like Microsoft, Salesforce, etc., you can also upload the SAML SP metadata file to fill up some fields automatically.
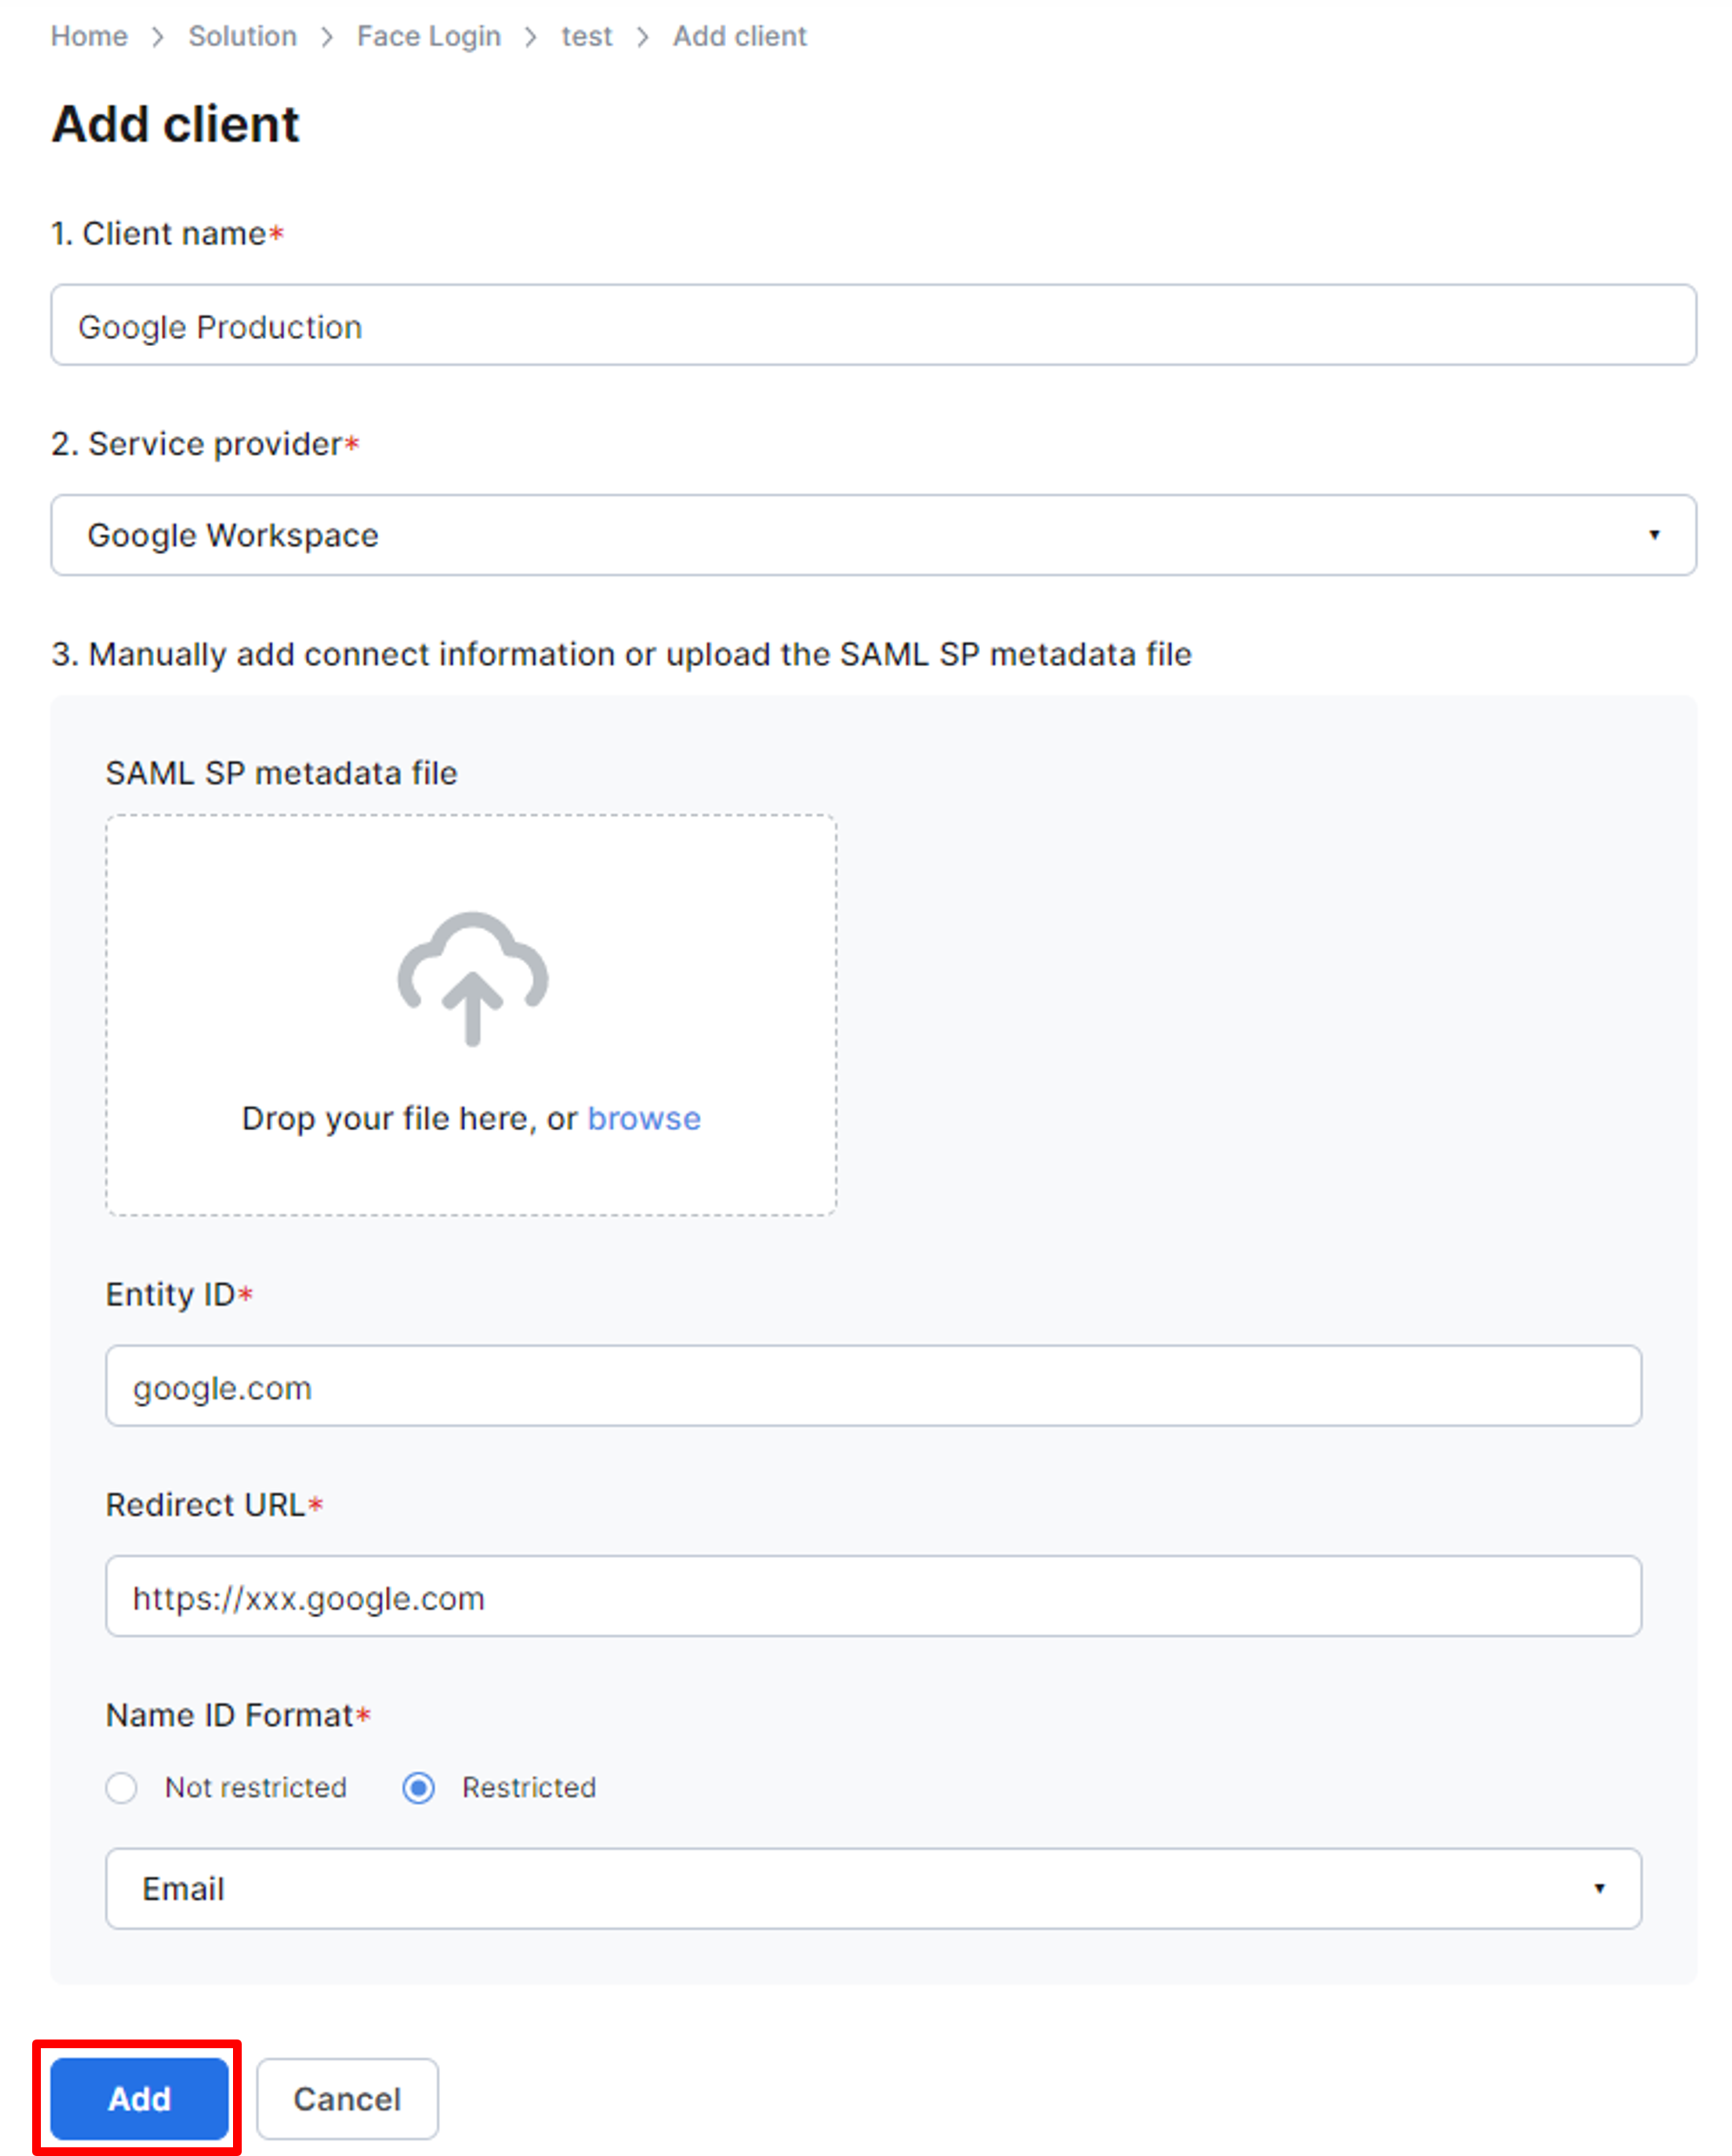
Manually add a client
- After the client is created, you need to do several configurations on the service provider side. Refer to the detailed pages of service providers to complete the setup.
Updated 10 months ago