
ChromeOS
This page provides additional steps to integrate Face Login with ChromeOS for Chromebook based on Google Workspace.
Preparation
Please ensure you have finished the Google Workspace setup as a service provider before moving forward to this section.
Step 1. Enable SAML-based single sign-on for Chrome devices
On the left menu bar of the Google Admin management console, click Devices - Chrome - Settings - Users & browsers to bring up the setting menu.
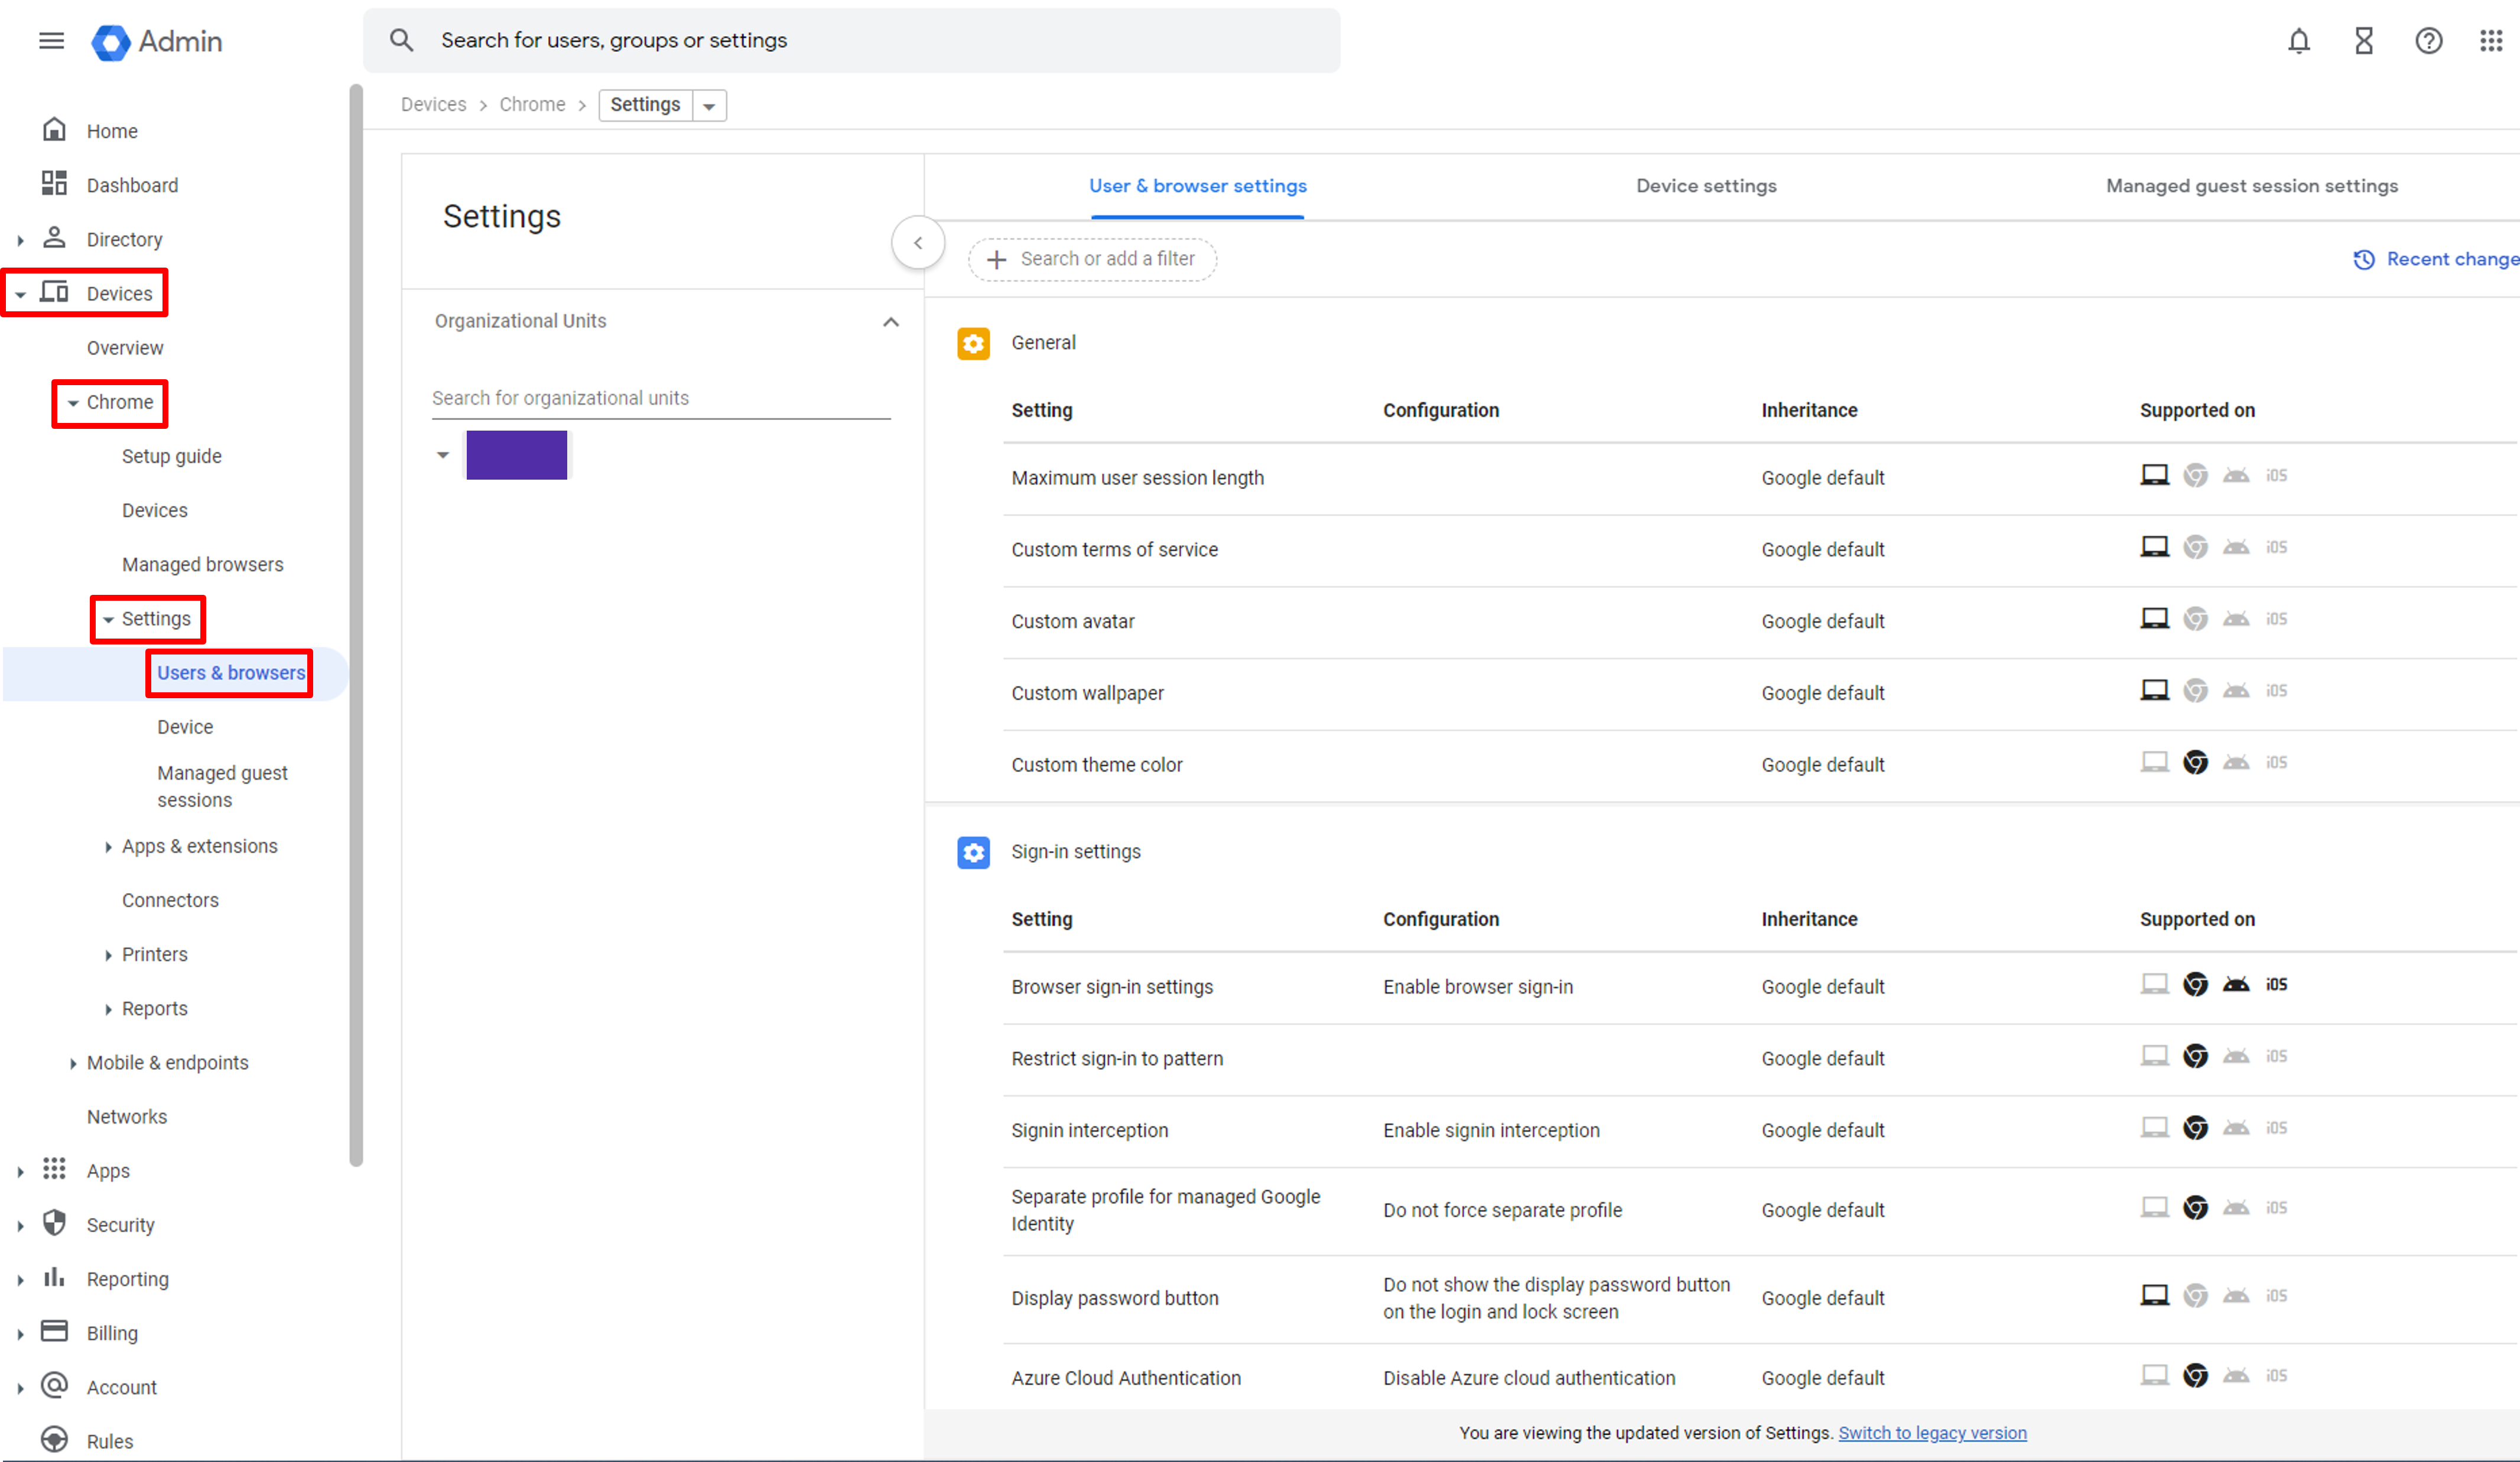
Go to Users & browers Setting
Search for Single sign-on on the filter and click Single sign-on in the security panel.
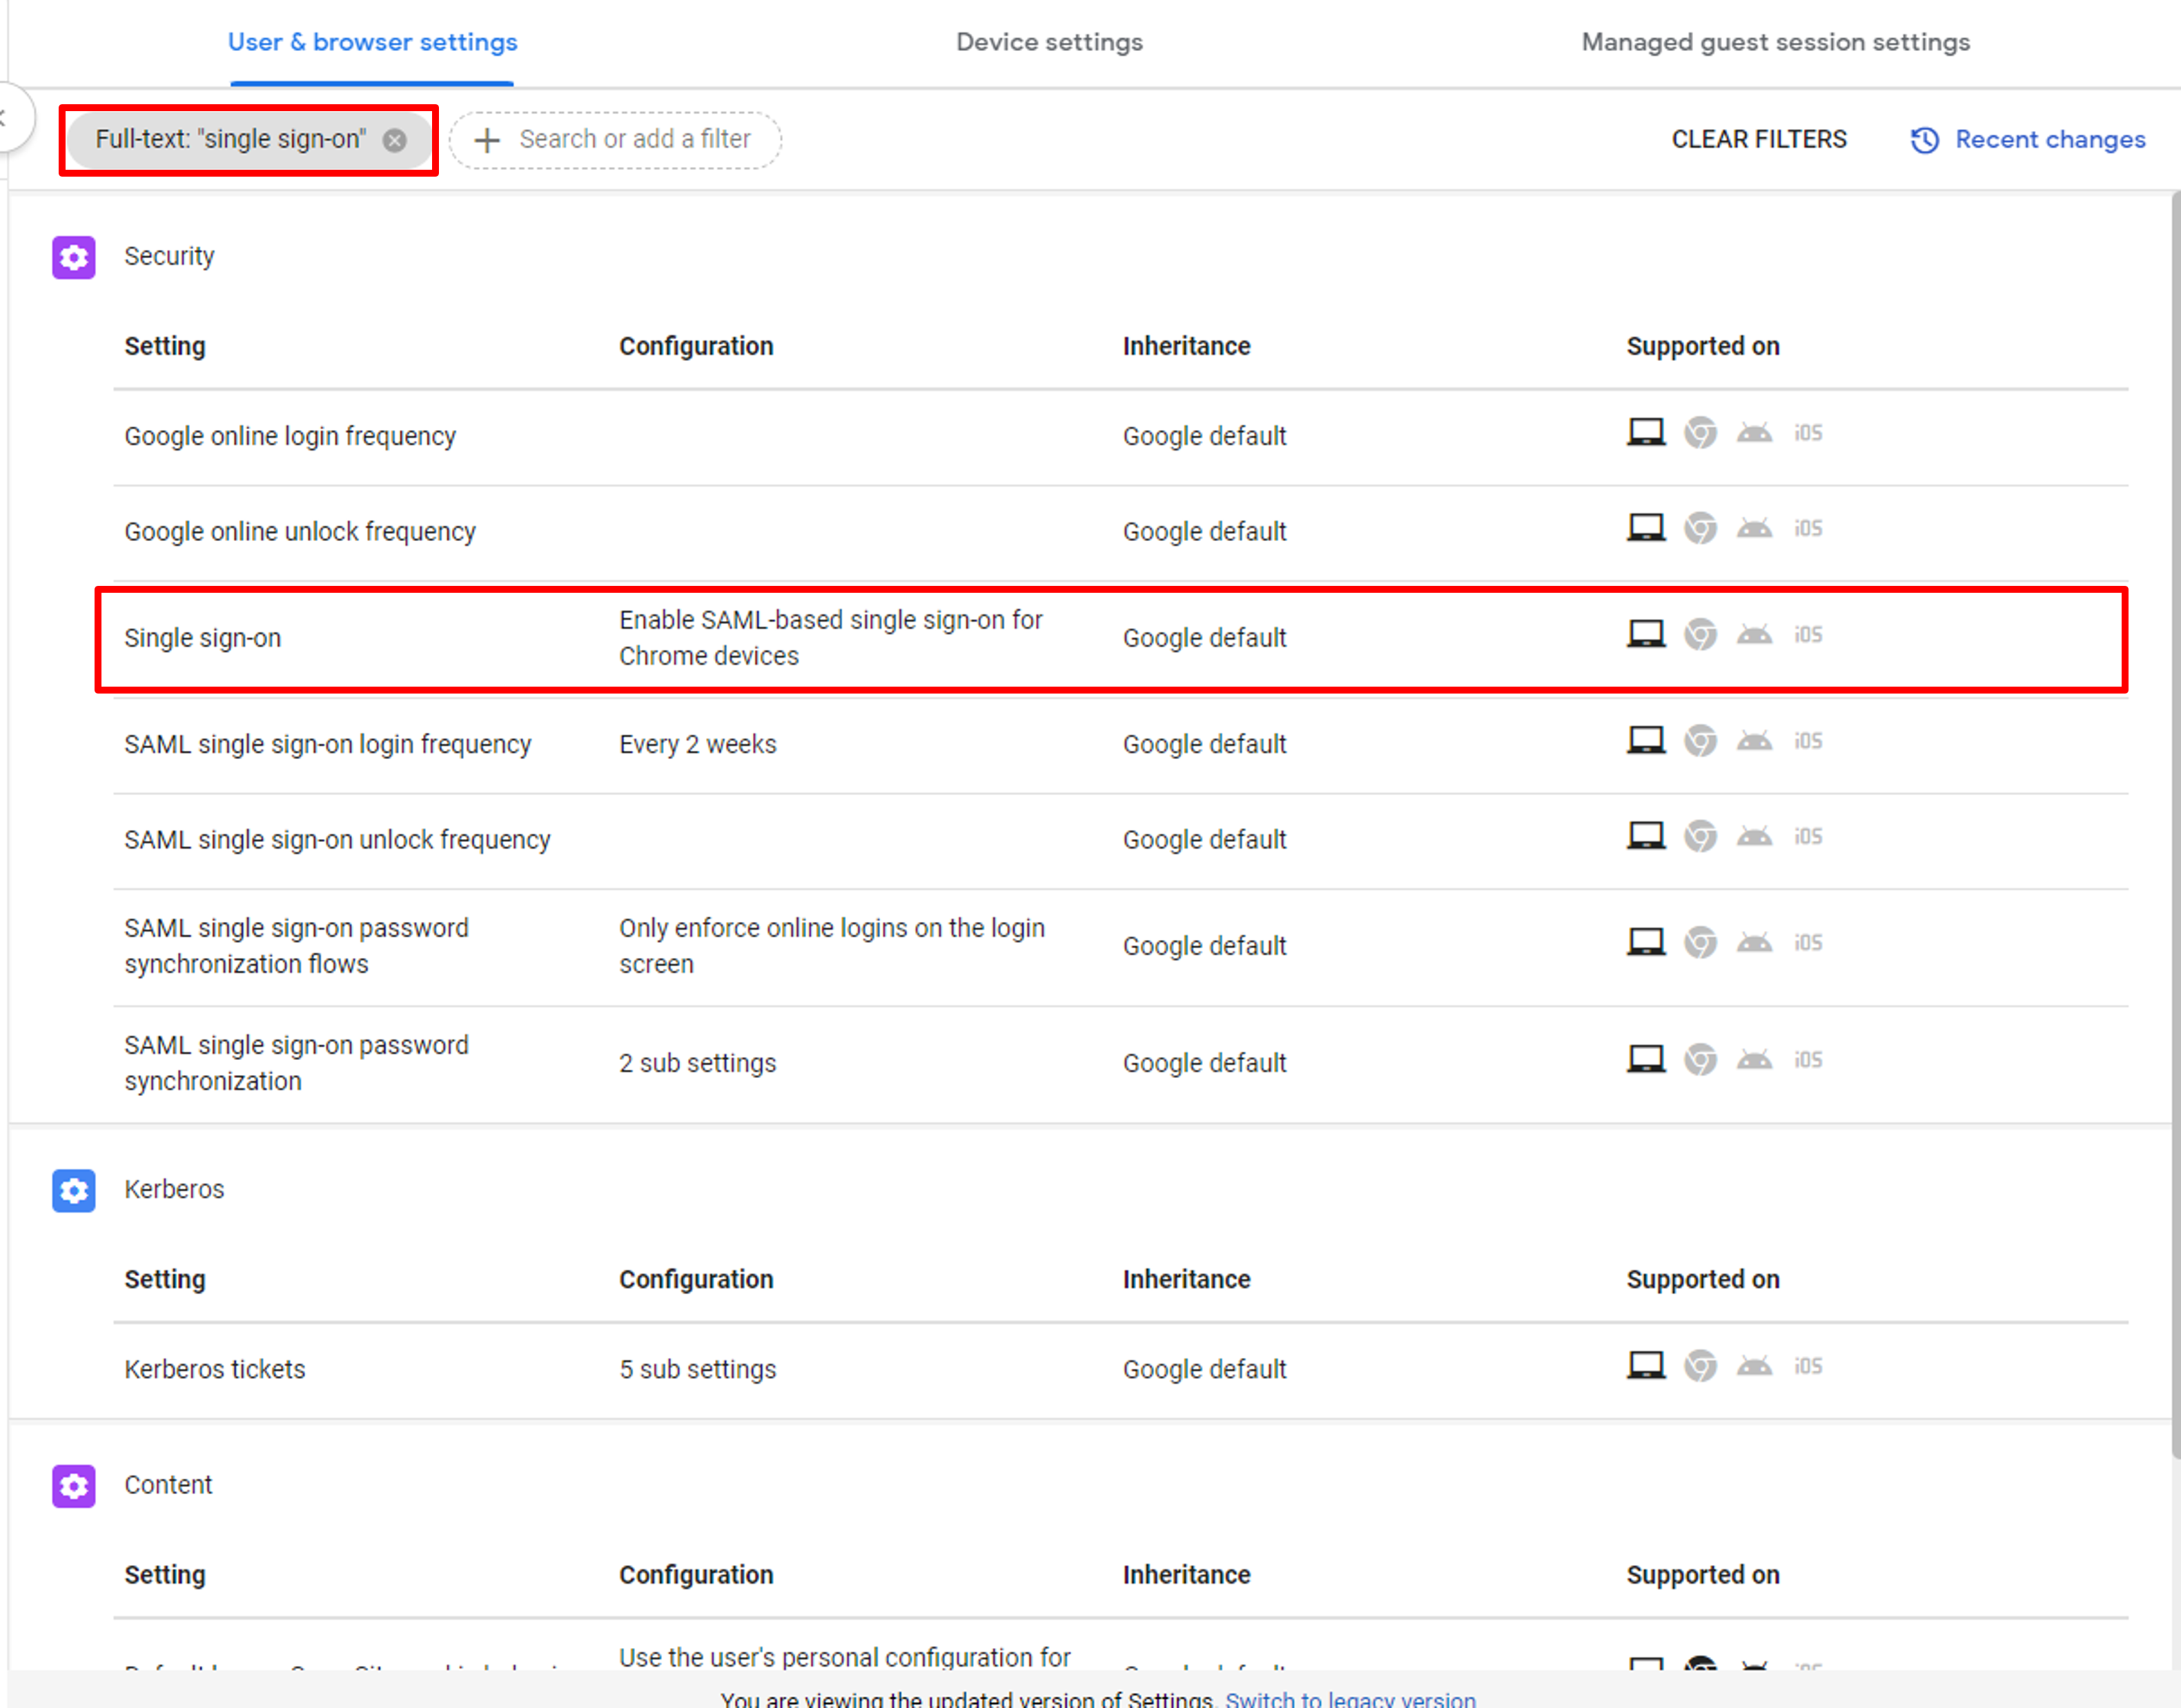
Go to the Single sign-on option
On the setting screen, select Enable SAML-based single sign-on for Chrome devices and save to apply the setting.
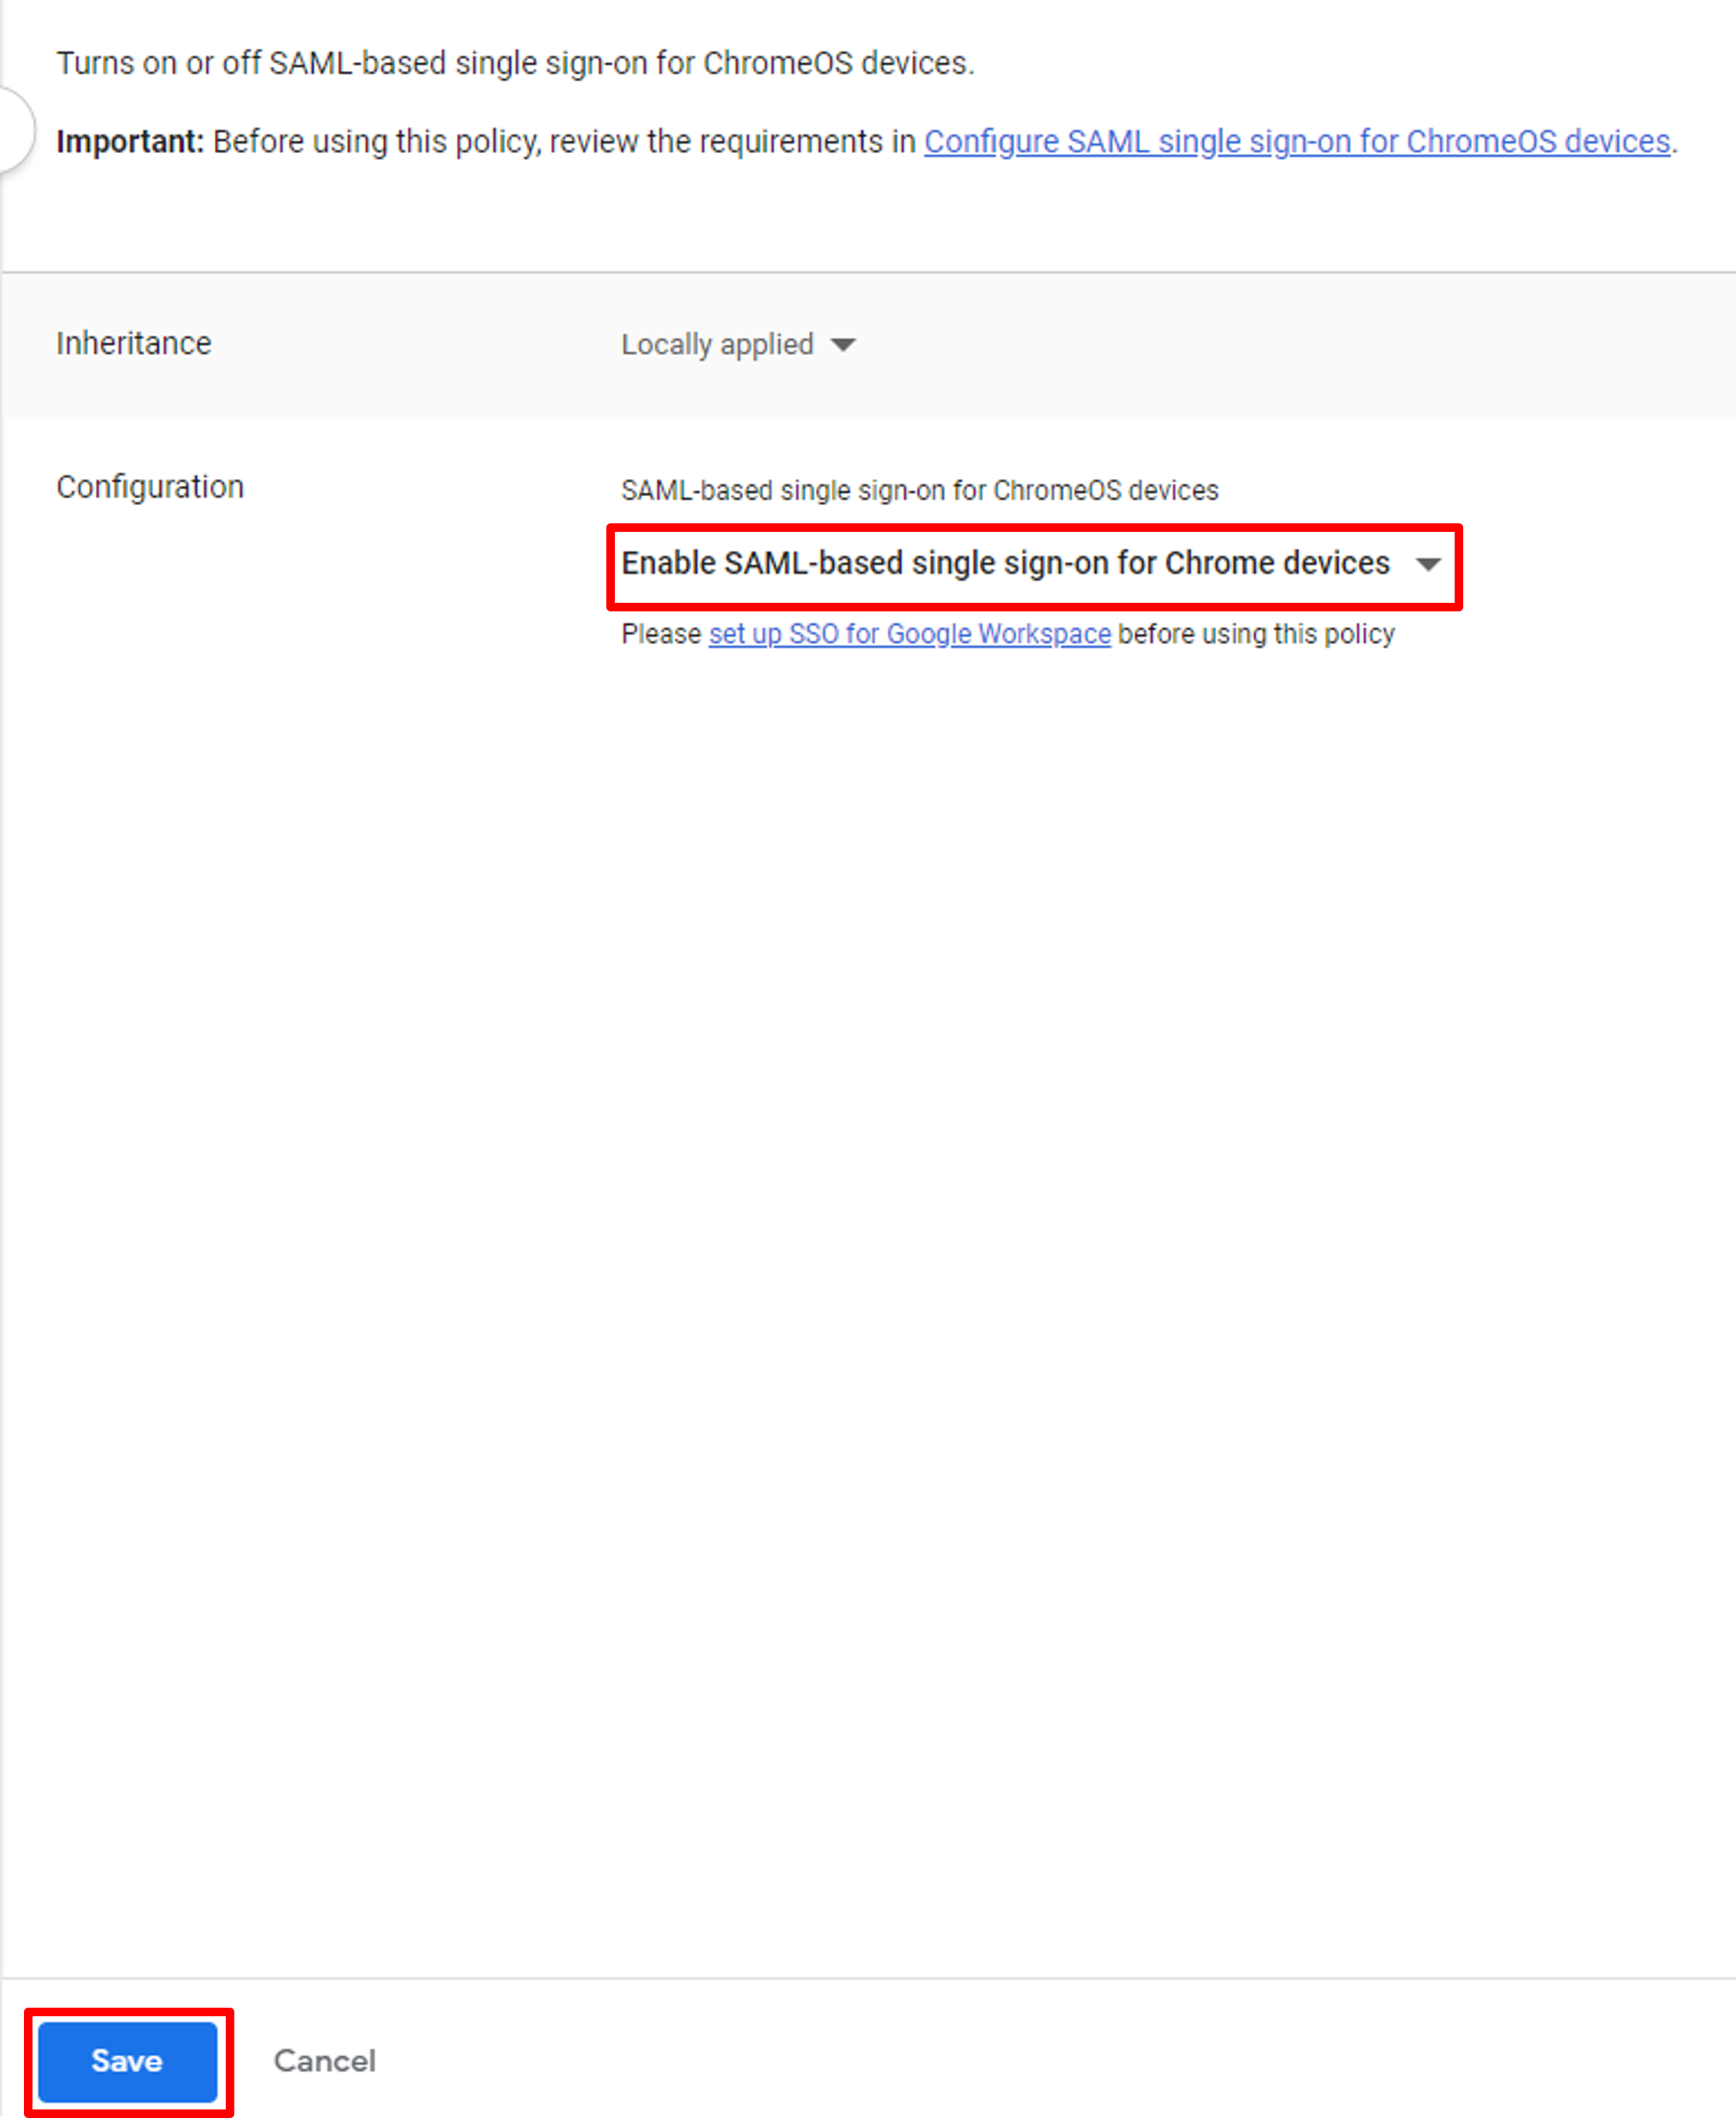
Save SAML SSO setting
There are several other options to improve the user experience. Please refer to the optional steps on the Google help page.
Step 2. Grant camera permissions
On the left menu bar of the Google Admin management console, click Devices - Chrome - Settings - Device to bring up the setting menu.
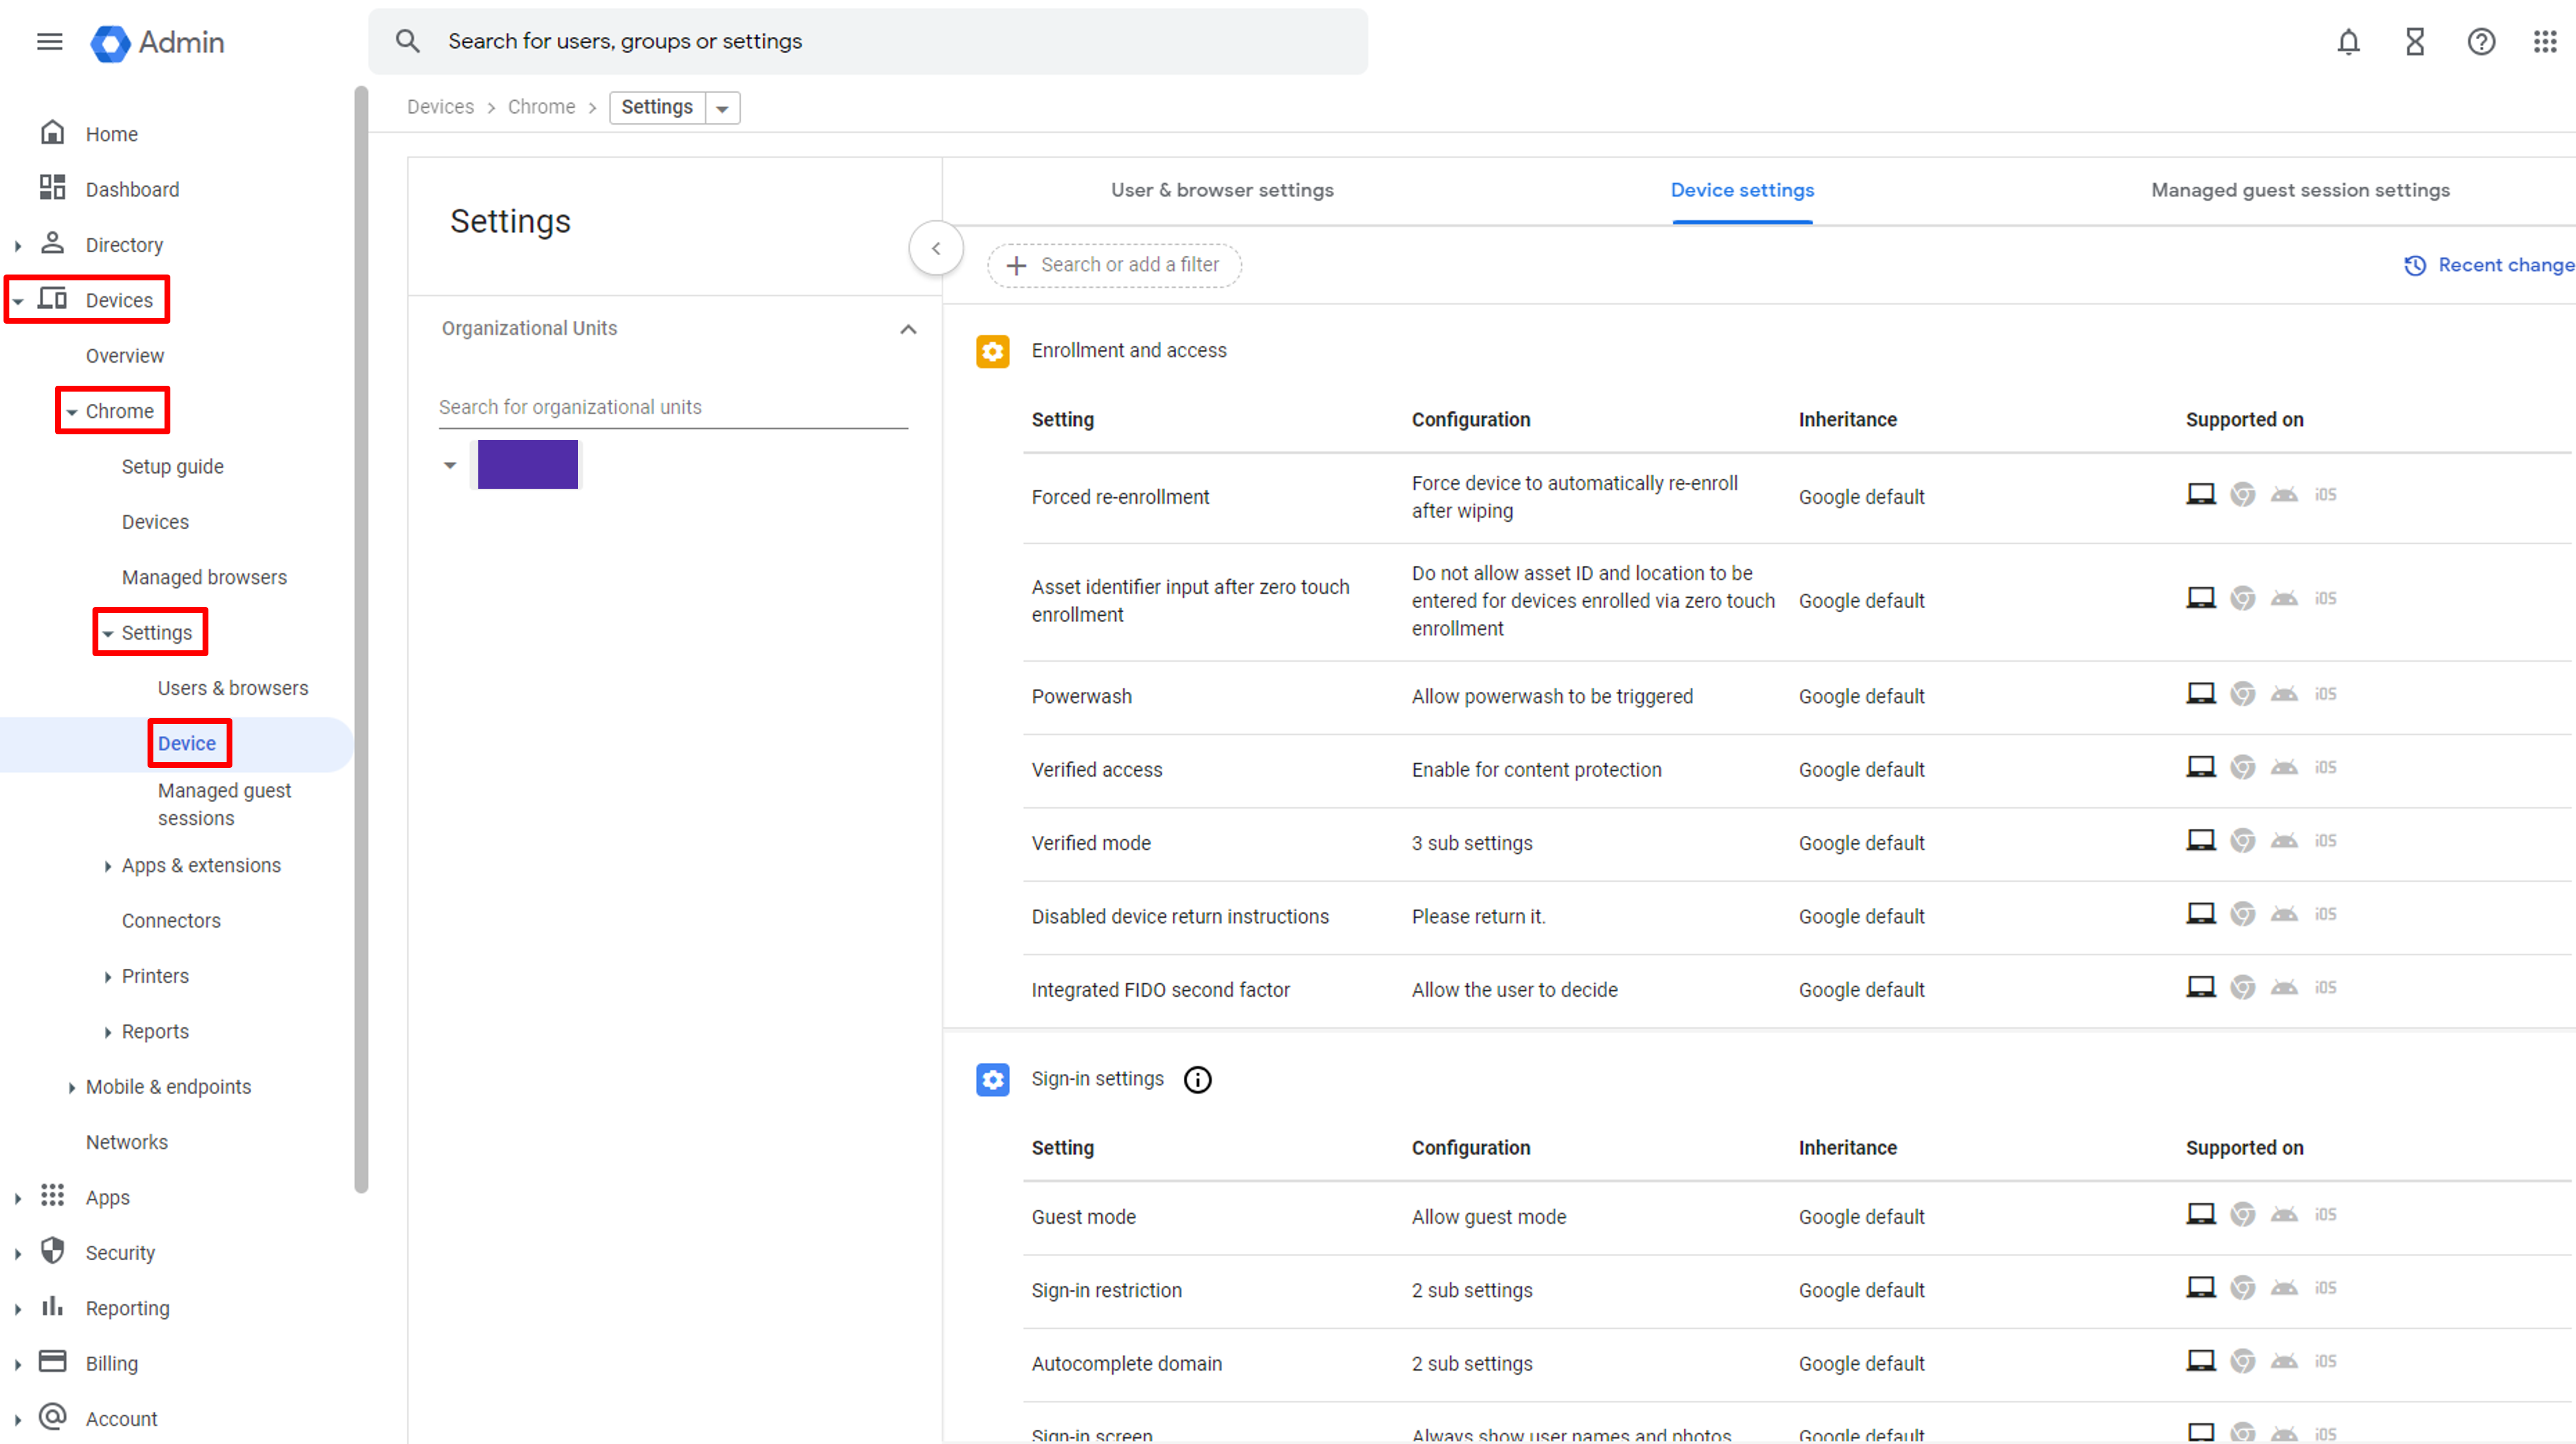
Go to Device Setting
Search for Camera on the filter and click Single sign-on camera permissions in the Sign-in settings panel.
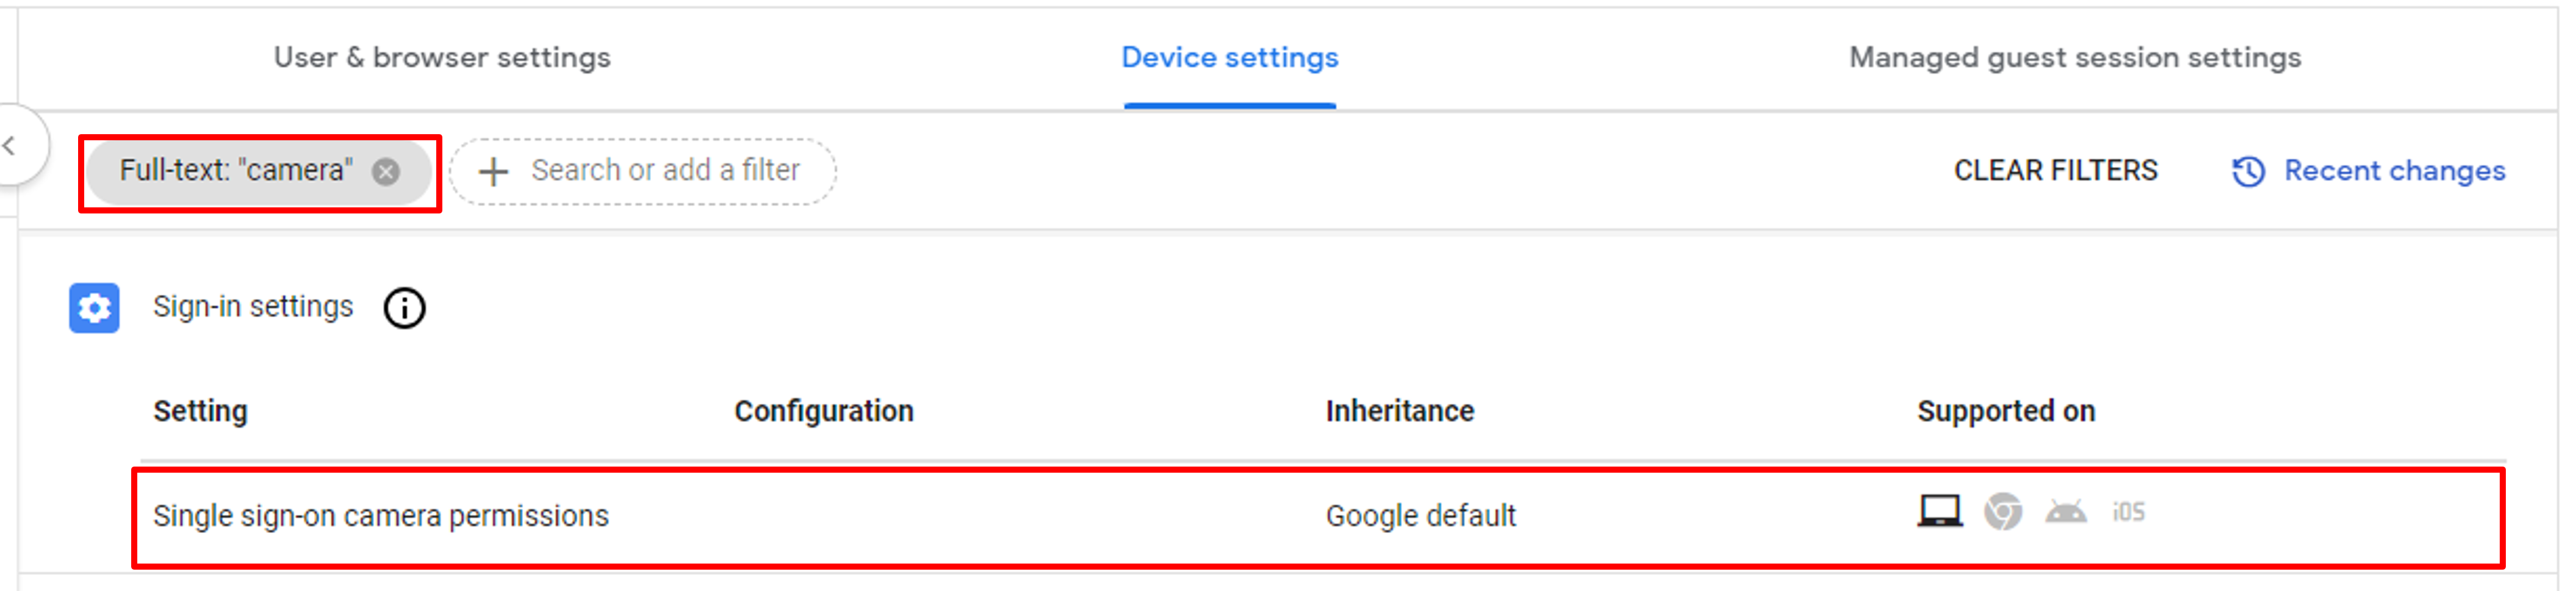
Go to the Single sign-on camera permissions option
On the setting screen, paste the Sign-in Page URL set in the SSO profile and save to apply the setting.
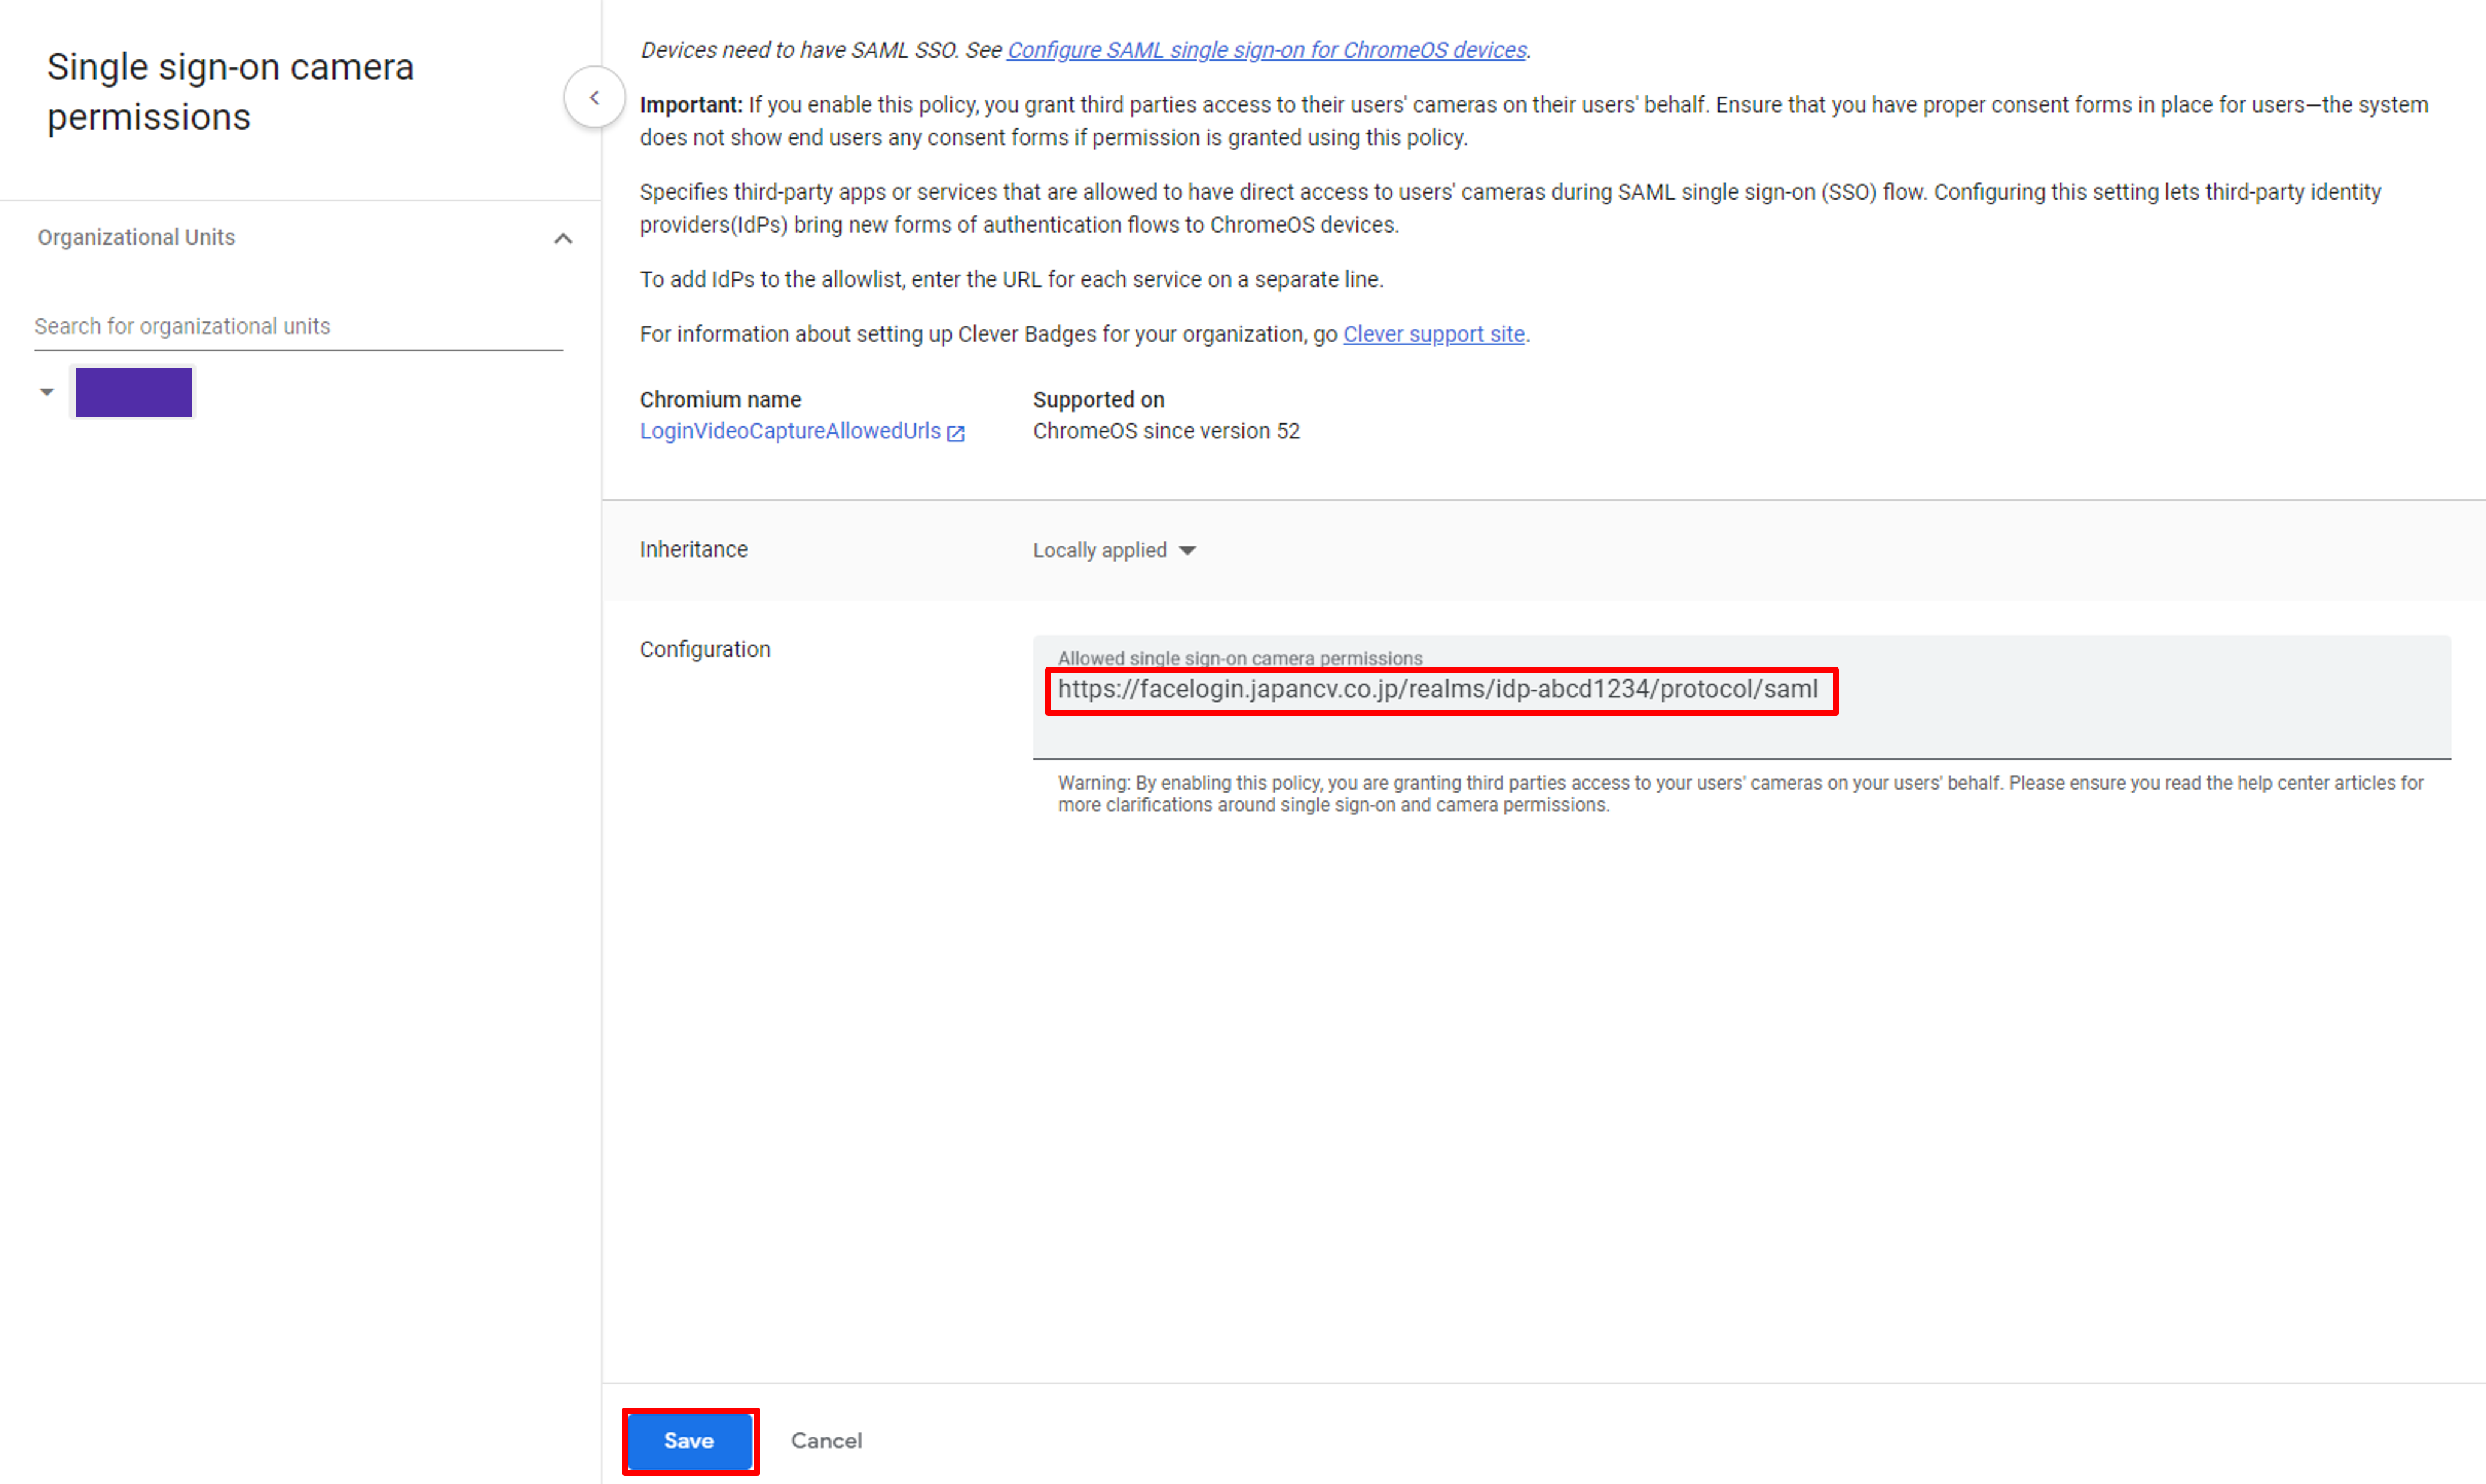
Save camera permission setting
Step 3. Enroll ChromeOS devices
Finally, to start using the Face Login service on your devices, the organization needs to enroll devices in their Google Workspace. Refer to the Google help page for details.
Updated 11 months ago