
Quick Start
This page provides a quick start guide on using Identity Manager.
For ordering subscriptionPlease contact JCV sales to make subscriptions.
The online subscription will be available soon.
Create a service instance of Identity Manager
To start using Identity Manager, you must have a service instance first.
- Sign in to the management console of JCV Cloud (https://cloud.japancv.co.jp/en/signin).
The dashboard screen appears.
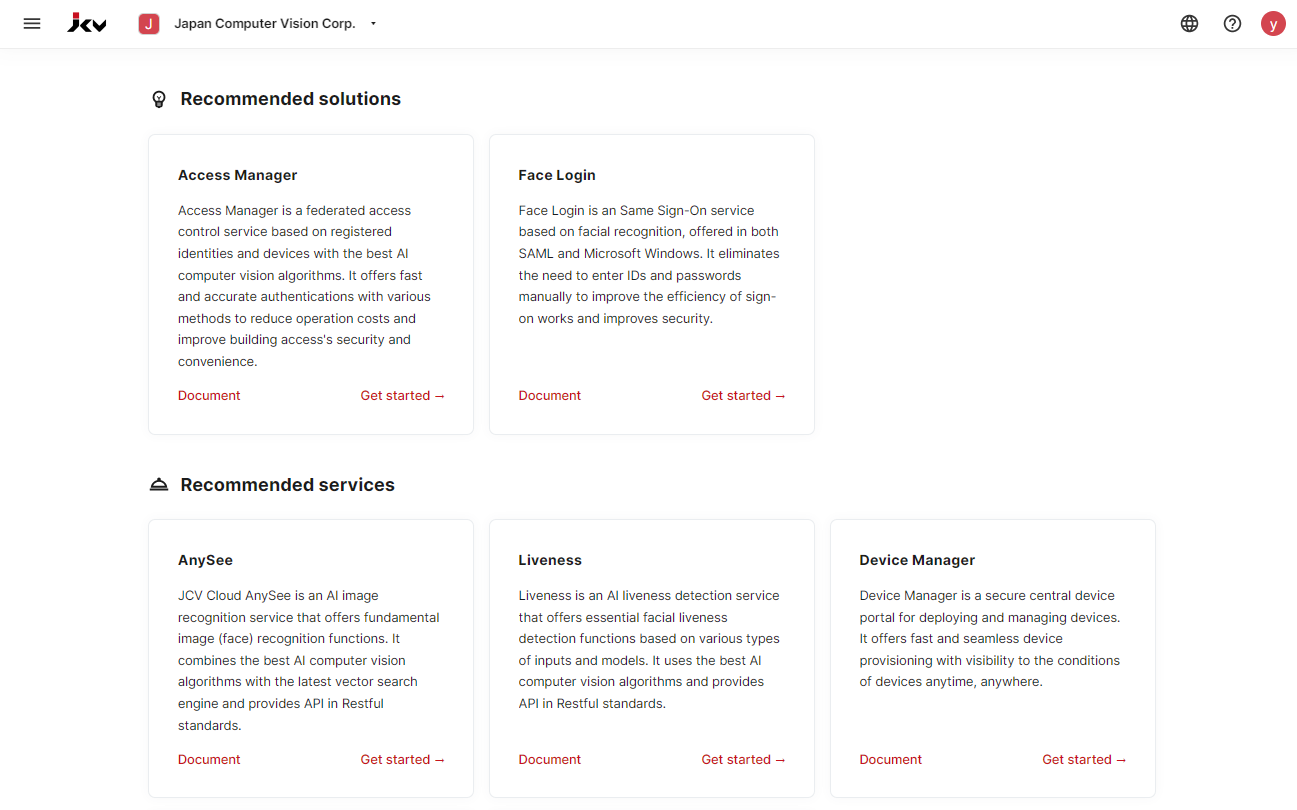
Dashboard
- Select an organization from the top bar by clicking the Select an organization.
The hamburger button appears on the left. - Click the hamburger button to show the list of services.
Click Elements - Identities to enter the initial setup page of Identity Manager.
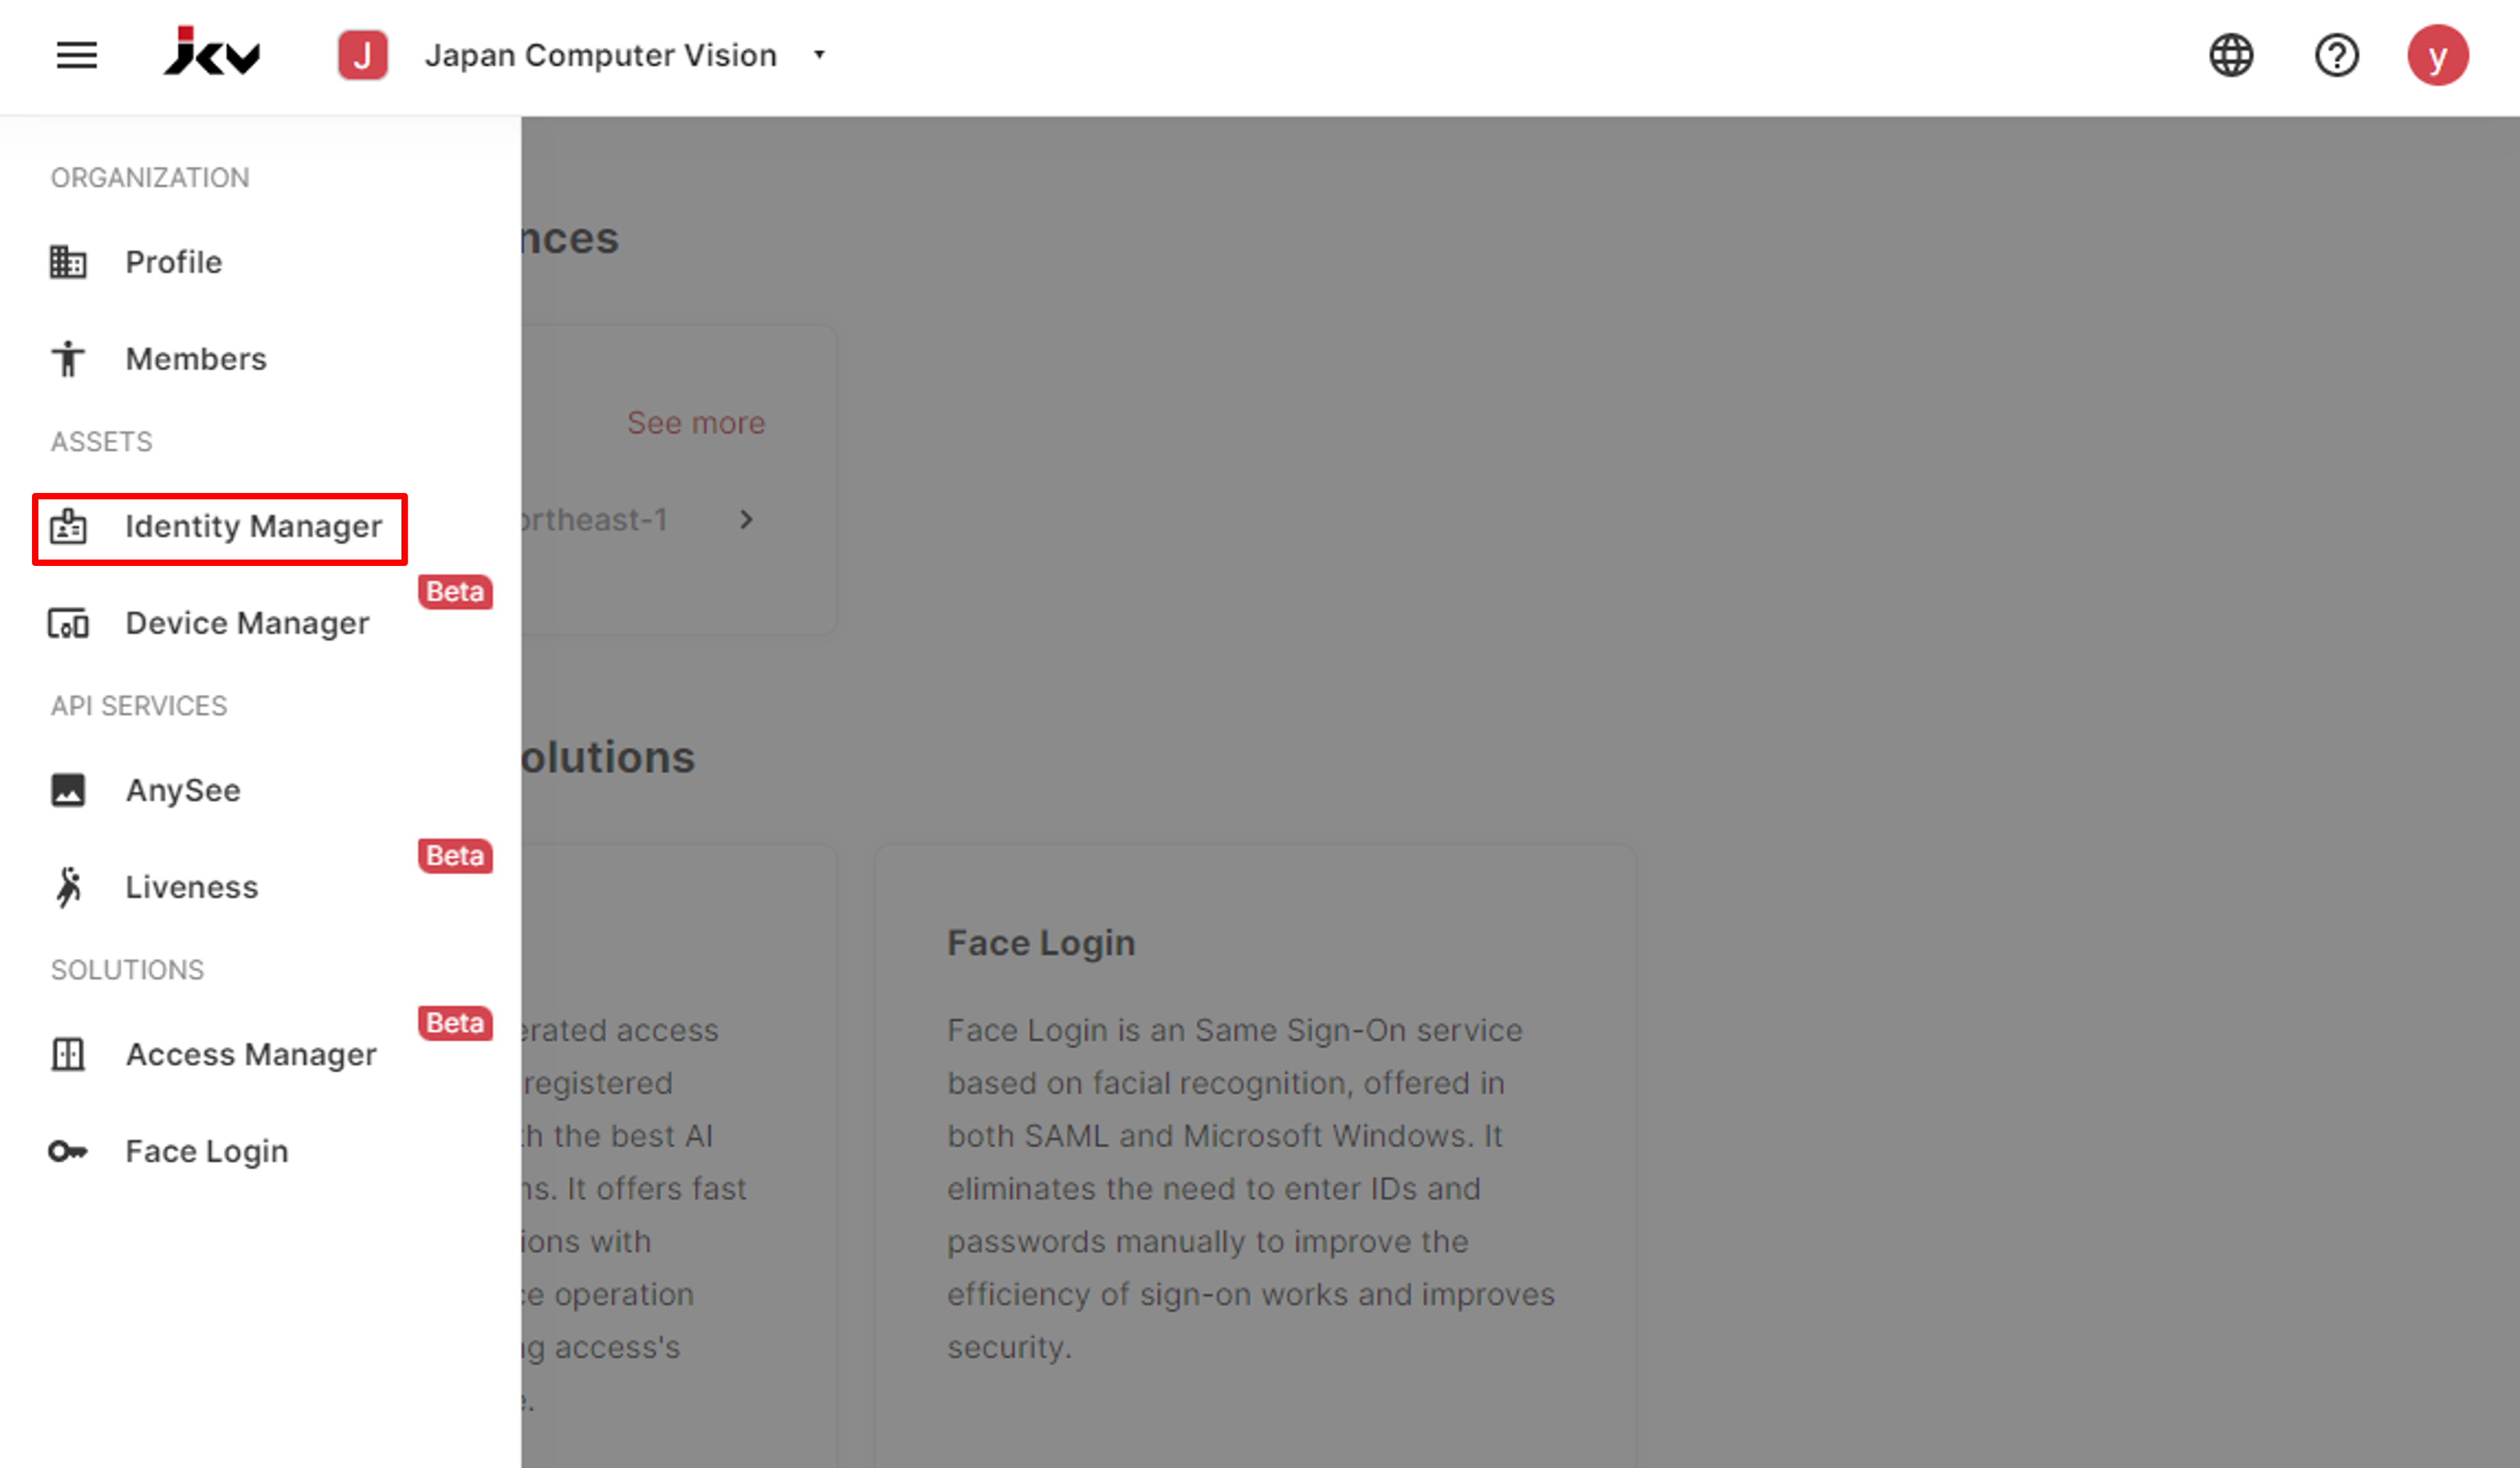
Service list
- On the service instance creation page, select the service region, select the service plan, enter a service instance name, and check the "I agree to the JCV Cloud Service Terms of Use". Then click the Add instance button to finish creating a service instance.🎉
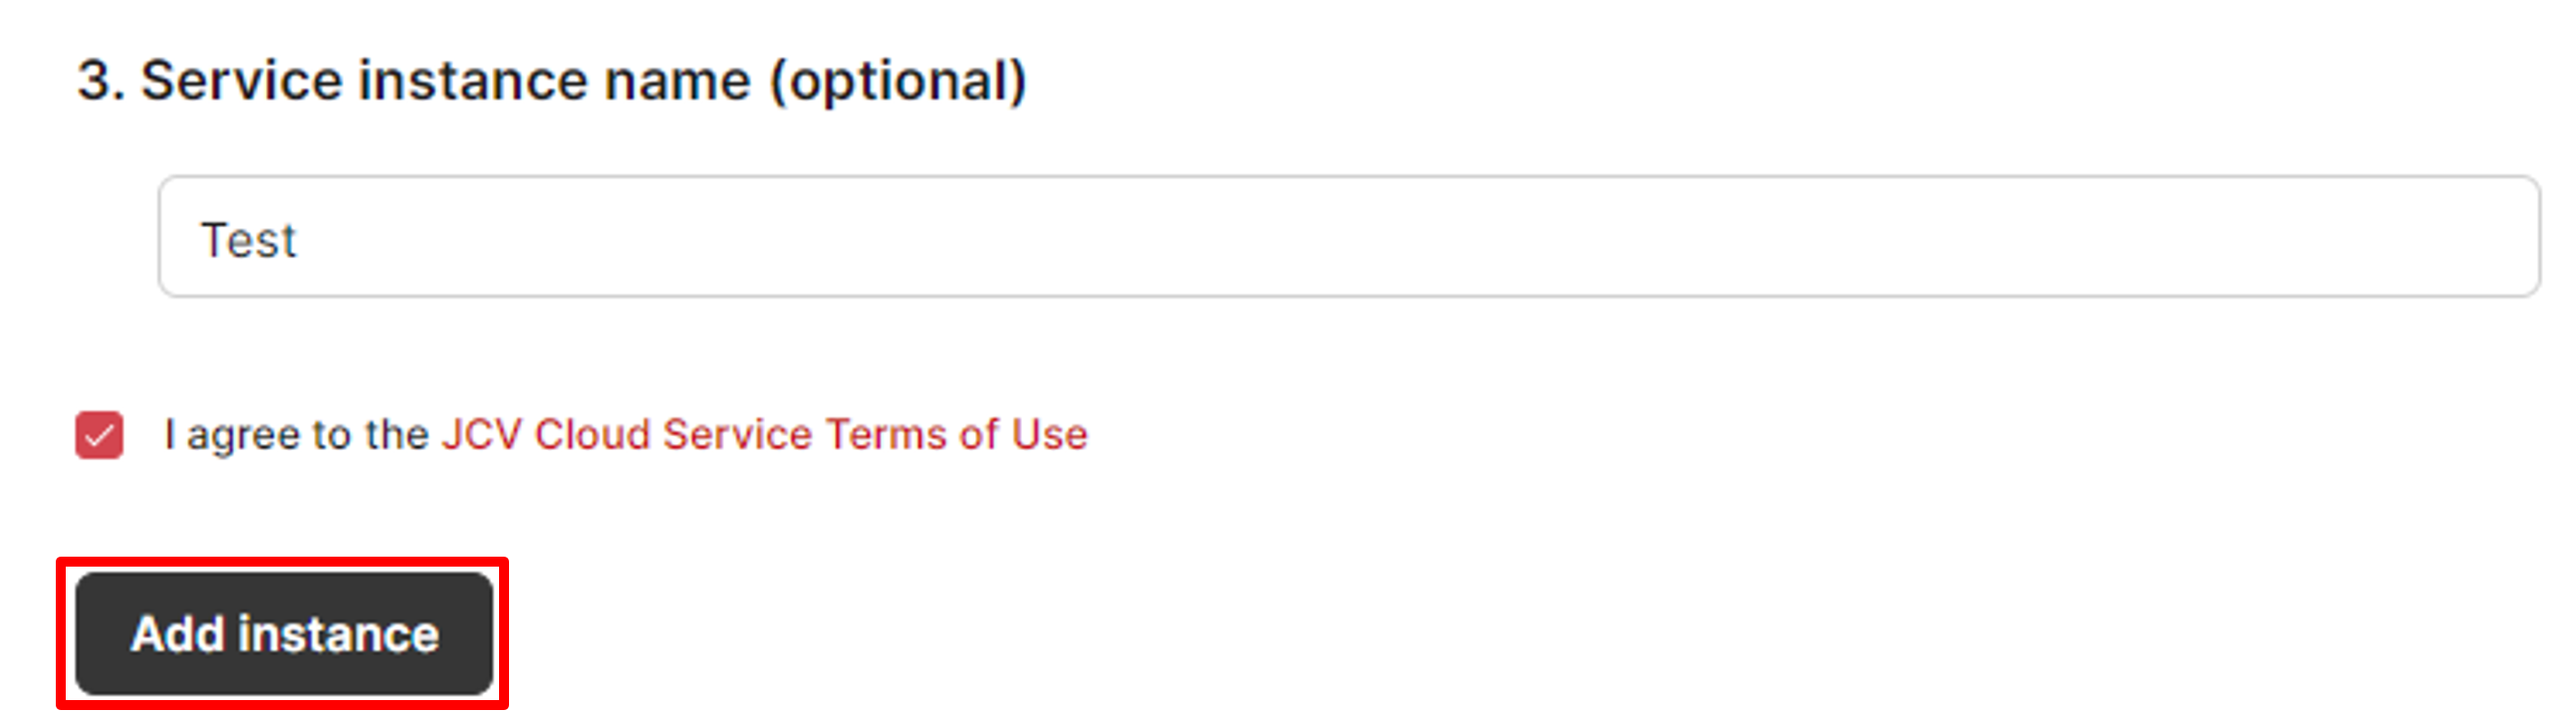
Add an instance
Enter a service instance
After creating a service instance, you can enter a service instance to start managing identities.
- Select the service instance created on the Identity Manager entrance page, and the identity list screen appears.

Enter a service instance
- On the identity list screen, click Add Identity to add a single identity.
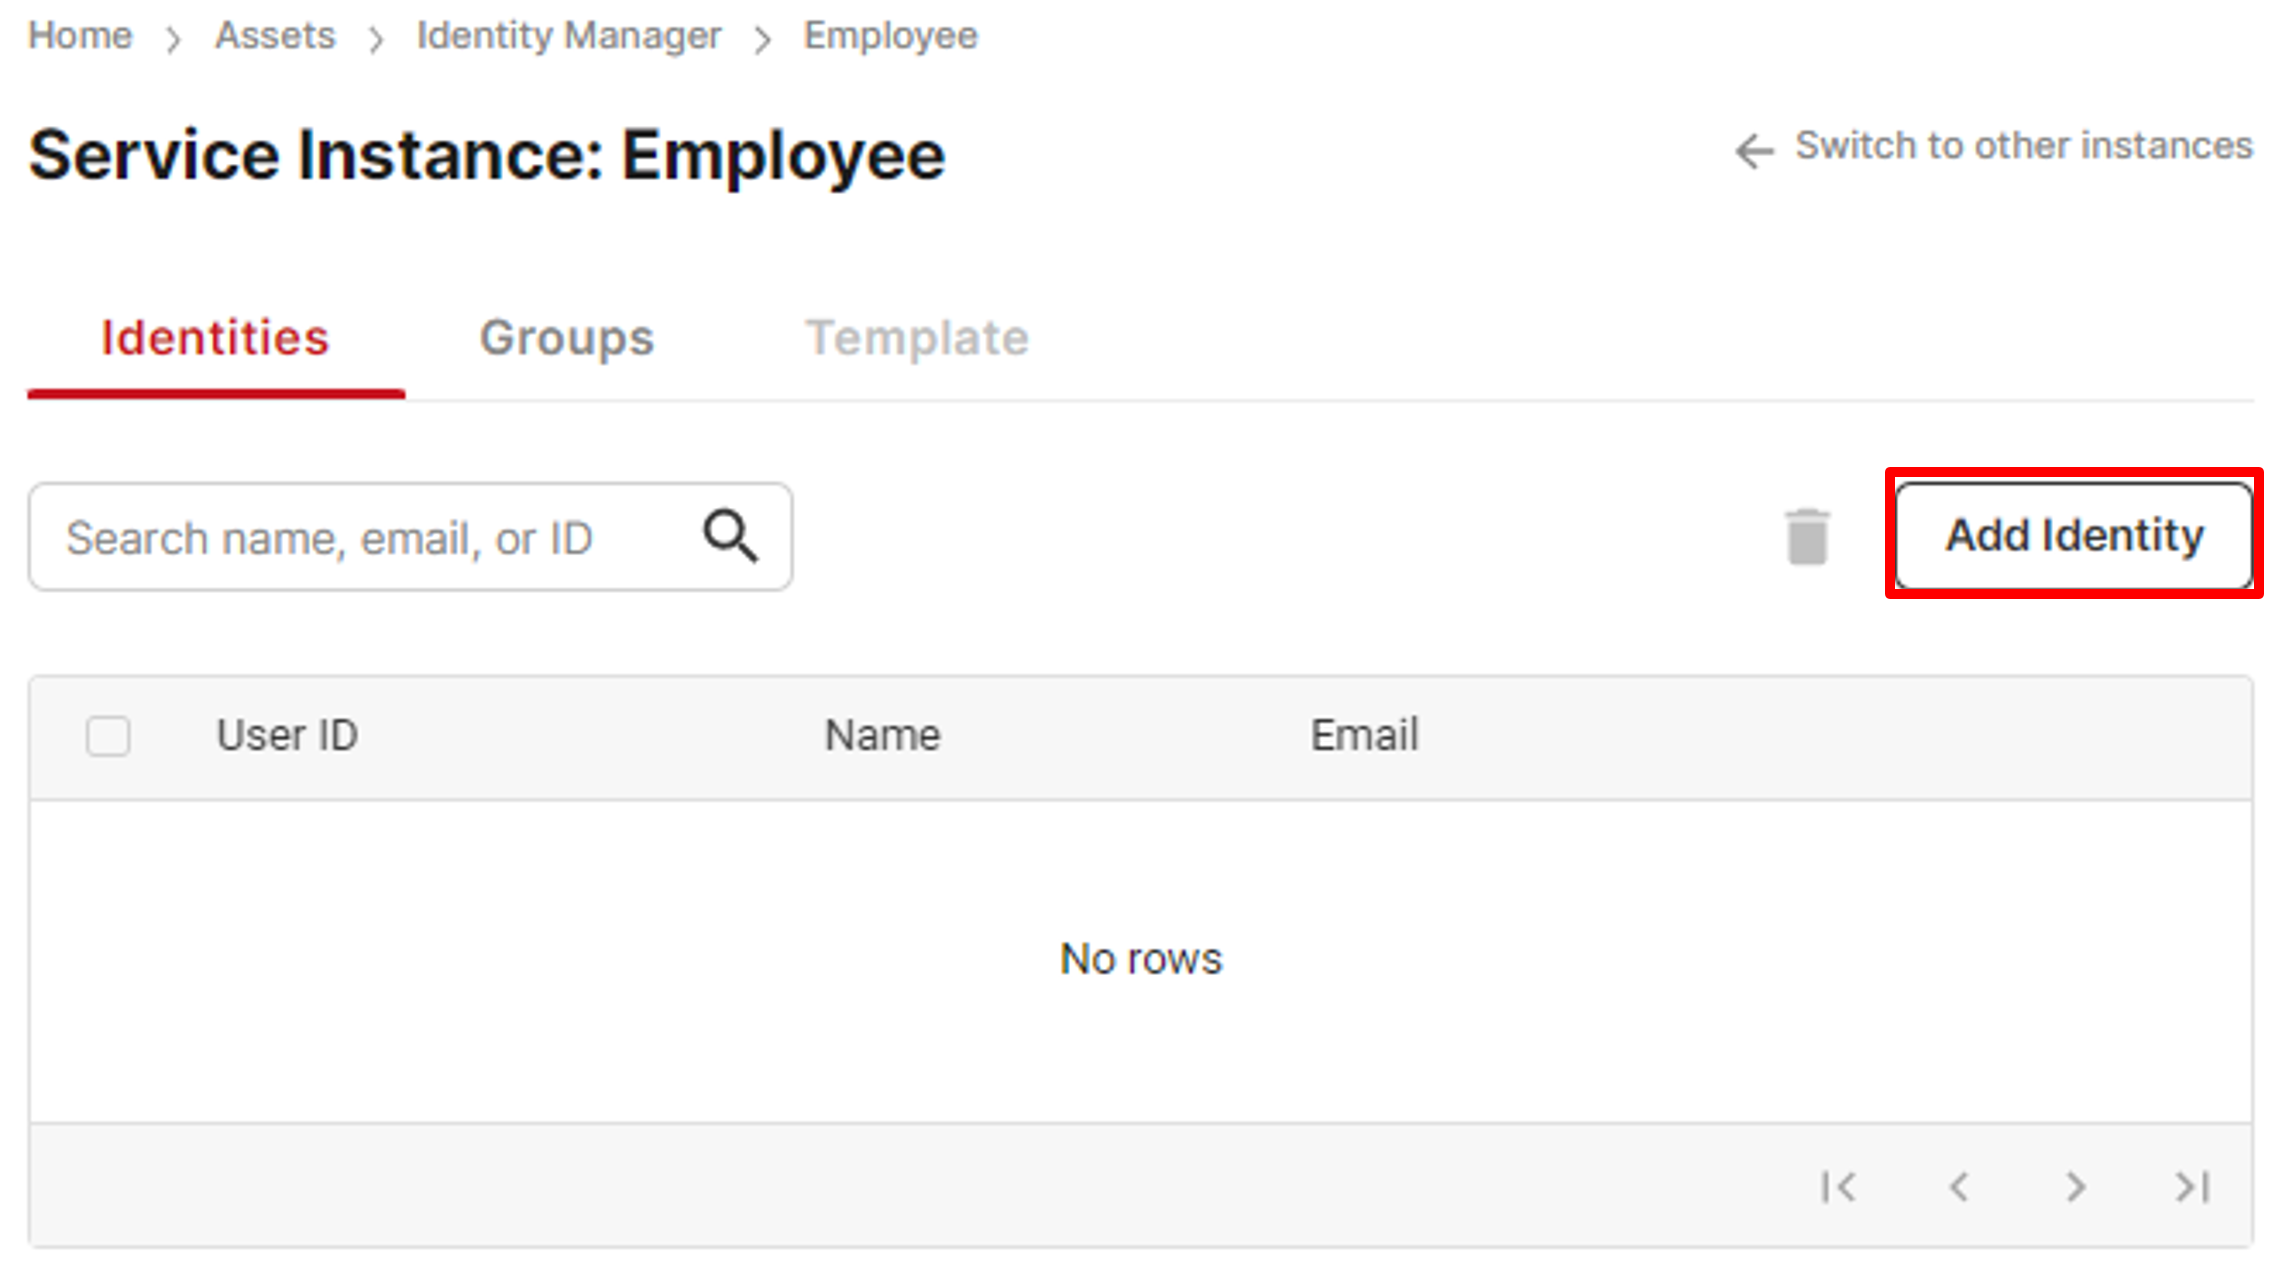
Identity list
- On the Add Identity screen, click the human icon to upload a photo of the identity owner.
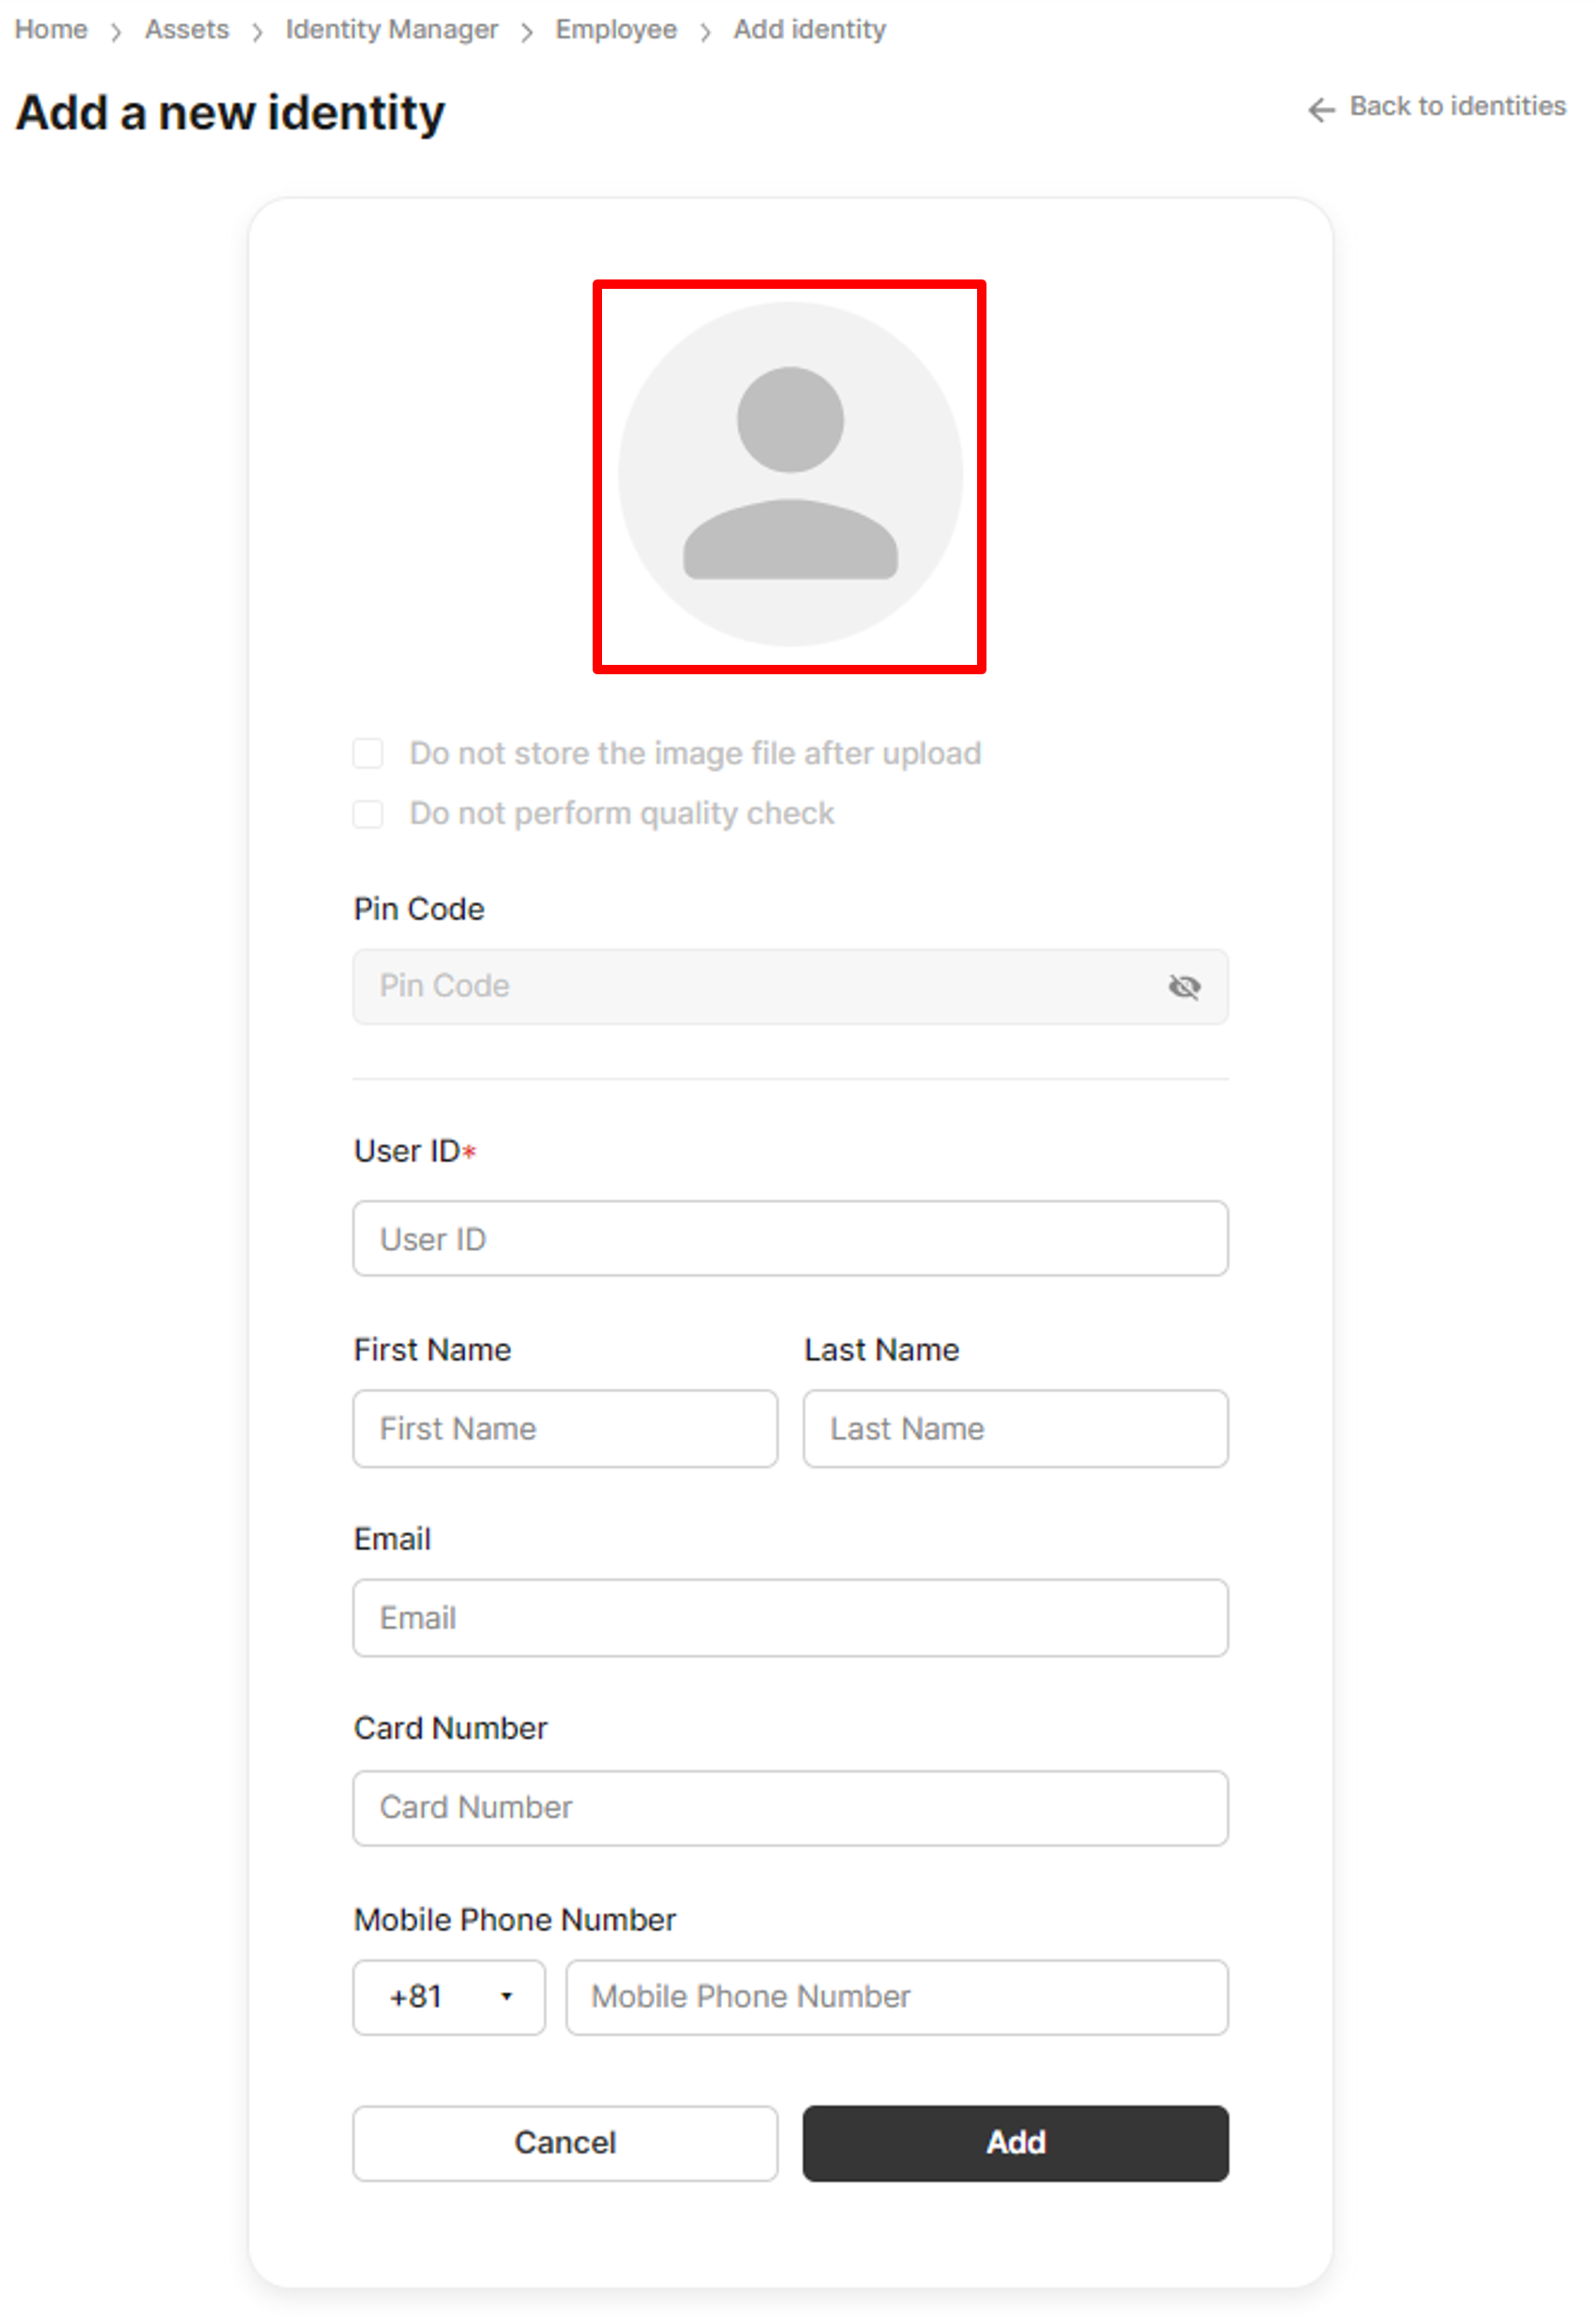
Upload a photo
- Fill up the other information fields, and click Add to finish adding an identity.

Add an identity
You have successfully added identity, and you can find this record on the identity list screen. 🎉
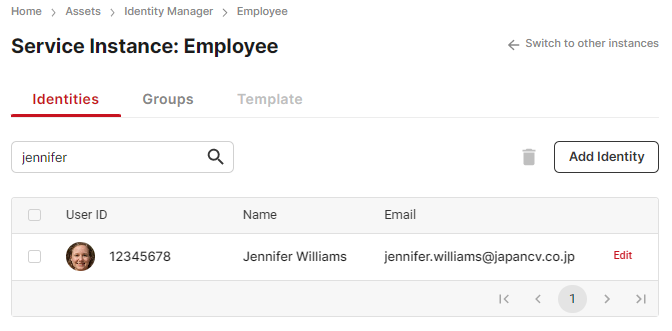
Registered identity list
Updated 10 months ago