
Quick Start
This page provides a quick start guide on using Lobby Base APP.
For ordering subscriptionPlease contact JCV sales to make subscriptions.
The online subscription will be available soon.
Prepare instances
Please ensure you have cleared the following items before setting up the Lobby Base APP.
Prepare a service instance of Identity Manager Professional
To start using Lobby Base APP, you must have a Identity Manager Professional service instance first.
Refer to this section for setting up the instance.
Prepare a service instance of Device Manager
To start using Lobby Base APP, you must have a Device Manager service instance first.
Refer to this section for setting up the instance.
Create an Identity group
The Lobby Base APP restricts access to a specific range of identity groups filtered by their prefixes. To start using the APP correctly, create an identity group starting with guest-, for example, "guest-Main Gate".
For more details on creating an identity group, please refer to this section.
Enroll in a device group
The Lobby Base APP relies on Device Manager for configuration and software updates. To register the device to JCV Cloud, create a device group in Device Manager first. Then create a QR code for the device group. Finally, register the device by scanning the QR code.
For more details on enrolling a device, please refer to this section.
Create an Identity Manager API key
You need an API key in Identity Manager to put it into the APP configuration page.
- Click the hamburger button to show the list of services.
Click Elements - Identities to enter the initial setup page of Identity Manager.
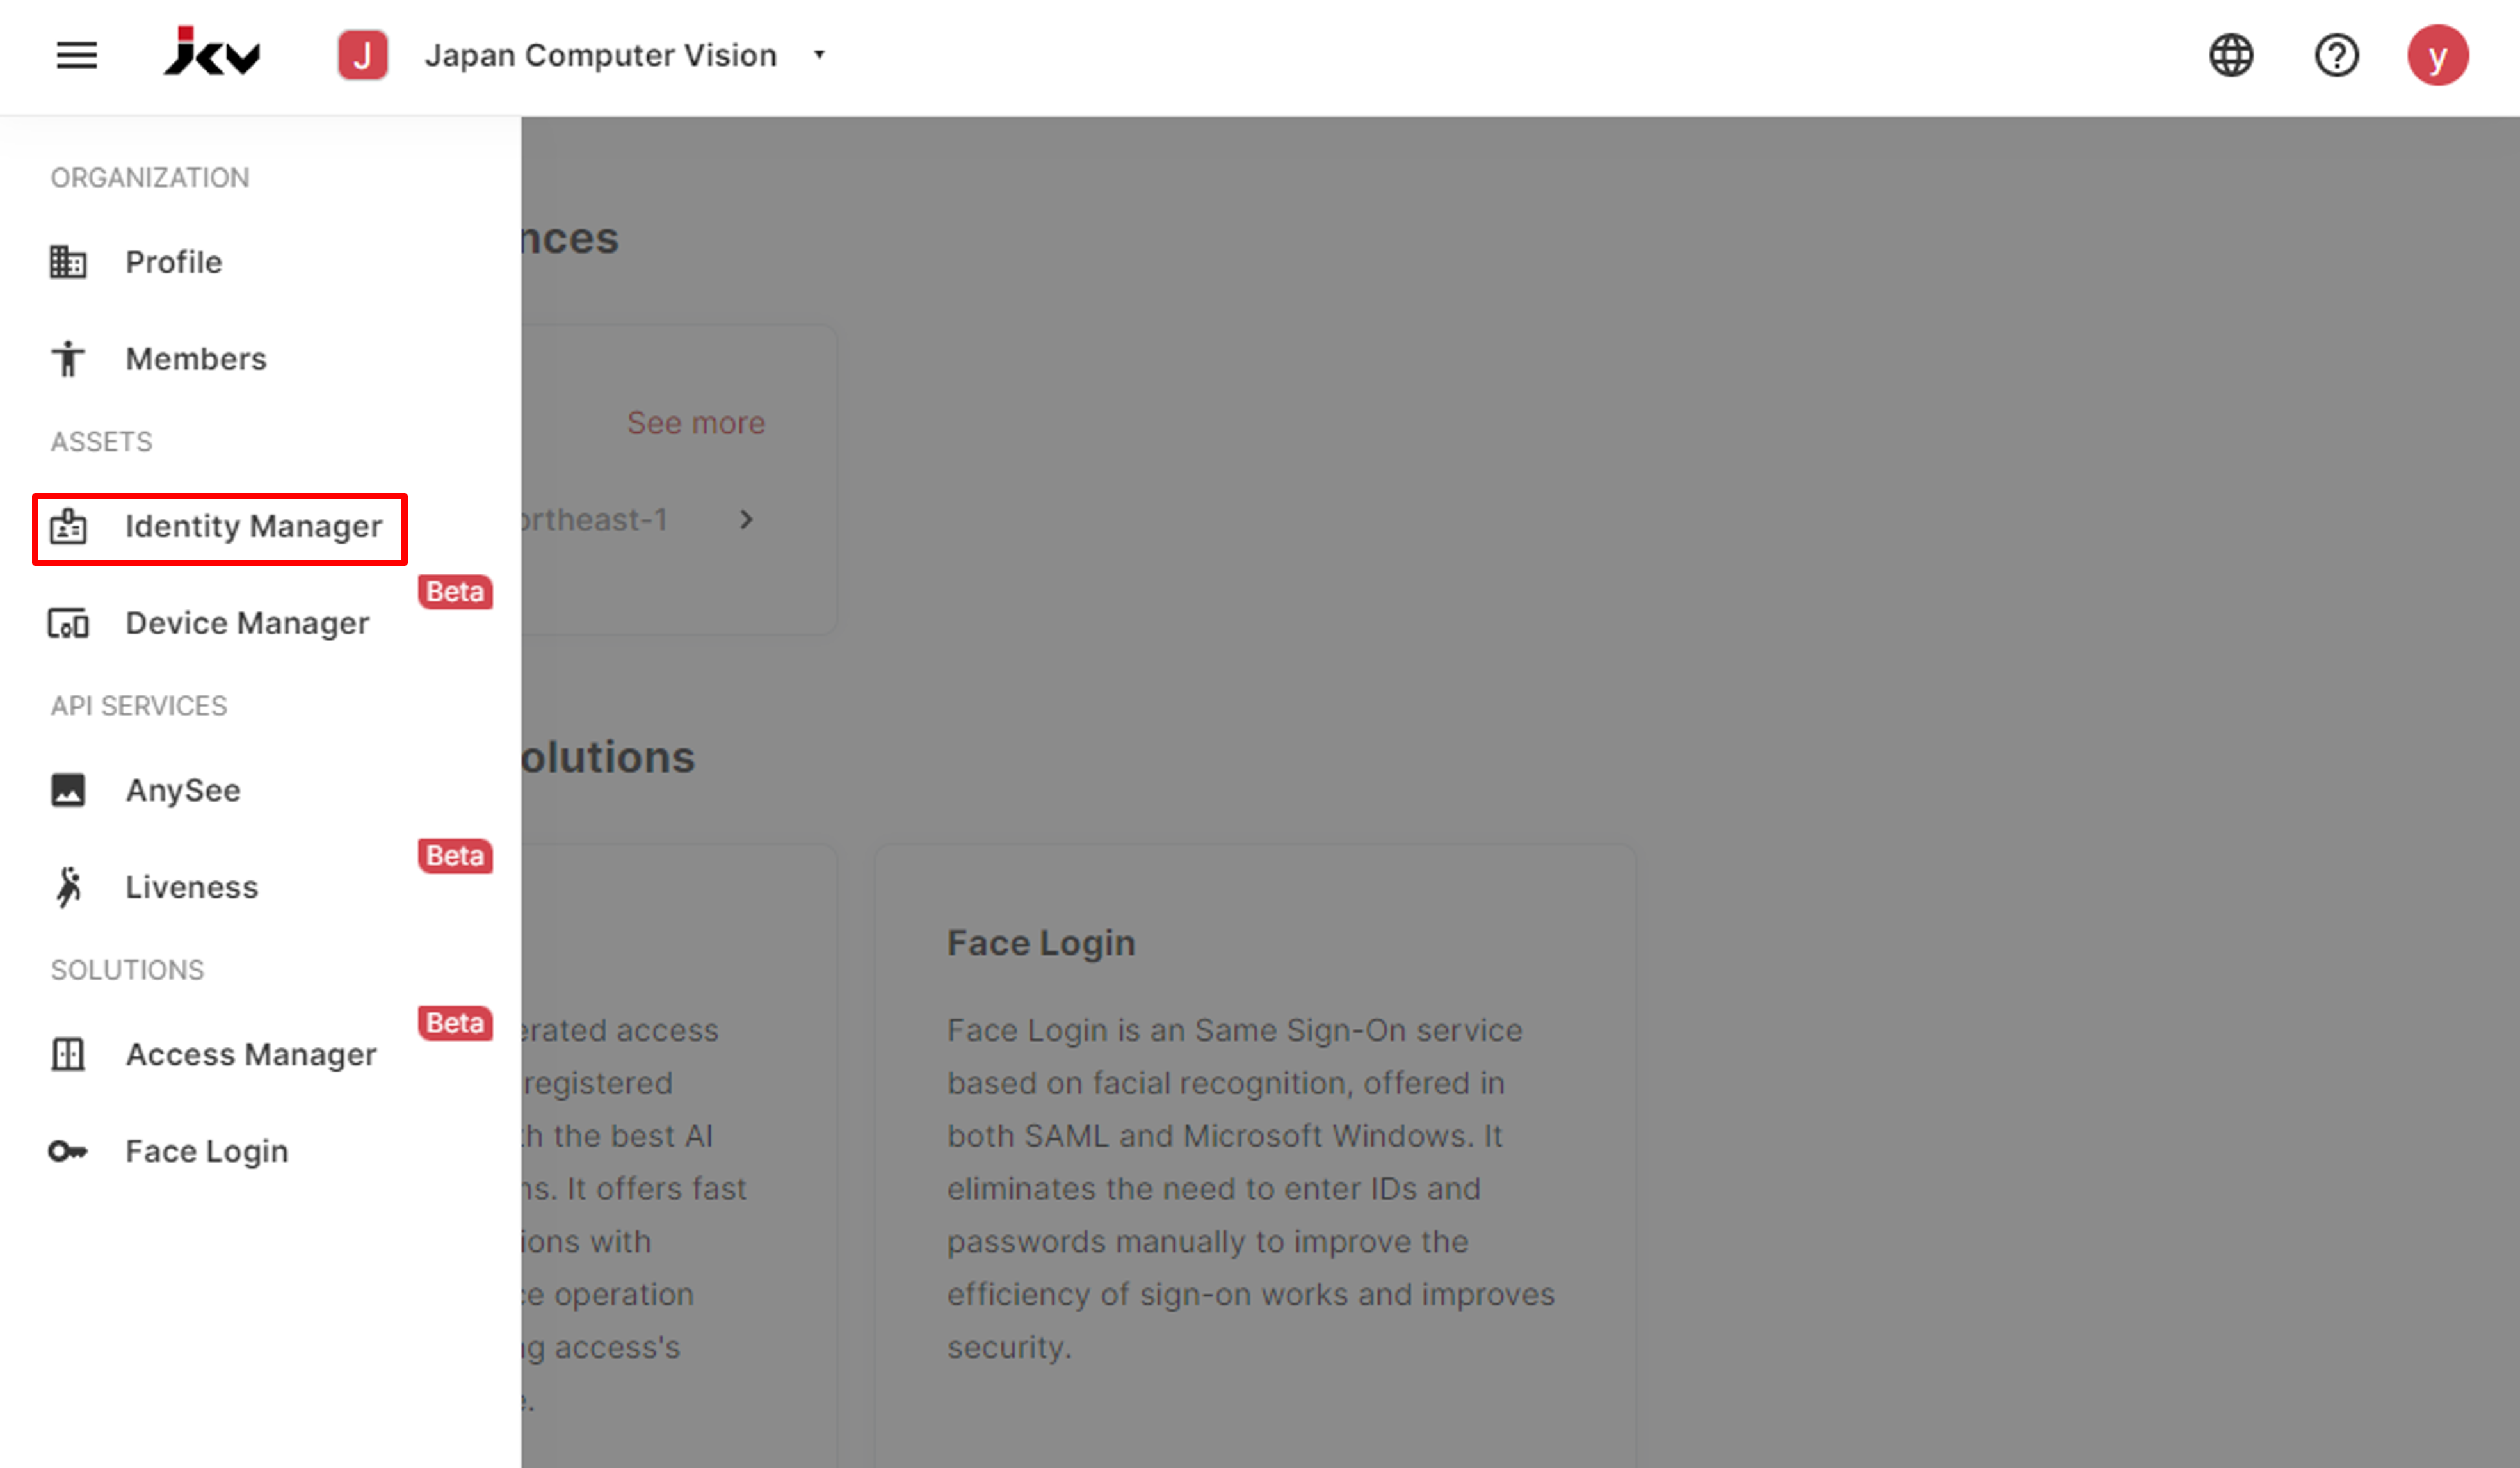
Service list
- On the Identity Manager entry screen, click Manage Instances to enter the list of instances of Identity Manager.
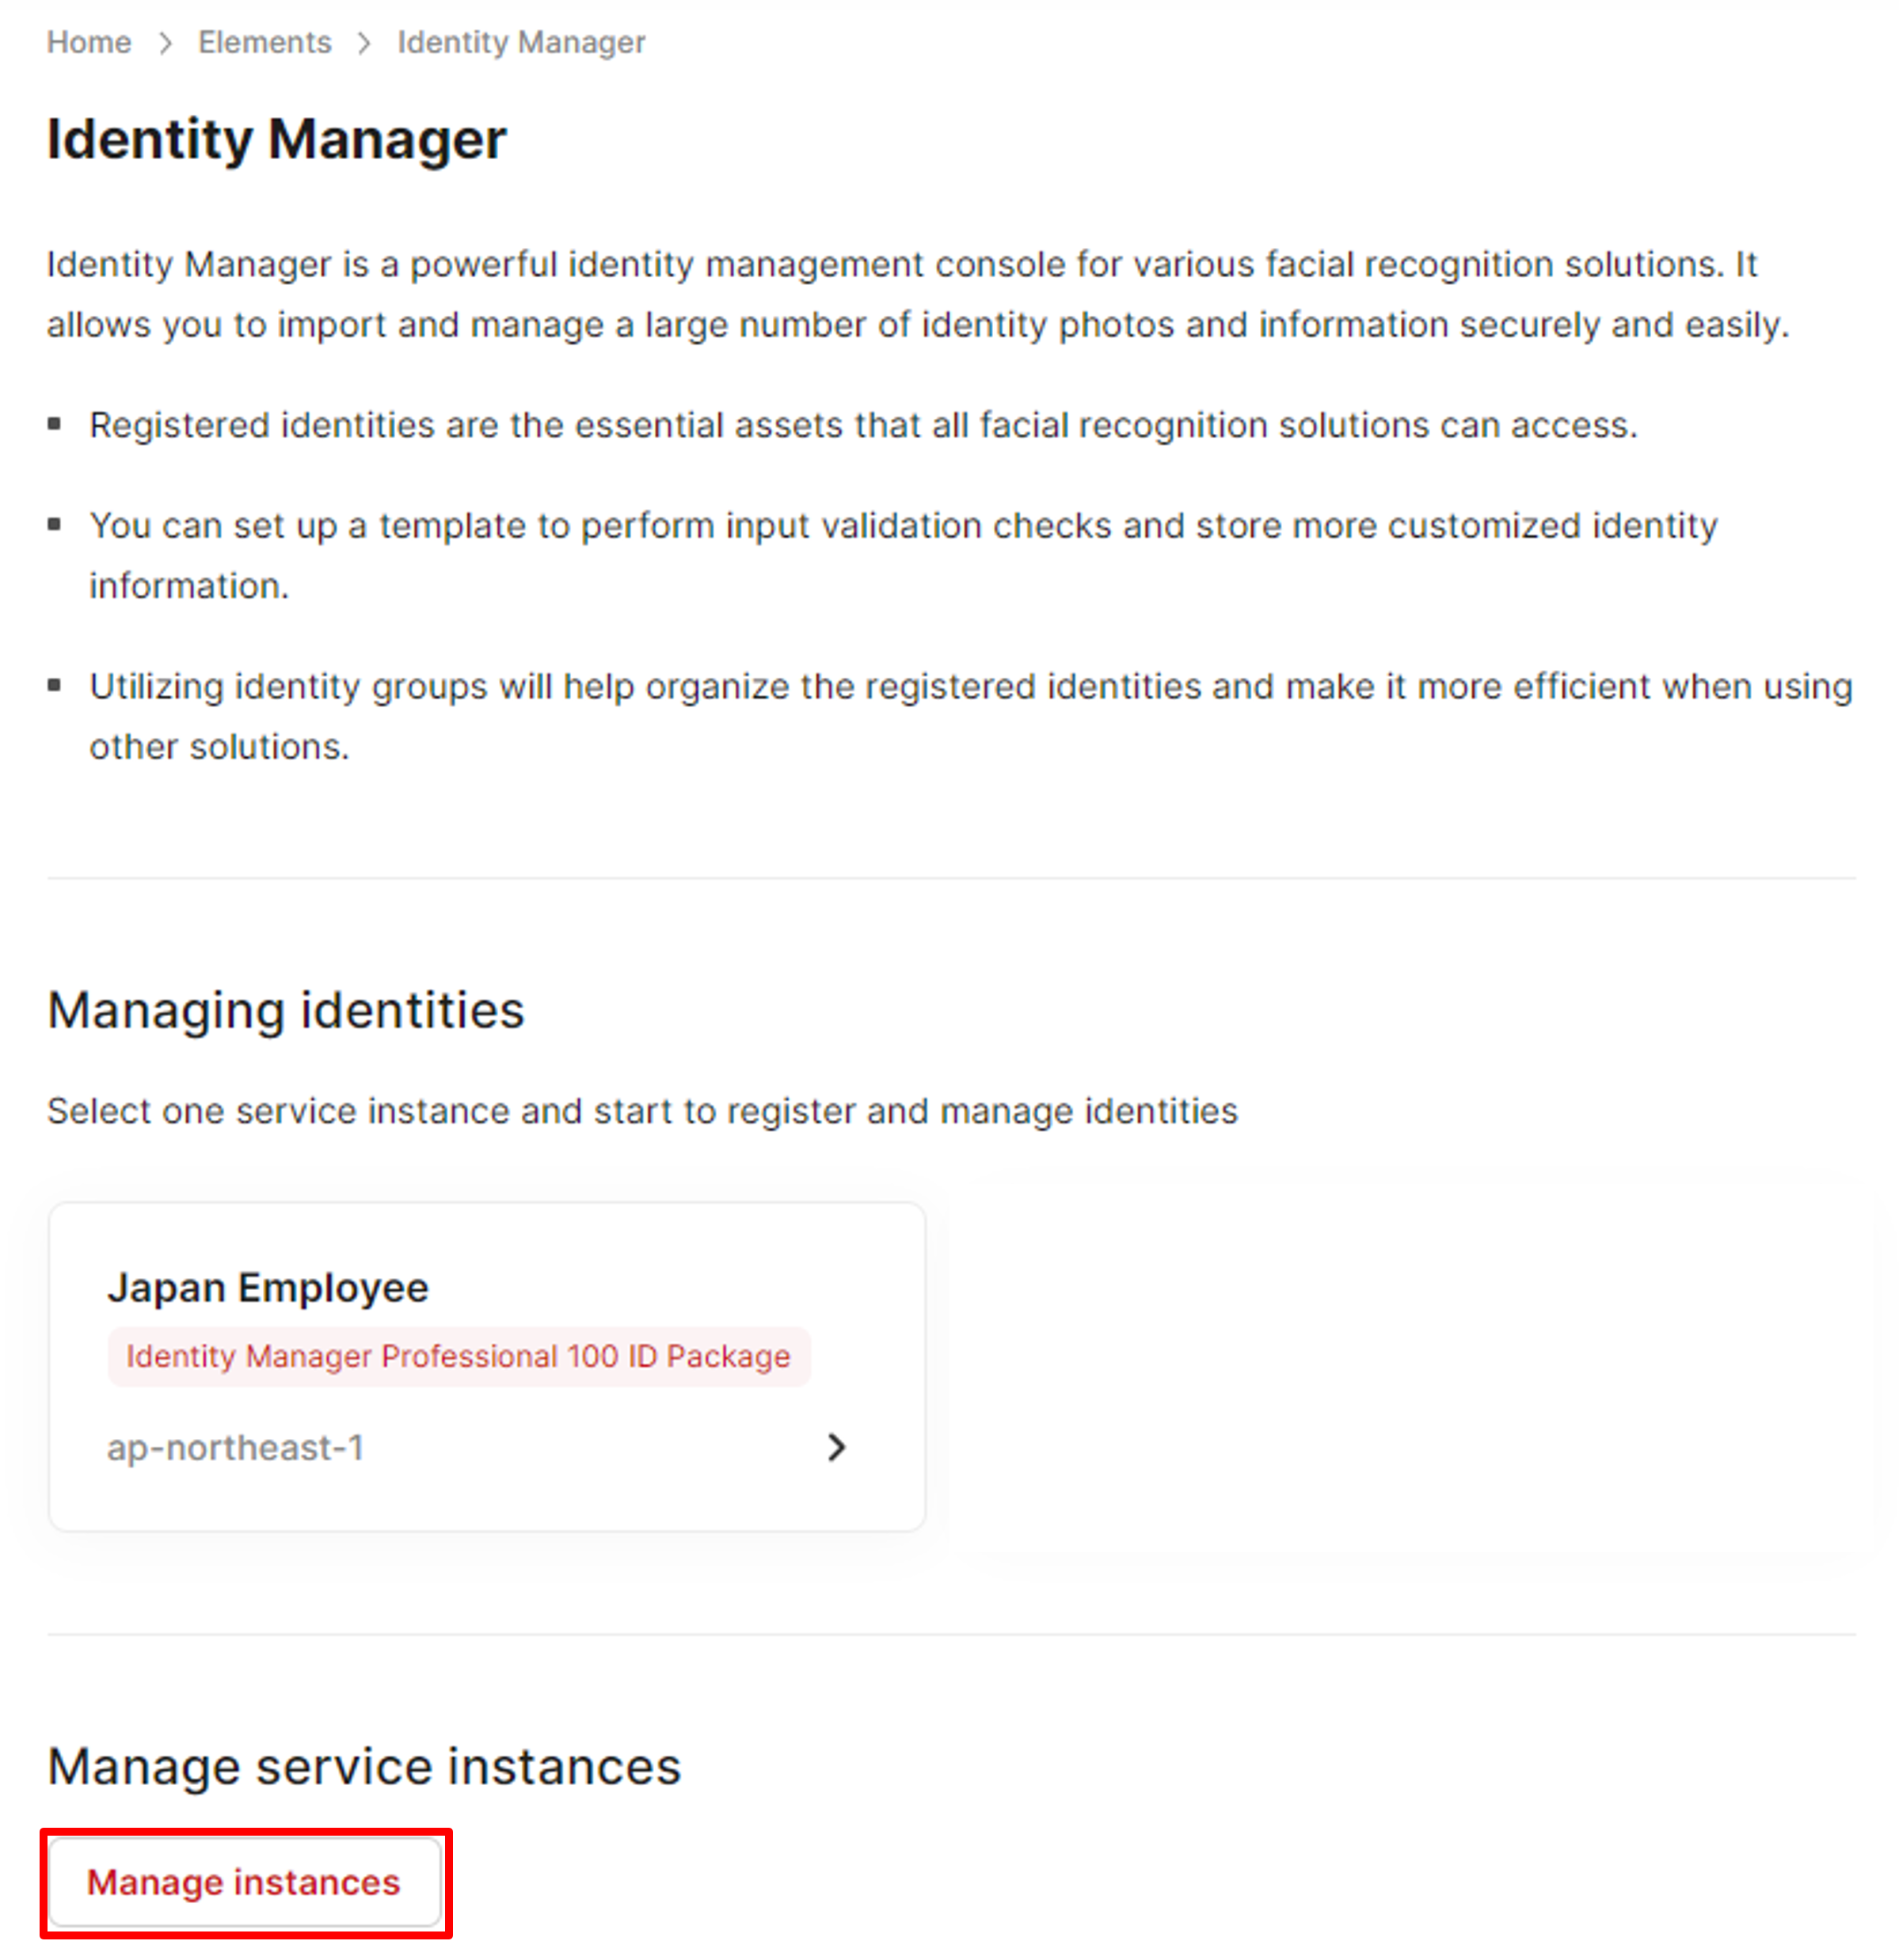
Instance Entrance
- Click the service instance on the instance list screen to create an API key.
The detailed information screen of that instance will appear at the bottom.
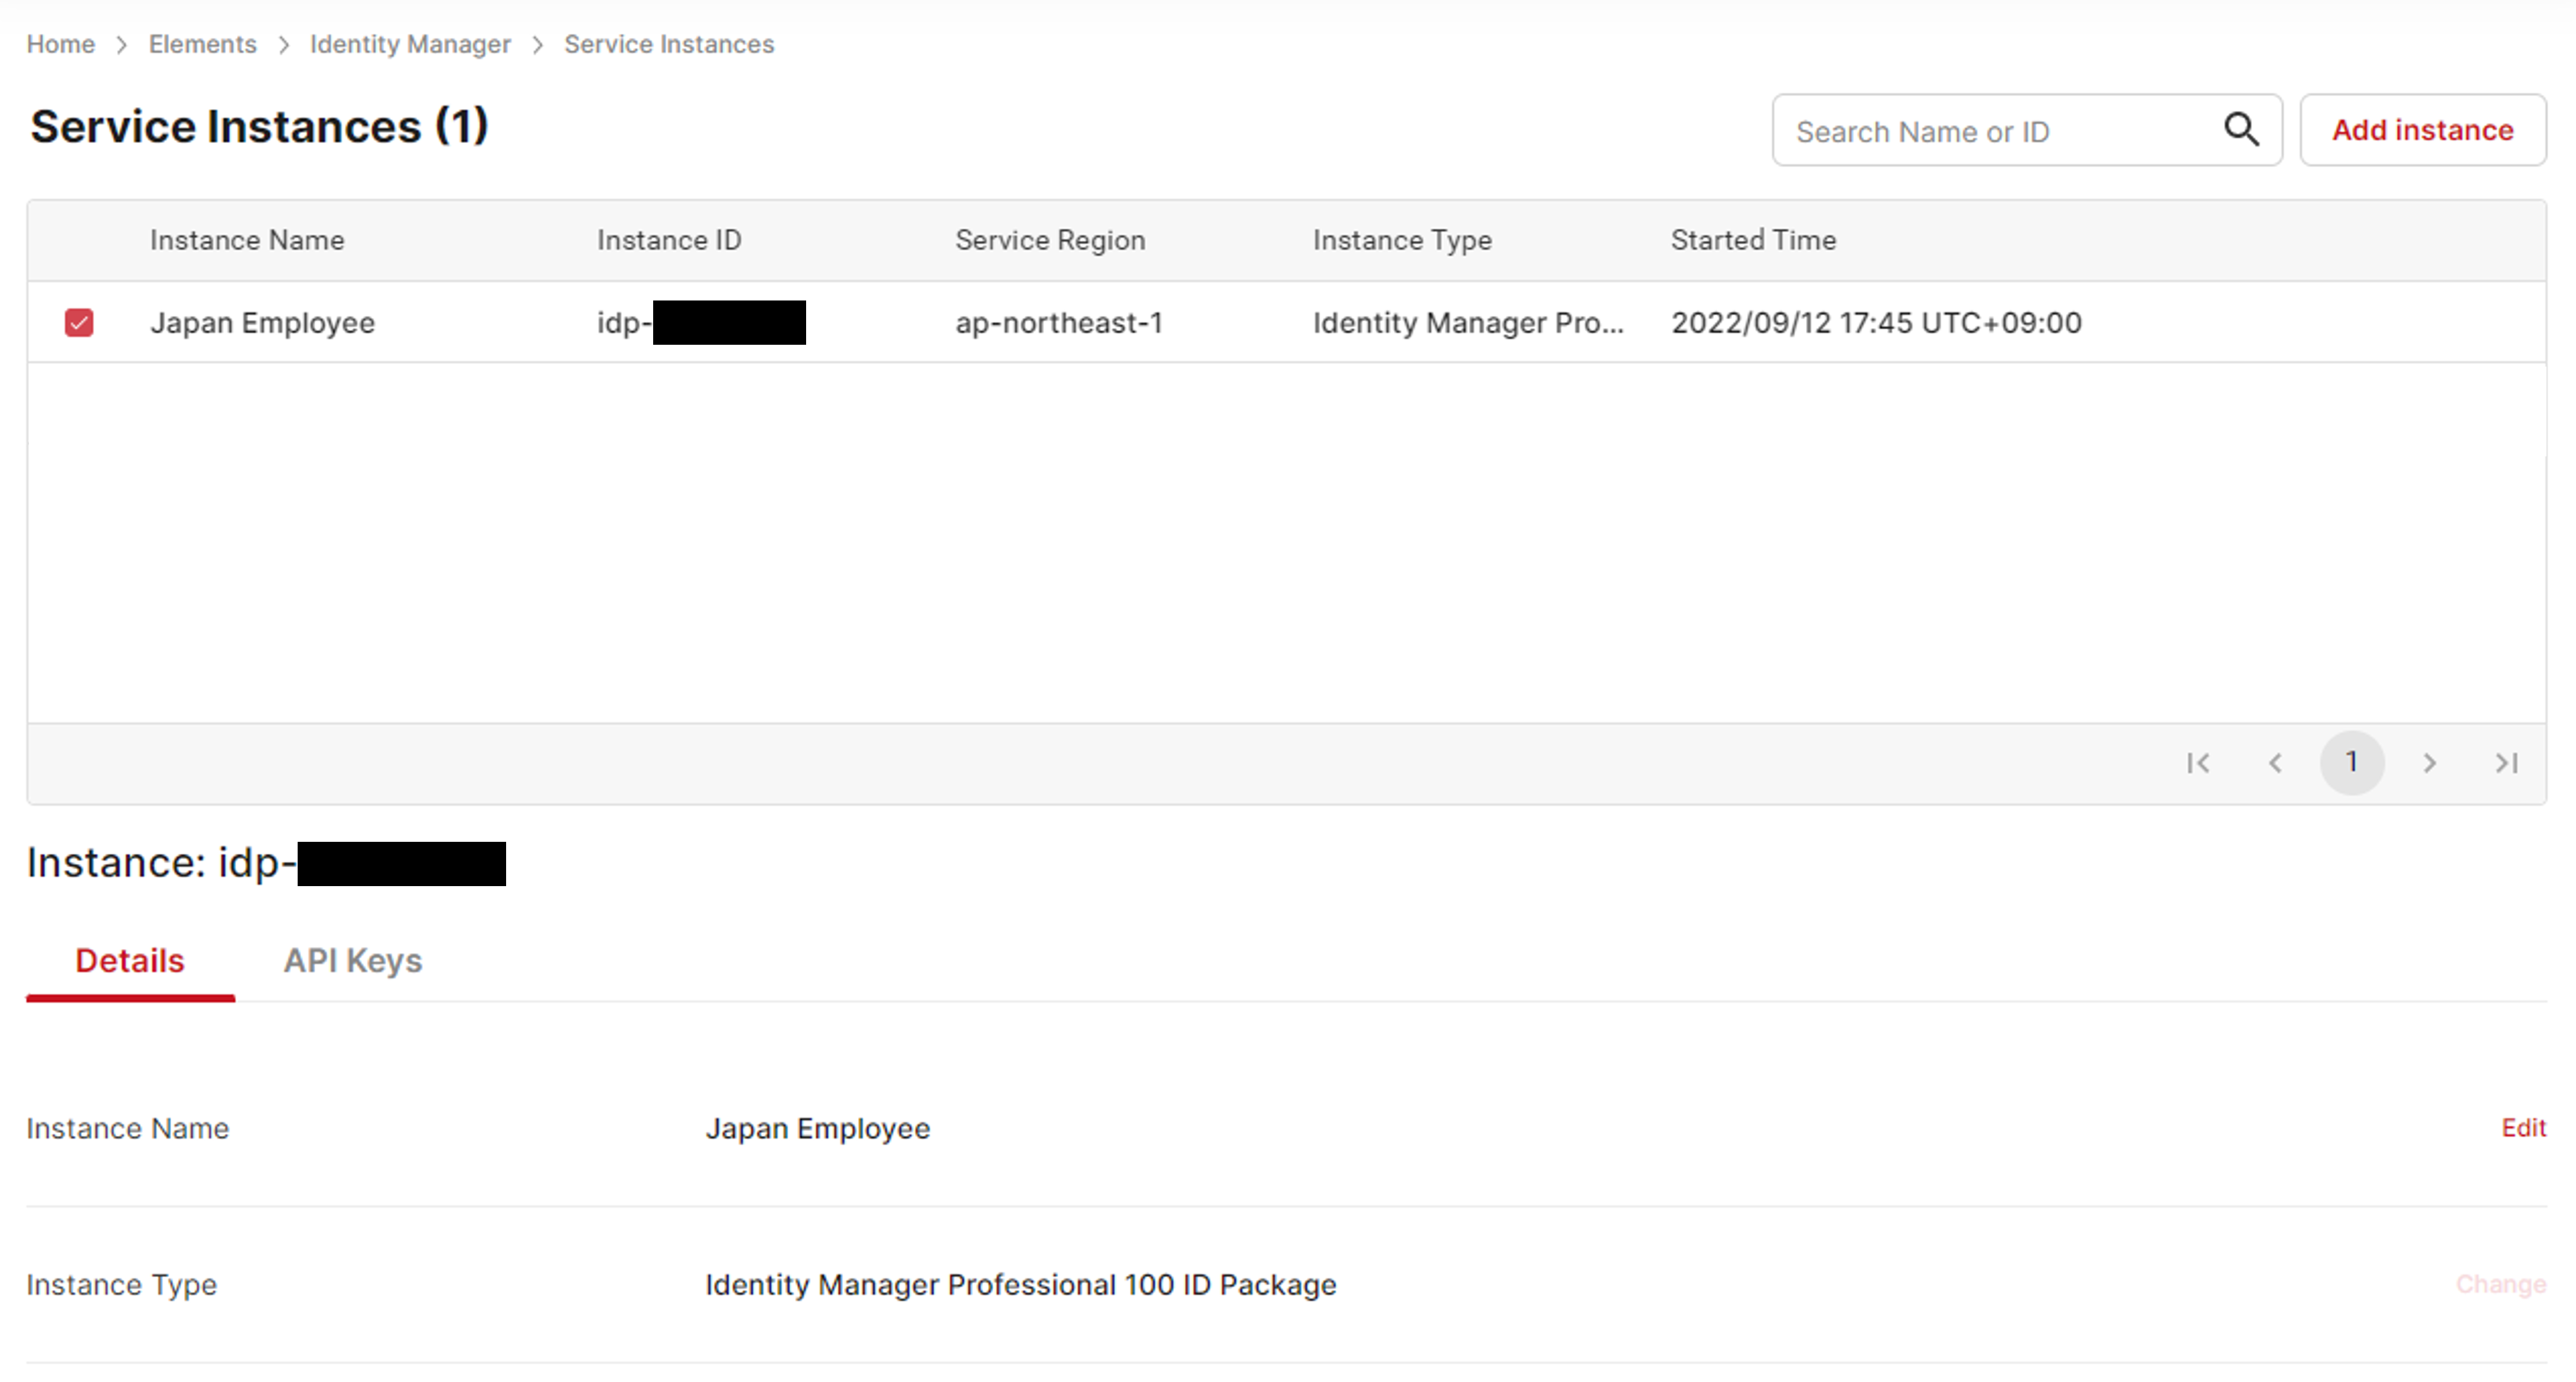
Instance List
- Click the API Keys tab, and the list of API keys appears.
Click the Create an API Key button to display the popup window of API key-creating.
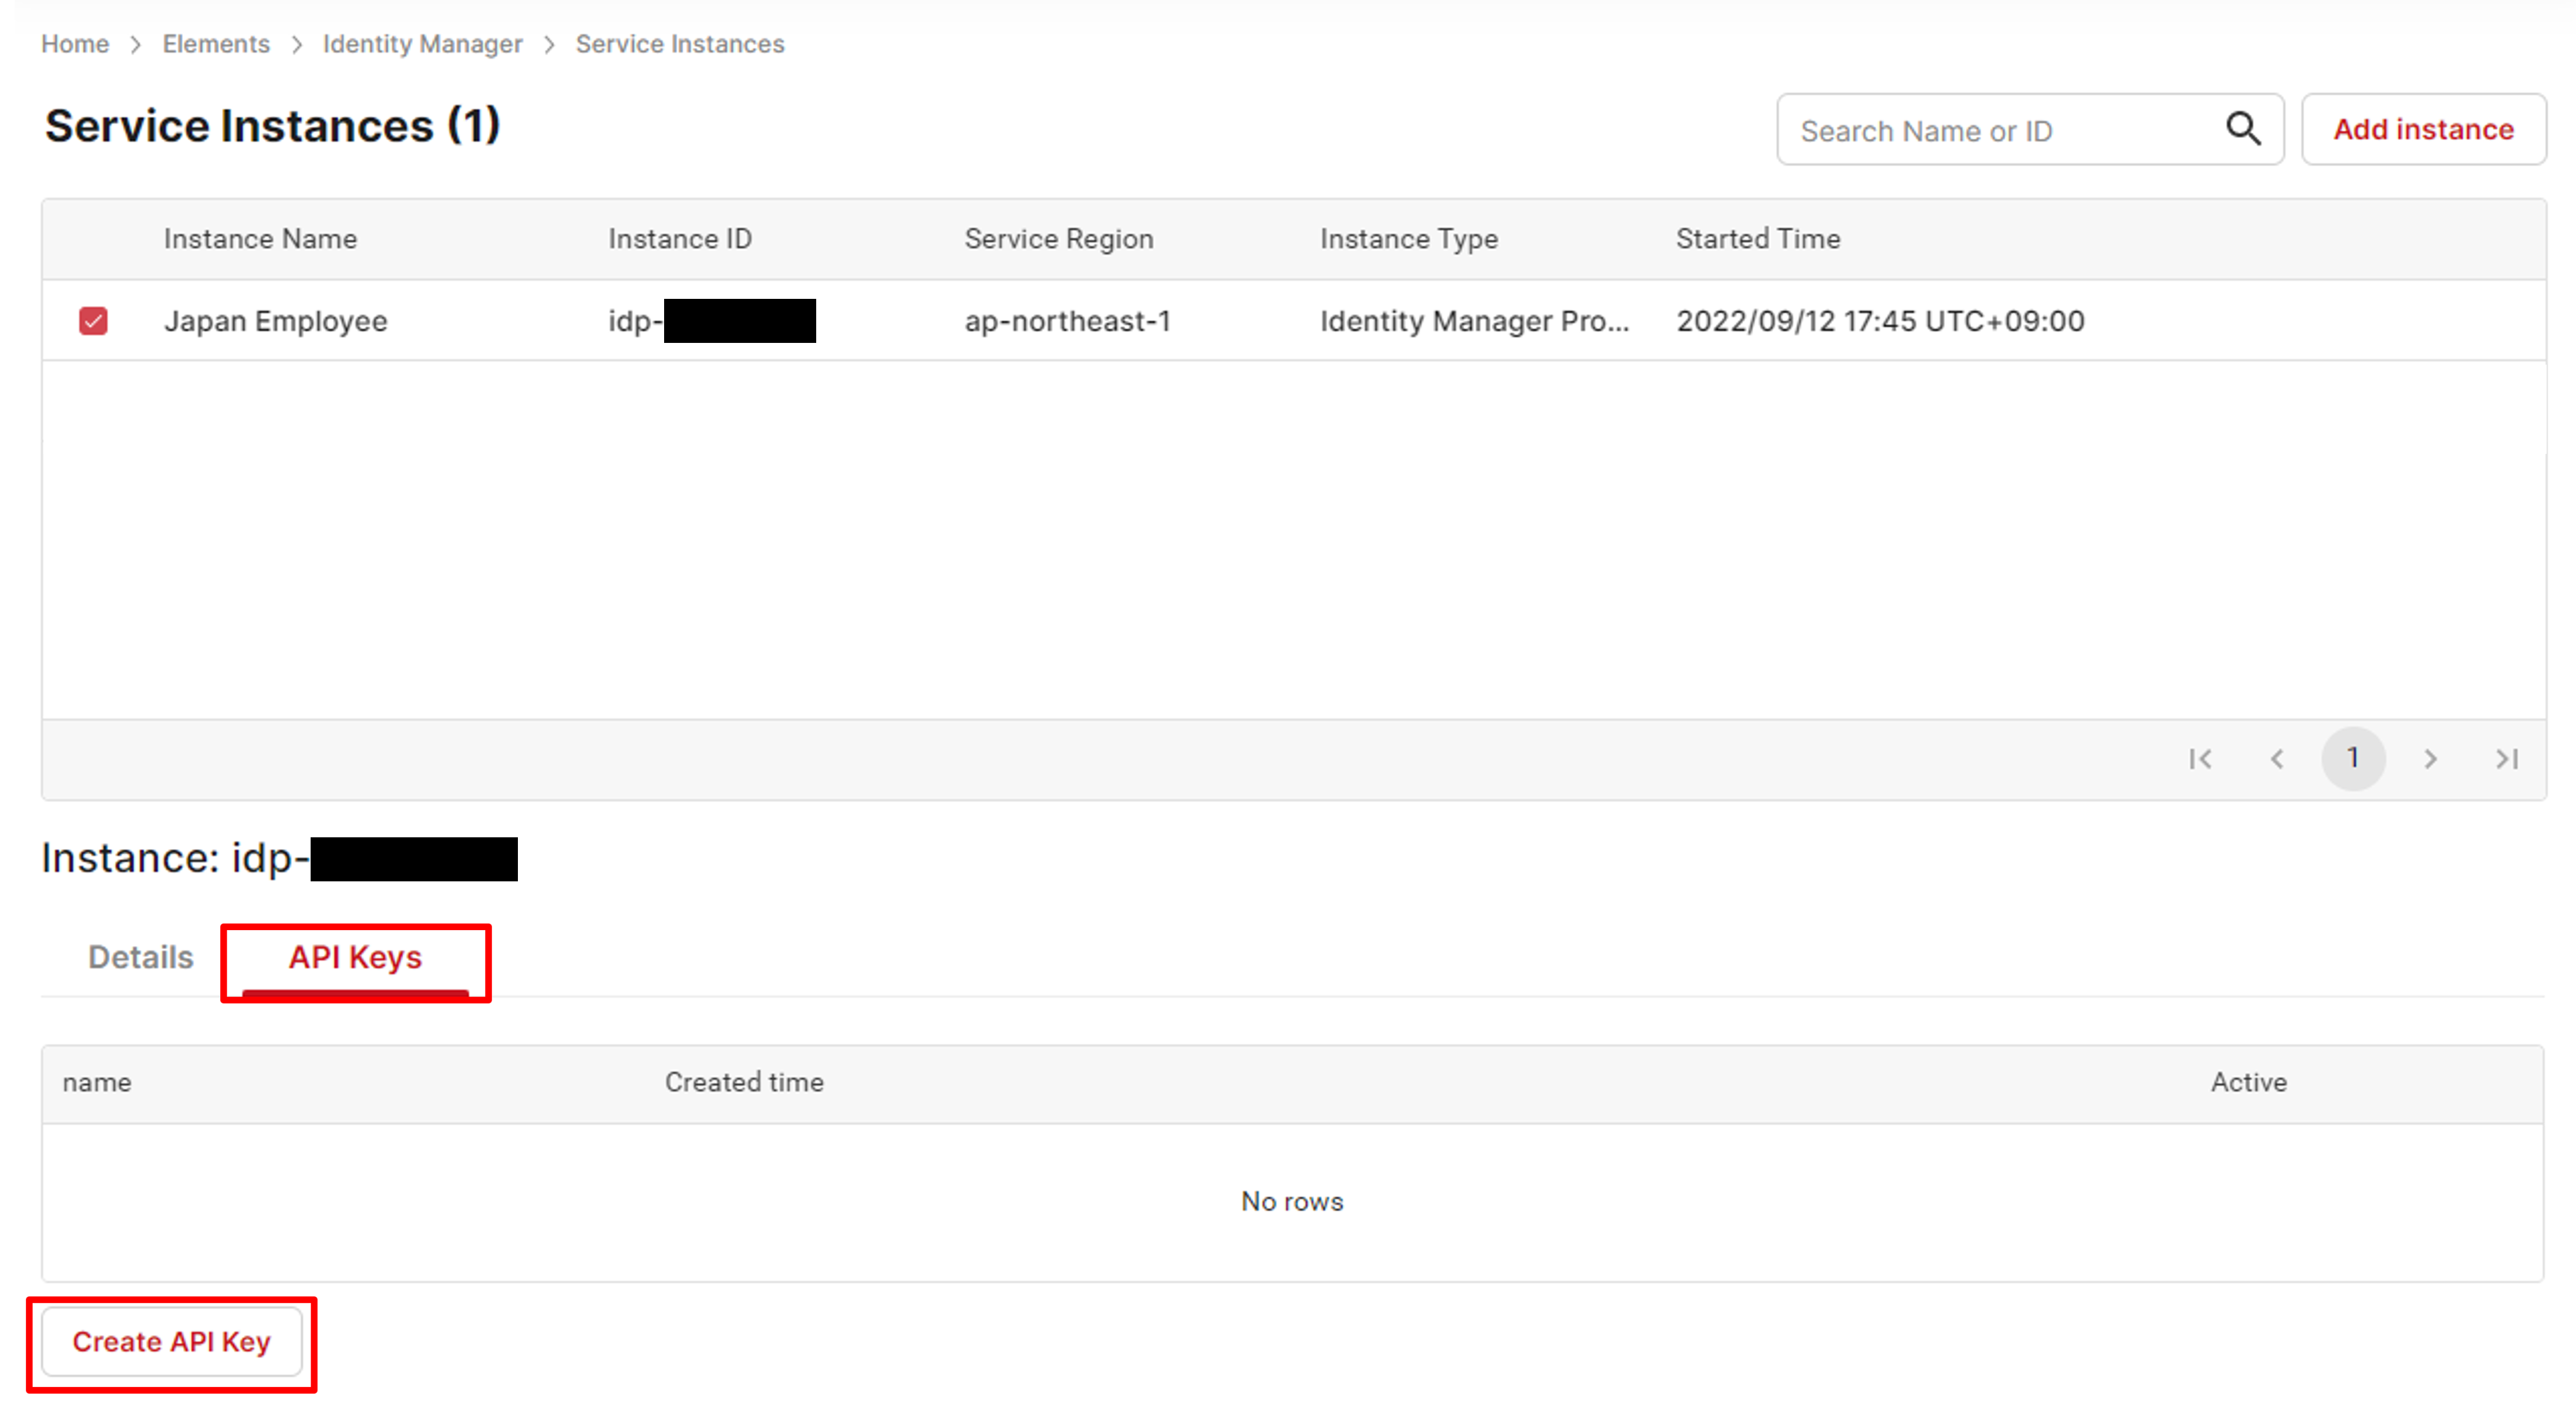
Select an instance
- Enter the name of the API key and click Create.
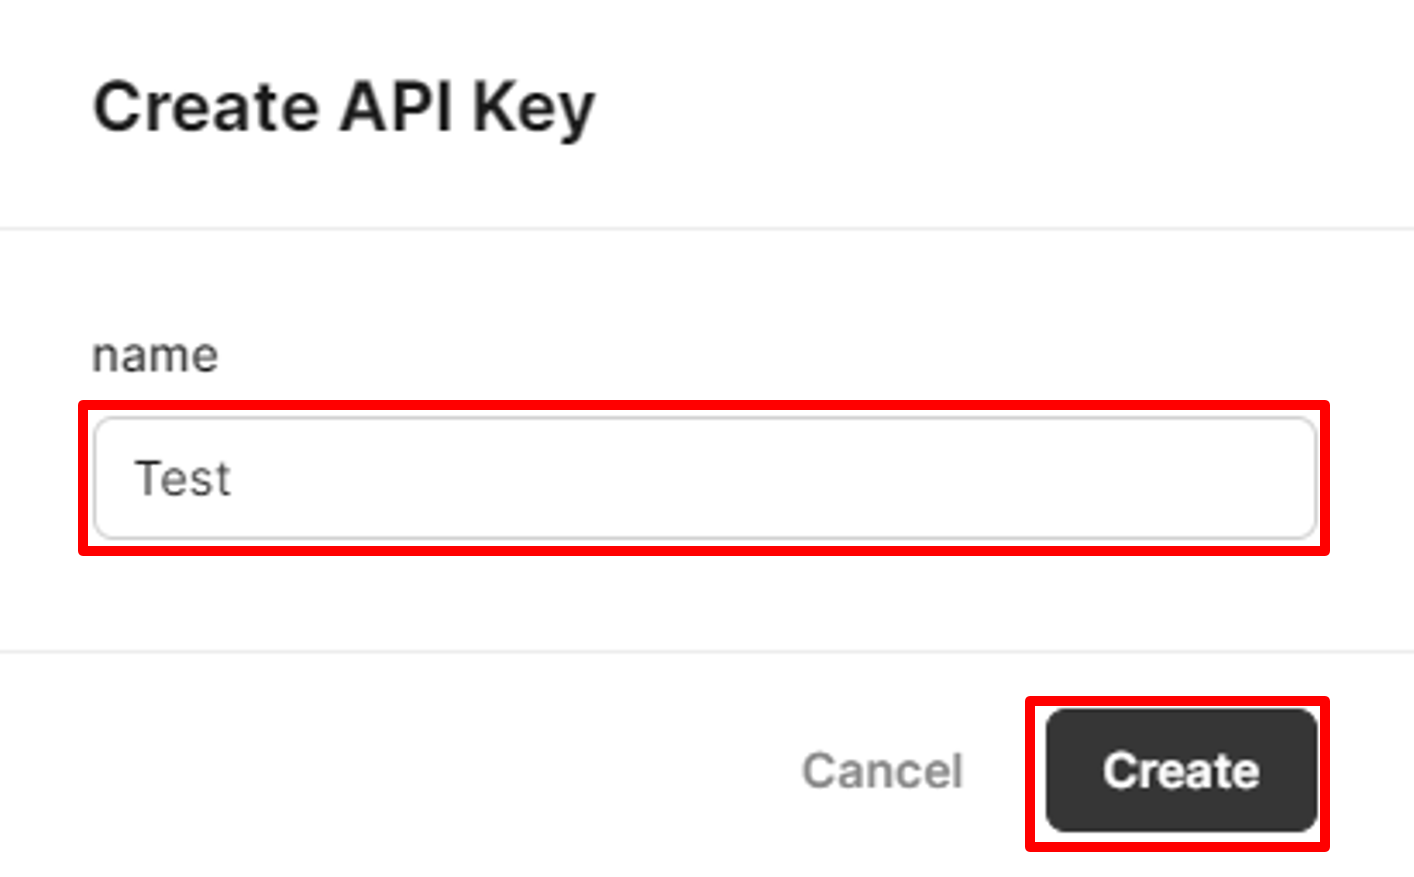
Create an API key
- Click the copy button on the right to copy the API key to the clipboard.
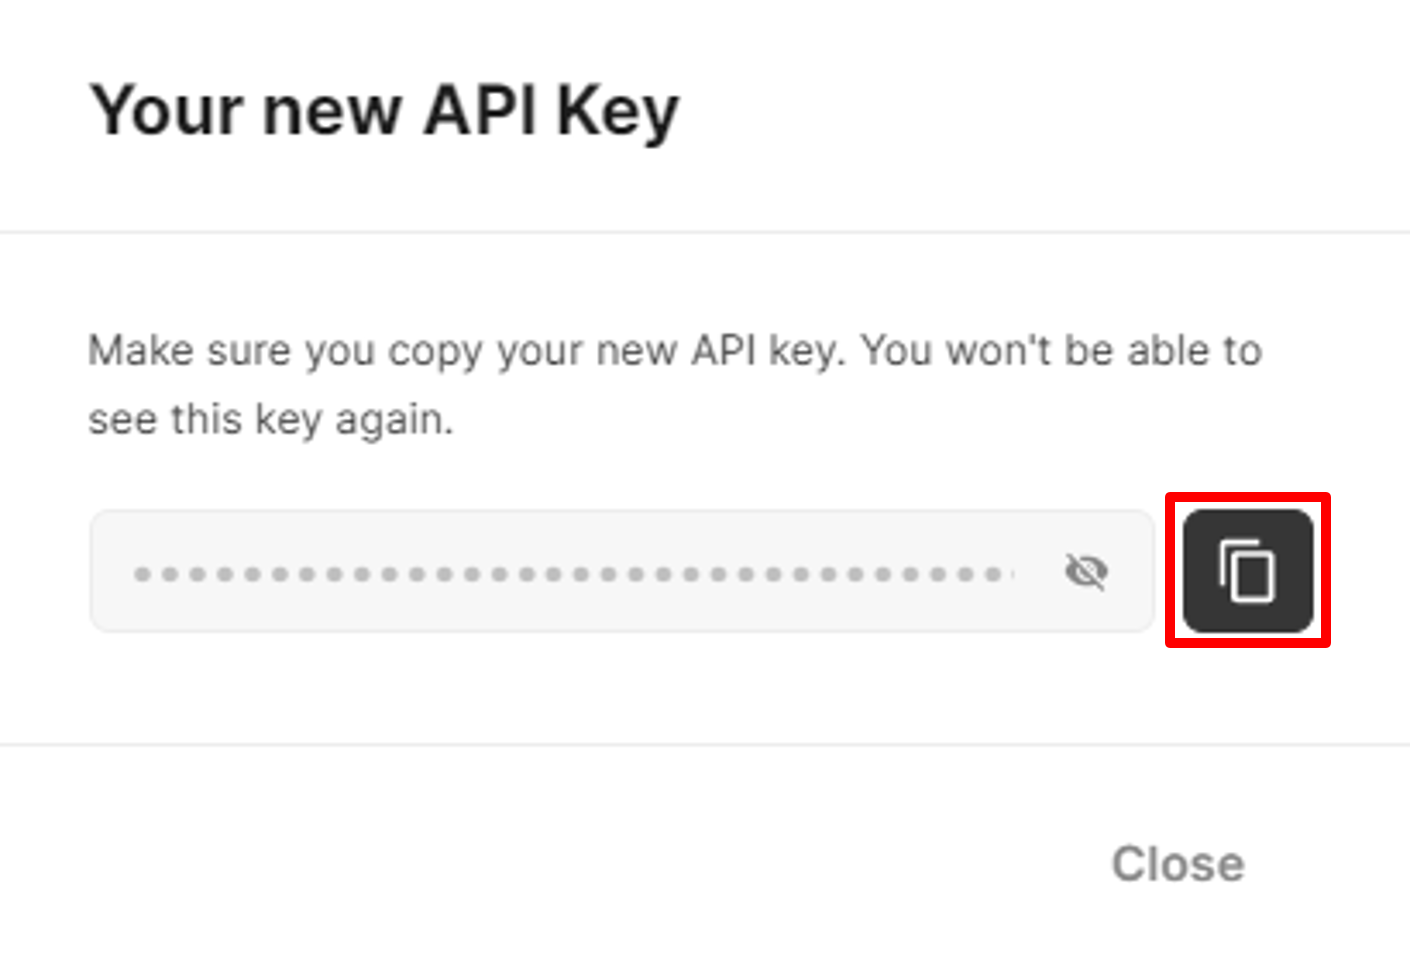
Copy the API key
Configure APP settings on Device Manager
You need to configure a few settings for the APP to work.
- Click the hamburger button to show the list of services.
Click Elements - Device Manager to enter the initial setup page of Identity Manager.
Service list
- On the Device Manager resource page, click Groups and then select the device group that devices are enrolled in. Click the Configuration tab to see the available APP options.
- Select the Endpoint, paste the API key created in the previous section, and set the Group name prefix used to limit identity group access (in the previous example,
guest-) - Adjust other options on this page based on your organization's policies.
- Click the Appearance tab. Here you can upload your company logo, set up colors, and set the user agreement on this page.
- Click Save to save all your settings. All online devices will automatically retrieve these settings items.
Connect to the Internet and start
Make sure your device is connected to the Internet. Then launch the APP from the device.
If all settings are correct, the APP should be good to go!🎊
Updated 11 months ago